

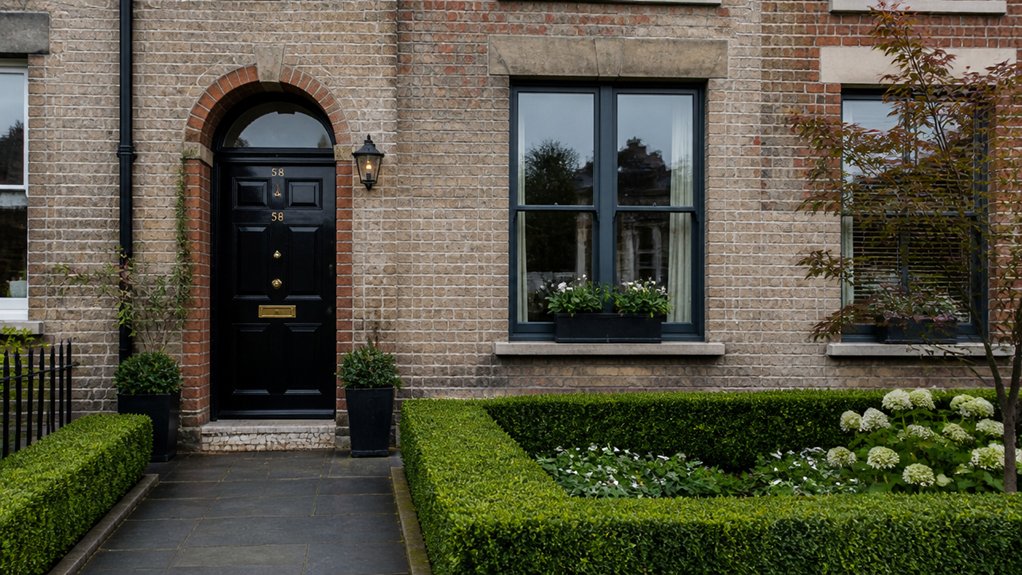
You can’t transform tired British brickwork until you diagnose what’s driving it: soot staining, salt efflorescence, cement-rich repointing, or damp that’s causing spalls. You’ll start with the least aggressive cleaning, then repair joints and swap failed bricks before you change colour with limewash, mineral stain, or a breathable coating. If the wall still can’t perform, you’ll consider slips or render—but only after checking moisture pathways and constraints…
Key Takeaways
- Diagnose staining, damp, and spalling first, tracing causes like leaking gutters, bridged DPCs, cracked sills, and failed pointing.
- Prepare properly by removing impermeable paints/renders, raking out loose joints, replacing damaged bricks, and fixing structural or moisture defects.
- Clean gently with test panels, using steam or DOFF superheated water to avoid etching, colour shift, or salt mobilisation on fragile brick faces.
- Repoint with lime-based mortar matched to the original, tooled to shed water and cured slowly to prevent shrinkage and cracking.
- Choose finishes by moisture risk: limewash or mineral stains for breathability, breathable render for damp walls, brick slips for sound, stable substrates.
Diagnose Tired Exterior Brickwork (Stains, Damp, Spalling)
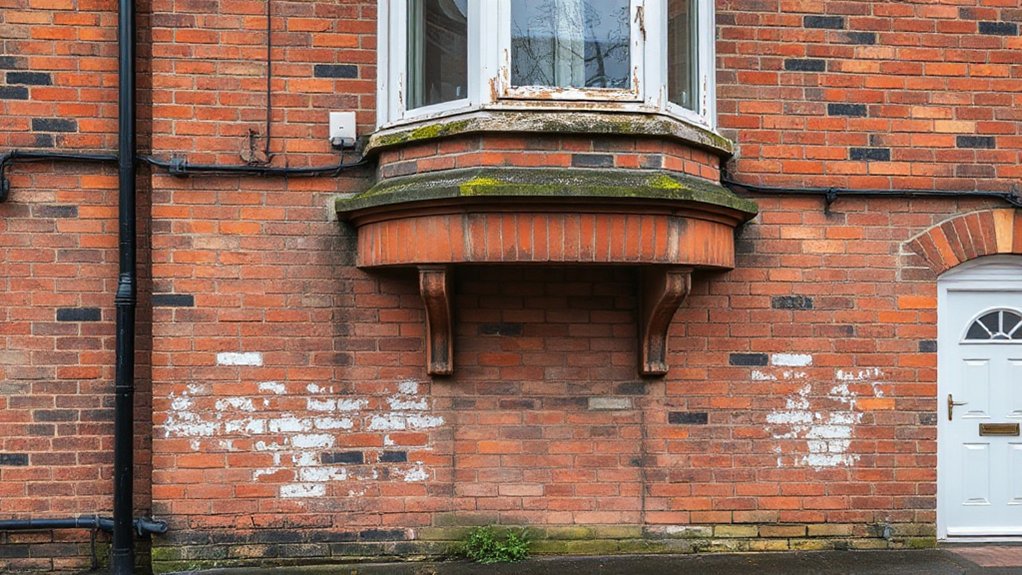
Before you plan any exterior makeover, you need to diagnose what the brick is telling you: map where stains, damp patches, and spalled faces occur; note their height above grade, proximity to gutters, downpipes, and openings; and check whether patterns change after rainfall or drying periods.
Next, test moisture sources: inspect defective pointing, cracked sills, bridged DPCs, and leaking rainwater goods. Use a moisture meter comparatively, but confirm with salt indicators: white efflorescence suggests migrating moisture; darker tide marks imply prolonged saturation.
Read Brick texture closely—soft, friable faces and granular loss indicate freeze–thaw cycling or sulphate attack, often worsened by impermeable past repairs. Record exposure, orientation, and prevailing wind.
You’ll select weatherproofing techniques only after evidence links defects to water pathways.
Choose a Safe Brickwork Cleaning Method (DOFF/Steam)
Once you’ve traced moisture paths and decay patterns, you can choose a brick-cleaning method that removes soiling without driving water or heat deeper into the wall. Start with the least aggressive option and run a small, timed test panel to confirm no colour shift, salt mobilisation, or surface etching across the Brick pattern.
Use DOFF superheated water for oily grime, algae, and traffic film: low pressure, high temperature, controlled dwell time, and continuous lance movement reduce saturation while lifting deposits.
Choose steam cleaning for more fragile faces where minimal water uptake matters; you’ll typically need multiple passes rather than higher force.
Monitor runoff conductivity and pH to gauge soluble salts.
Protect details with masking, avoid acids on lime-rich units, and document results to preserve Historical significance.
Repair Exterior Brickwork First: Repointing & Brick Swaps
After you’ve confirmed the wall’s moisture sources and chosen a low-impact cleaning approach, repair the masonry fabric first by repointing failed joints and swapping out spalled or cracked bricks, because sound units and compatible mortar control water entry and load transfer more effectively than any surface treatment.
Rake out defective joints to a consistent depth, avoid widening arises, and specify a lime-based mortar that matches the original in strength, permeability, and profile for Historical preservation. Tool joints to shed water, then cure slowly to limit shrinkage cracking.
For brick swaps, cut out only failed units, keep surrounding bricks intact, and bed replacements on the same mortar to maintain vapour movement. Check bonding, lintel bearings, and local bulges; you’re restoring Structural stability, not cosmetic uniformity.
Change Brick Colour: Limewash vs Tinting vs Masonry Paint
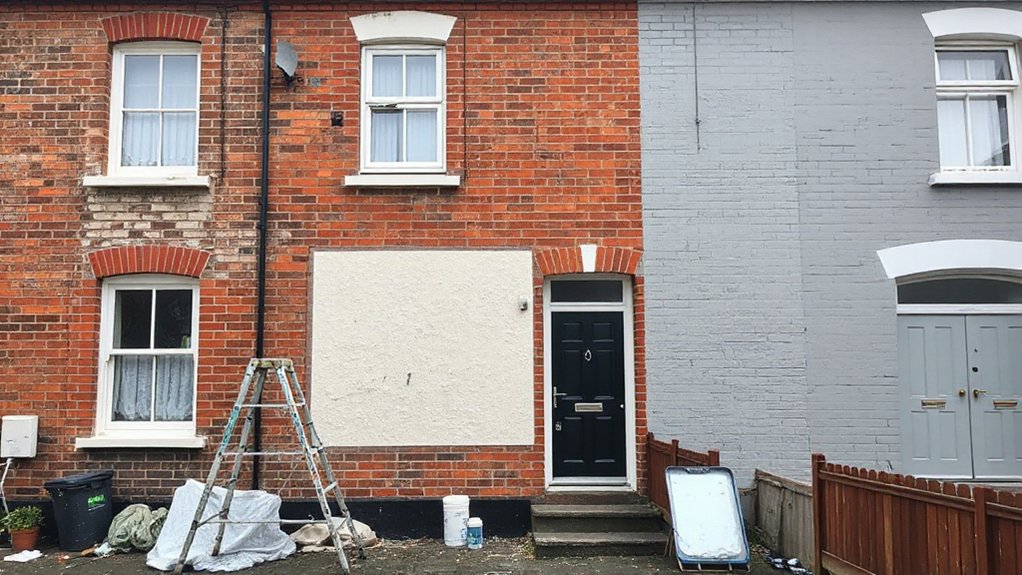
Once your brickwork is structurally sound, you can change its colour by matching the coating method to your performance targets. You’ll choose limewash when you need a breathable, traditional finish.
You’ll use brick tinting for subtle recolouring that preserves texture and variation. You’ll specify masonry paint when you want bold, uniform coverage, but you’ll verify moisture management and adhesion because it forms the most continuous film.
Limewash: Breathable Traditional Finish
Why does limewash still outperform many modern coatings on older brick? You get a breathable, mineral finish that allows vapour to diffuse, reducing trapped moisture and freeze–thaw spalling. Limewash carbonates as it cures, forming a microcrystalline layer that keys into porous substrates rather than sealing them. That compatibility matters on British solid-wall construction, where moisture management drives durability.
It also carries historical significance: it matches traditional maintenance cycles and preserves the soft, matte character of period façades. For environmental impact, you choose a low-VOC coating with lower embodied energy than many polymer paints, and it reabsorbs some CO₂ during carbonation.
Apply multiple thin coats onto sound, lightly dampened brick, and expect gentle, even weathering rather than peeling. Maintenance stays straightforward: you recoat locally when needed.
Brick Tinting: Subtle Recolouring
Limewash gives you a breathable, mineral skin, but it also leaves a chalky, matte cast that won’t suit every façade. Brick tinting offers a tighter colour correction while keeping the unit’s fired texture and pore structure visible.
You apply water-thin, mineral or polymer-modified stains that penetrate capillaries rather than forming a surface film, so you don’t trap moisture and you maintain vapour permeability.
Start with a cleaned, fully dried wall; then test panels to match existing stock and mortar. Build tone in multiple light passes to control absorption differences and improve color consistency across spalled and soot-stained areas.
Specify UV-stable inorganic pigments to maximise pigment longevity, and seal only if the system allows vapour diffusion. Verify results after wetting and drying cycles.
Masonry Paint: Bold Coverage
Although masonry paint sacrifices some of brick’s natural variation, it delivers the most decisive colour change by forming a continuous, high-opacity film across the face and mortar joints. You’ll get uniform coverage that masks mismatched repairs and stained spalls, but you must accept reduced vapour permeability compared with lime-based finishes.
Choose a breathable silicate or mineral masonry system where moisture risk is measurable, and avoid dense acrylics on solid-wall Victorian stock unless you’ve verified drying capacity. For adhesion, you should remove friable surfaces, treat biological growth, and spot-prime salts and patched areas.
Apply two coats to a dry substrate, respecting manufacturer film-build limits to maintain texture preservation. Check planning constraints: in conservation areas, historical authenticity may favour reversible finishes over paint.
When to Cover Brickwork: Slips or Breathable Render
If your brickwork is structurally sound but you need a new face, you’ll typically choose brick slips for high-impact aesthetic change on stable substrates, especially where detailing and matching adjacent masonry matter.
If moisture risk, salt load, or mixed masonry is present, you’ll get more reliable hygrothermal performance by specifying a breathable render system with verified vapour permeability and compatible primers.
You’ll decide based on exposure, substrate condition, wall build-up (cavity vs solid), and measured moisture movement, then select the system that maintains drying potential while meeting durability targets.
Brick Slips: Best Uses
Where do brick slips actually outperform a breathable render when you’re covering existing brickwork? You’ll get the best results when you must keep a brick character but can’t justify full rebrickwork.
For Historical preservation, slips let you match bond, colour, and texture to comply with conservation expectations while correcting spalled faces. They also suit mixed architectural styles: you can visually unify rear additions, infill panels, or patched façades without changing the building’s perceived massing.
Use slips when the substrate is structurally sound, reasonably flat, and able to take a bonded system; test adhesion and check for salts, movement cracks, and moisture sources first. Specify frost-resistant units and compatible pointing to reduce delamination risk.
Plan detailing around reveals, sills, and corners.
Choosing Breathable Render
Because moisture management drives most brickwork failures, you should choose a breathable render when the existing wall needs weatherproofing and drying capacity more than it needs a brick appearance.
Specify a vapour-permeable, capillary-active system (lime or silicone) so wind-driven rain sheds while internal moisture diffuses outward.
Prepare the substrate: rake out friable joints, remove impermeable paint, and repair salts or spalled bricks to prevent debonding.
Avoid dense cement coats that trap moisture behind the finish and amplify freeze–thaw cycling.
Integrate ventilation improvements at eaves, subfloor vents, and cavity trays so the wall can purge humidity; don’t rely on render alone.
Detail moisture barriers carefully: keep DPCs continuous, terminate render above ground, and use bell-cast beads to prevent splashback and rising damp.
Key Decision Factors
Although both brick slips and breathable render hide tired masonry, you should base the choice on moisture risk first, then on substrate condition, detailing complexity, and the finish you need.
If you’ve got solid walls, high exposure, or existing damp, favour vapour-open render systems and confirm with moisture profiling and salt analysis. Slips can trap moisture unless you specify drained cavities and compatible mortars.
If the brick face is friable, spalled, or heavily patched, render bridges defects. If it’s sound but ugly, slips preserve a masonry aesthetic.
Check junctions: slips demand precise reveals, lintels, DPC continuity, and movement joints.
For Historical preservation, choose reversible, minimal-loss approaches.
For Environmental impact, compare embodied carbon, transport weight, and service-life maintenance.
Exterior Brickwork Makeover Costs, Planning Rules & Hiring
Before you start repainting, repointing, or cladding brick, map the project around three constraints—budget, compliance, and workmanship—so you don’t lock in an expensive mistake.
Cost the scope by m² and detail: access/scaffolding, substrate repairs, and weather windows drive variance more than coatings. Include Brick sealing if you’re stabilising porous bricks; price Mortar removal separately, because depth, joint width, and dust control determine labour time and grinder wear.
Check whether you’re in a conservation area, listed building, or Article 4 zone; external appearance changes (paint, render, cladding) can trigger planning or listed building consent.
Confirm breathable specifications.
When hiring, shortlist brickwork specialists, request method statements, insurance, and references, and insist on test panels, written warranties, and moisture checks before sign-off.
Frequently Asked Questions
Will an Exterior Makeover Affect My Home Insurance or Rebuild Valuation?
Yes, it can: you’ll need to notify your insurer and review your rebuild valuation. Changes affecting materials, storm damage resilience, or building regulations compliance can alter risk and reinstatement costs. Document works and obtain updated valuations.
Can I Add Wall Insulation During a Brickwork Makeover Without Trapping Moisture?
You can, but you must balance insulation’s warmth with brick’s need to dry. Specify vapour-open thermal barriers externally, add tested moisture barriers at junctions, and verify dew-point calculations plus ventilation gaps so you don’t trap moisture.
How Do I Stop Ivy and Climbing Plants Damaging or Staining Brickwork?
Stop ivy damage by scheduling plant removal early: cut stems, let roots die, then gently peel. Scrub residue with low-pressure water/biocide. Repair mortar defects. Finish with breathable surface sealing to block staining.
Will Cleaning or Repainting Brickwork Reduce My Property’s Resale Value?
It usually won’t—done right, it can lift value. Like polishing a watch, Brick cleaning reveals sound fabric. One survey found 72% prefer “move-in ready.” You’ll protect breathability and highlight Repainting benefits with proper materials.
How Long Should I Wait Before Landscaping or Fitting Trellis Against New Finishes?
You should wait 2–4 weeks before landscaping or fitting trellis against new finishes; extend to 6–8 weeks for thick coatings. These timing considerations minimise moisture trapping; follow manufacturer cure data, ensuring landscaping delays until surfaces test dry.




Leave a Reply