

You may need to budget for Community Infrastructure Levy and Section 106 obligations before you know whether your design will receive consent. For a first-time developer, the process involves more than submitting drawings: you must check local planning policies, site constraints, environmental requirements, and building regulations. Each stage can affect cost, timing, and layout—starting with the checks that determine whether your site is viable at all.
Key Takeaways
- Check local planning policies, site constraints, flood risk, heritage designations, access, utilities, and neighbouring properties before buying land or designing.
- Obtain planning permission before starting work, submit all required drawings and reports, and discharge pre-commencement conditions before construction begins.
- Remember that planning permission and Building Regulations approval are separate; both are usually needed for a safe, lawful new build.
- Use the council’s validation list to provide accurate plans, ownership certificates, Design and Access Statements, and specialist surveys where required.
- Design for local standards on size, height, parking, drainage, biodiversity, energy efficiency, amenity, and neighbourhood character to improve approval prospects.
Start With the Key New Build Planning Rules
Before you design or price a new build, check whether you need planning permission under the Town and Country Planning Act 1990. You’ll usually need consent for operational development, including constructing a dwelling, material changes of use, or engineering works.
Submit the correct application to the local planning authority, with location plans, proposed drawings, design information, and any required supporting reports. Permission normally lasts three years, unless the decision sets another period, so start lawfully within that timeframe.
You must also meet planning conditions before work begins, where required; don’t assume approval covers reserved details. Separate building regulations approval governs structural safety, fire safety, energy performance, and drainage.
Zoning restrictions and historical preservation policies can affect decisions, but they don’t replace the statutory application process. Keep written records, use approved plans, and seek professional advice before committing funds.
Check Your Site’s Planning Constraints First
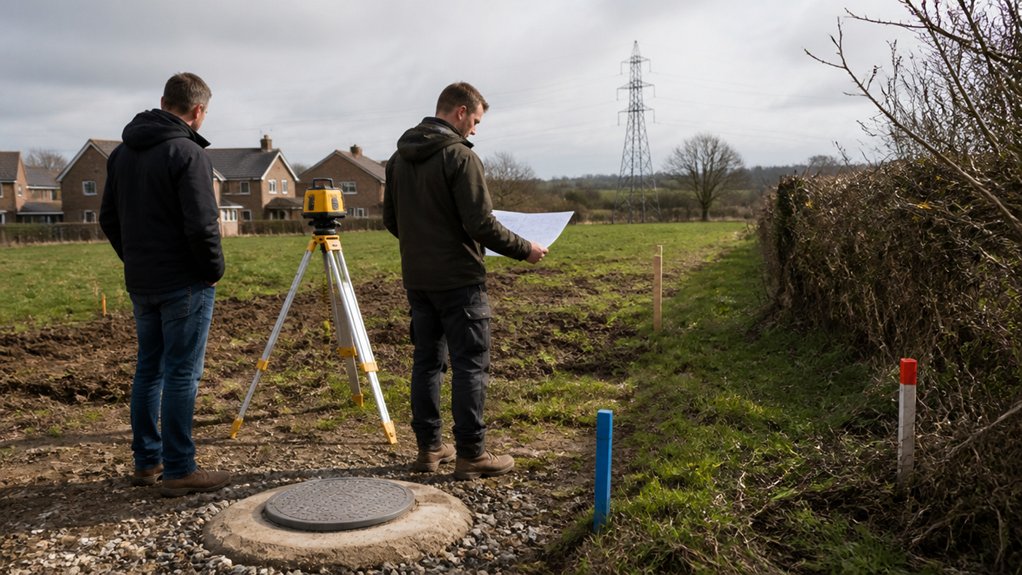
Check the planning constraints affecting your plot before you buy it or spend money on designs. Review the local planning authority’s policies, adopted local plan, planning history, and online constraint maps.
Confirm whether the land sits in Green Belt, a conservation area, flood zone, protected landscape, or an area affected by listed buildings, tree preservation orders, or ecological designations.
Assess Site accessibility early: highways officers may require safe vehicle access, visibility splays, parking, cycle storage, and pedestrian links.
Check drainage capacity, utilities, contamination records, rights of way, and whether neighbouring properties create overlooking or daylight issues.
You should also identify design codes, settlement boundaries, housing mix requirements, and any Article 4 directions.
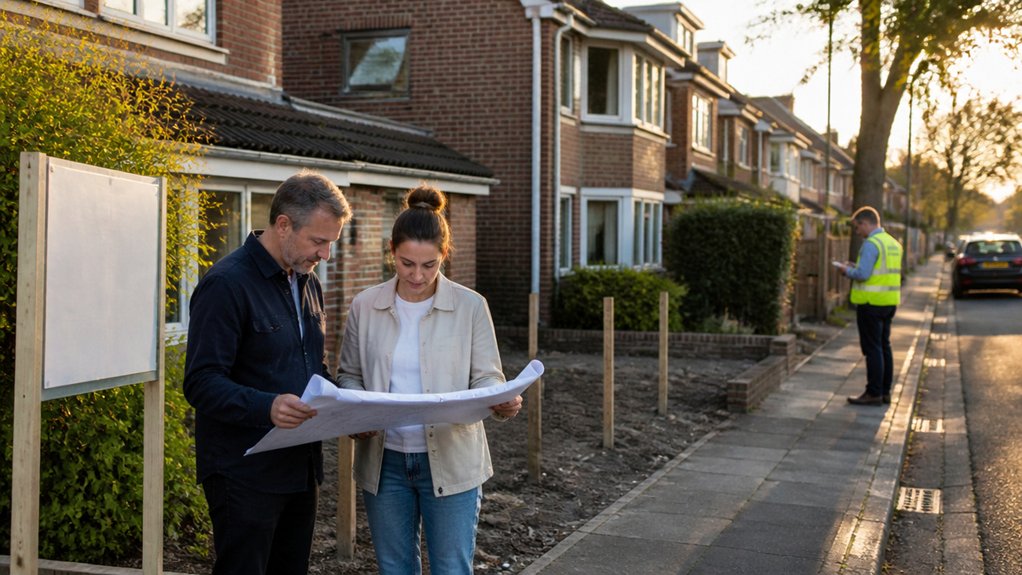
Start Community engagement before submission where proposals could affect neighbours or local character. Early feedback helps you address objections and produce a more compliant application.
Budget for CIL and Section 106 Contributions
You must budget for Community Infrastructure Levy (CIL) charges, which councils calculate using local rates, floorspace and development type.
You may also face Section 106 obligations for site-specific mitigation, such as affordable housing, highways or open-space works.
Check the council’s charging schedule and planning policy early, then estimate both costs before you finalise your land offer.
Understanding CIL Charges
CIL (Community Infrastructure Levy) and Section 106 obligations can materially affect a new-build scheme’s viability, so include them in your land appraisal and cash-flow forecast from the outset.
CIL is a locally set charge, usually calculated per square metre of new floorspace, and rates vary by authority, use class and charging zone.
Check the council’s adopted Charging Schedule, Instalments Policy and CIL guidance before agreeing a purchase price.
Establish whether your proposal creates chargeable floorspace, qualifies for self-build or residential extension relief, or benefits from deductions for retained lawful buildings.
Measure gross internal area accurately and keep evidence supporting any relief claim.
Your CIL impact depends on the liability notice, indexation and payment timetable.
Submit the required assumption of liability and commencement notices on time; missed notices can trigger surcharges and remove instalment options.
Treat these developer obligations as fixed, dated costs.
Section 106 Obligations
Section 106 obligations are site-specific planning agreements that can require you to fund affordable housing, highways works, open space, education, ecology measures or local infrastructure before development can proceed.
The council must show that each requirement is necessary, directly related to your scheme, and fairly and reasonably related in scale and kind.
Review the draft heads of terms before submitting your application. You should identify likely legal obligations early, particularly where your site creates access, drainage, biodiversity or public-realm impacts.
Negotiate precise triggers for payments or works, such as commencement, occupation, or completion, and guarantee they align with your construction programme.
Check whether obligations bind the land, require a deed, or need mortgagee consent.
Section 106 agreements secure community benefits, but unclear wording can delay permission, funding, sales, or discharge after completion.
Estimating Total Contributions
Before committing to a site, model Community Infrastructure Levy (CIL) and Section 106 costs alongside land, build, finance and contingency budgets.
Check the council’s adopted CIL charging schedule, relevant zone, proposed floorspace and any reliefs or exemptions. Calculate CIL using gross internal area and confirm indexation, payment triggers and instalment policies.
For Section 106, review local plan policies, validation requirements and comparable permissions. Allow for affordable housing, highways, education, open space, ecology, monitoring fees and legal costs.
Ask the planning officer for likely heads of terms early, but don’t treat informal advice as binding.
Test viability against policy-compliant contributions and document assumptions. Community engagement may identify mitigation expectations that affect negotiations.
Factor in developer incentives only where they’re formally adopted, such as exemptions, discounts or infrastructure funding programmes.
Keep a contingency for revised obligations before signing the agreement.
Check Whether Your New Build Needs Permission
Most new-build homes require full planning permission because they create a new dwelling, alter land use and often affect access, drainage, design or local infrastructure. You should confirm the position before buying land, commissioning drawings or starting works.
Check the local planning authority’s online map and adopted Local Plan for Site zoning, settlement boundaries, green-belt status, flood risk and relevant designations.
You may need separate consents where the plot lies in a conservation area, near a listed building, within a National Park or subject to protected trees.
Assess Heritage impact early, including effects on nearby assets and their setting. Don’t assume permitted development rights apply: they generally don’t authorise a standalone new house.
Review existing planning permissions, restrictive conditions and Article 4 directions. If uncertainty remains, request formal pre-application advice or apply for a lawful development certificate.
Prepare a Strong Planning Application
You’ll need to submit the correct national and local validation documents, including plans, forms and supporting reports.
Check your council’s requirements early, as missing information can delay validation or lead to refusal.
Where required, use a Design and Access Statement to explain how your proposal meets design, access and site-context policies.
Essential Application Documents
A strong planning application starts with documents that accurately describe the proposed development and meet the validation requirements set by the local planning authority (LPA). Check the LPA’s local validation list before submission, as requirements vary by council and site constraints.
You’ll usually need a completed application form, ownership certificate, location plan, site plan, existing and proposed elevations, floor plans, roof plans, and a planning fee. Drawings must use recognised scales, show north points where required, and clearly distinguish existing from proposed work.
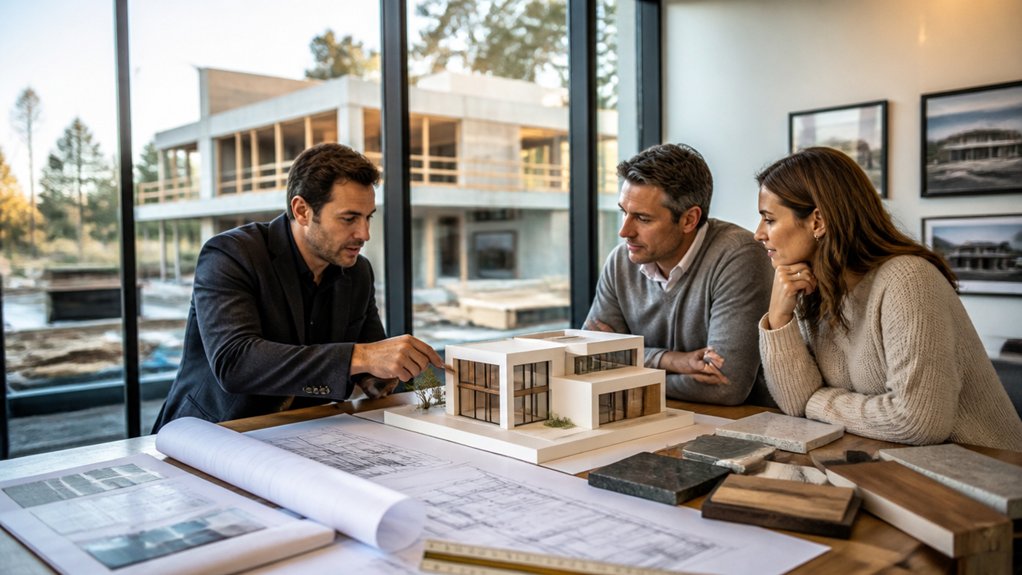
Effective Architect collaboration helps guarantee plans match the application description, dimensions, boundary treatments, access arrangements, and parking details. Include supporting reports where triggered, such as ecology, flood risk, heritage, transport, drainage, or contamination assessments.
Community engagement can identify concerns early, helping you provide accurate supporting information and reduce validation delays.
Design and Access Statements
Where required, a Design and Access Statement (DAS) explains the design rationale behind your proposal and how people will reach, enter and use it. Check your local planning authority’s validation requirements, as DAS rules vary by application type, site designation and development scale.
Set out the site context, including surrounding buildings, streets, levels and heritage constraints. Explain how your layout, scale, materials and landscaping respond to local character and policy. Use plans, elevations and annotated images to demonstrate Design aesthetics rather than making unsupported claims.
Address access from the public highway, parking, cycle storage, refuse collection and emergency routes. Detail Accessibility features, such as step-free entrances, suitable door widths, accessible parking and level paths. If constraints prevent full access, identify them and justify your approach. Keep the statement consistent with submitted drawings and planning documents.
Meet Local Plan and Design Standards
Before you submit an application, check the adopted Local Plan and any supplementary design guidance for your site. These documents set policies on land use, housing mix, density, building height, parking, amenity space, heritage character and streetscape.
Identify the site allocation, settlement boundary and relevant development-management policies, then show clearly how your proposal complies.
Review local design codes, masterplans and council guidance on materials, roof forms, boundary treatments, refuse storage and cycle provision. Your drawings should match required dimensions and demonstrate policy compliance, not merely describe intentions.
Where a standard can’t be met, provide evidence and a justified alternative.
Undertake proportionate Community engagement where council policy expects it, and record feedback and design changes.
If your scheme targets sustainability certifications, verify they support local design requirements without conflicting with adopted planning policies.
Address Environmental Rules for New Builds
Environmental constraints can determine whether your new-build proposal is acceptable, so identify them early and build the required surveys, mitigation and approvals into your programme. Check flood-risk maps, drainage capacity, contaminated-land records, protected trees, habitats and species before fixing your layout.
You may need ecological, arboricultural, flood-risk, noise, air-quality or ground investigations, depending on the site.
Design for biodiversity net gain where required, protect root zones, and provide SuDS that manage surface water on site. Guarantee your scheme meets Building Regulations energy-efficiency requirements and any local carbon, overheating or renewable-energy policies.
Specify sustainable construction methods, reduce waste, and select eco-friendly materials with credible environmental data. If demolition is involved, assess asbestos and prepare a waste-management approach.
Keep survey dates, plans and mitigation measures consistent across your application documents.
Respond to Planning Conditions and Consultations
Once the local planning authority validates your application, monitor consultation responses and address objections with clear, evidence-based amendments or statements. Check the planning portal regularly, note statutory consultee deadlines, and respond through the approved channel so your comments form part of the public record.
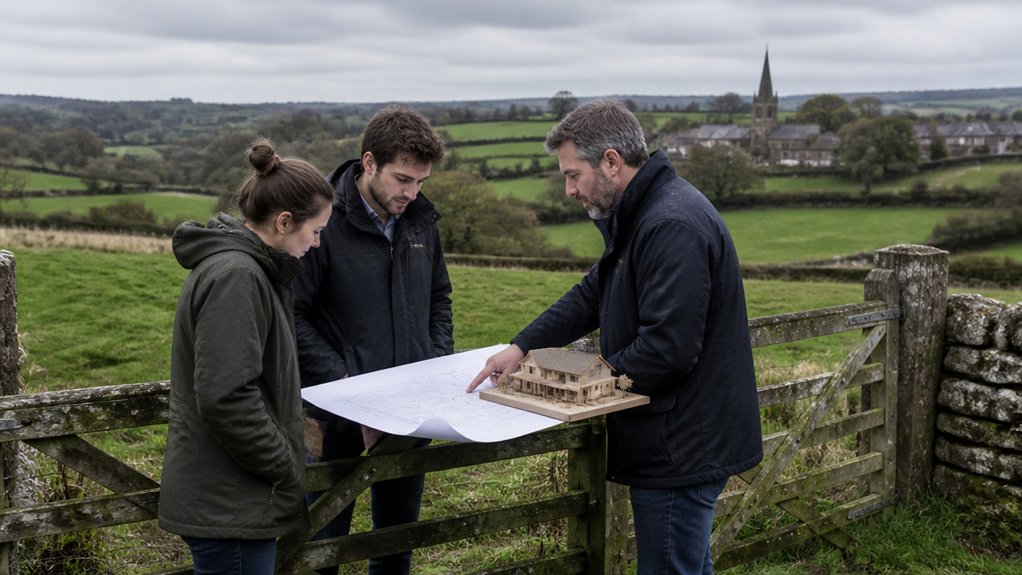
Use Community engagement constructively: explain design choices, access arrangements, drainage measures, and mitigation proposals to neighbours and parish councils. Don’t make informal promises that conflict with submitted plans or policy requirements.
If officers propose conditions, review each against the National Planning Policy Framework, local plan policies, and relevant Policy updates. Confirm whether a condition is necessary, relevant, enforceable, precise, and reasonable.
Where wording is unclear or disproportionate, request clarification or revised wording before determination. Keep an audit trail of correspondence, revised drawings, reports, and consultation responses.
Move From Planning Approval to Building Regulations
After planning permission is granted, you must secure Building Regulations approval before starting regulated construction work. Planning consent confirms that your proposal is acceptable in principle, including relevant zoning restrictions, but it doesn’t verify technical compliance.
Submit detailed drawings, specifications, structural calculations, drainage layouts, and energy-performance information to your local authority building control team or an approved inspector.
Choose either a Full Plans application, which provides formal approval before work begins, or a Building Notice for suitable straightforward projects.
Confirm your designs meet standards for structure, fire safety, ventilation, insulation, accessibility, drainage, and electrical safety.
Check whether separate construction permits, such as highway licences, demolition notices, or sewer connection approvals, are required.
Keep approval documents on site, arrange inspections at each notified stage, and obtain a completion certificate before occupation.
Frequently Asked Questions
How Long Does a New Build Planning Application Usually Take?
You’ll usually receive a decision within eight weeks for standard applications, or thirteen weeks for major developments. Factor in approval processes, consultation, amendments, and conditions, as these can extend construction timelines considerably.
Can Neighbours Object to My New Build Development?
Yes, neighbours can object, but objections won’t automatically stop approval. You must address material planning concerns, such as overlooking, traffic, noise, and design. Use Community consultations early to reduce Neighbour objections and strengthen your application.
What Happens if Planning Permission Is Refused?
If planning permission is refused, you’ll receive reasons and can amend, resubmit, or appeal within statutory deadlines. Address environmental impact and community consultation evidence, review local policies, and seek professional advice before pursuing costs.
Can I Sell Land With Planning Permission Attached?
Yes, you can sell land with planning permission attached. You should disclose permission conditions, expiry dates, Section 106 obligations, and CIL liabilities. Land valuation often increases, while buyers may use it to secure development financing.
When Does Planning Permission Expire?
Most permissions expire after three years—unless you’ve lawfully started work. You must check your decision notice, satisfy conditions, address environmental impact, and comply with building regulations before deadlines close your development opportunity.




Leave a Reply