

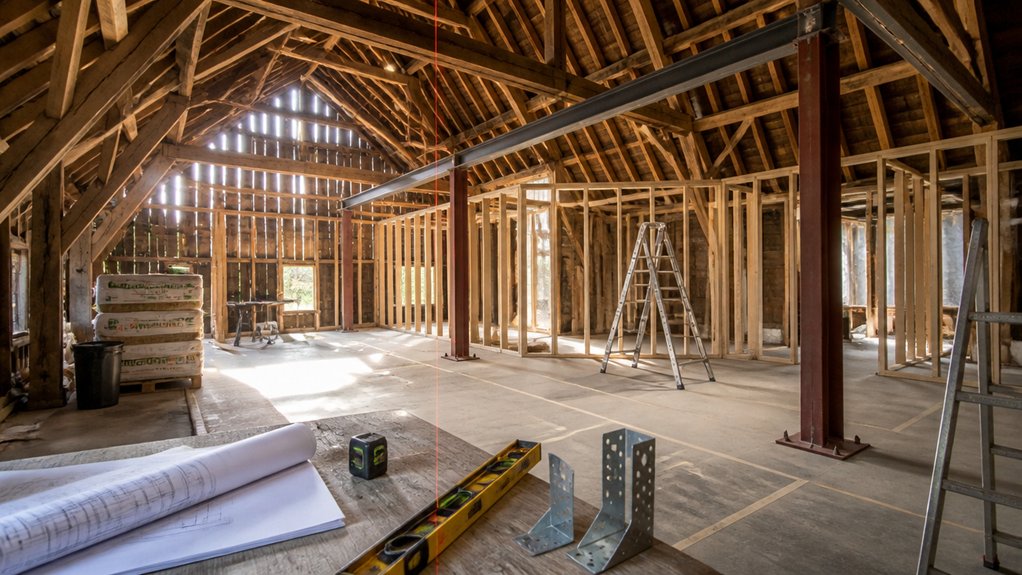
You can’t start a barn conversion until you’ve confirmed planning status, building regs compliance, and any ecology or heritage constraints that affect what you’re allowed to change. You’ll need a survey that checks frame condition, foundations, roof spread, and damp paths before you fix a layout or set a budget. Then you design around bays, headroom, and daylight while routing insulation and services without compromising structure. The next step decides whether your scheme works at all…
Key Takeaways
- Confirm permitted development (Class Q) or full planning, and check constraints like listed status, AONB/Green Belt, flood risk, access, and ecology.
- Commission measured, structural, damp, and roof surveys to verify foundations, wall stability, timber condition, and water-ingress risks before design.
- Design the layout around existing bays, openings, and roof geometry, keeping circulation simple and primary rooms in full-height zones.
- Maximise daylight by using existing doors and window lines, widening sightlines, and placing kitchens or workspaces where natural light and views are strongest.
- Plan insulation, airtightness, and service routes early, maintaining a continuous thermal layer and avoiding penetrations that create cold bridges or moisture traps.
Planning Permission + Building Regs: Can You Convert It?
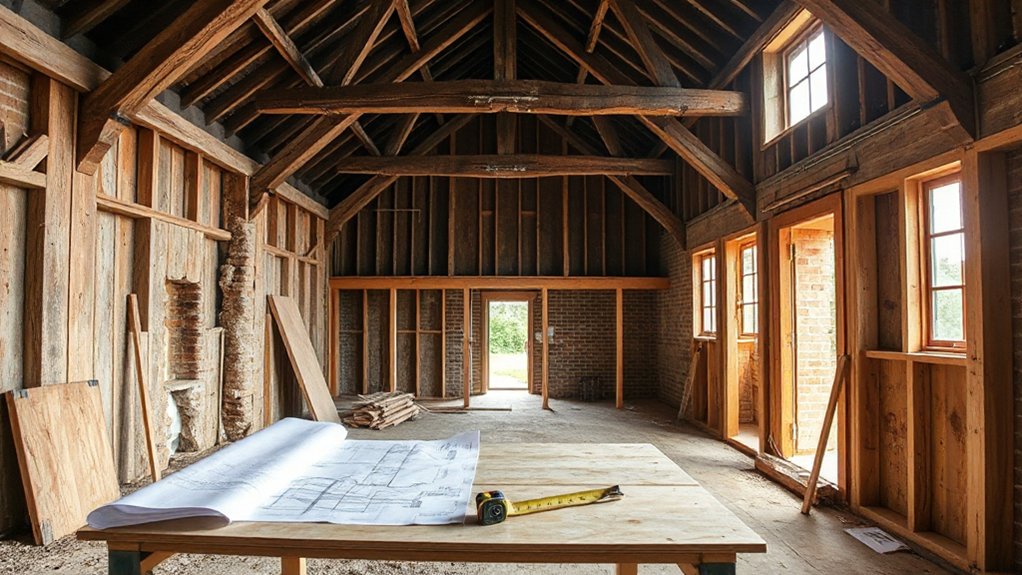
Before you fall in love with a layout, confirm the barn can legally change use and meet current standards: you’ll need to establish whether the site qualifies for permitted development (often Class Q in England) or requires full planning permission. Then check the building can comply with Building Regulations for structure, fire safety, insulation/ventilation, drainage, and access.
Check constraints: listed status, conservation area, AONB/Green Belt, flood zone, highways access, and ecology.
If Class Q applies, confirm the building’s existing agricultural use, size limits, and that works stay within “reasonably necessary” conversion.
Engage Historic preservation early: you’ll need heritage statements, materials schedules, and joinery details.
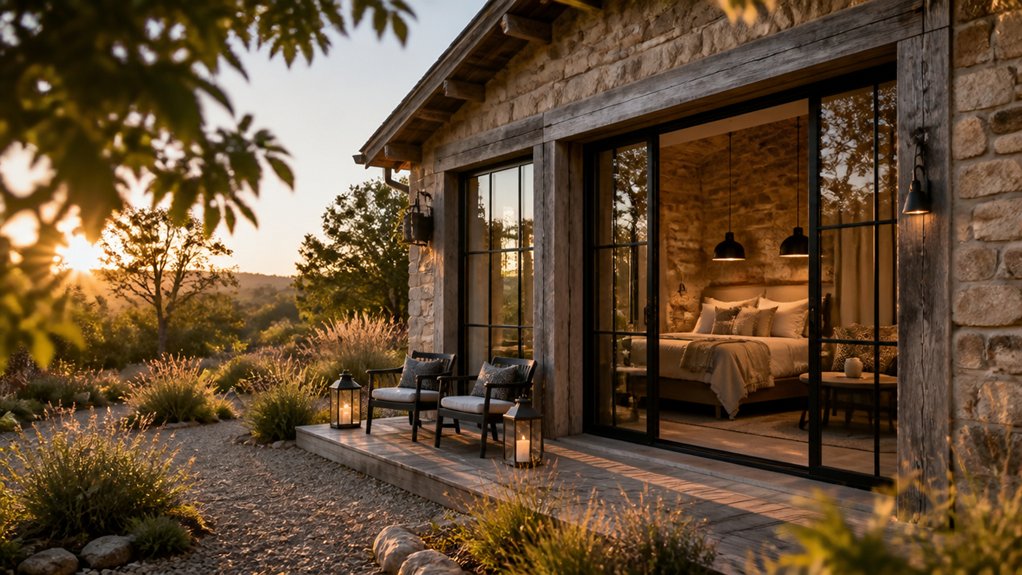
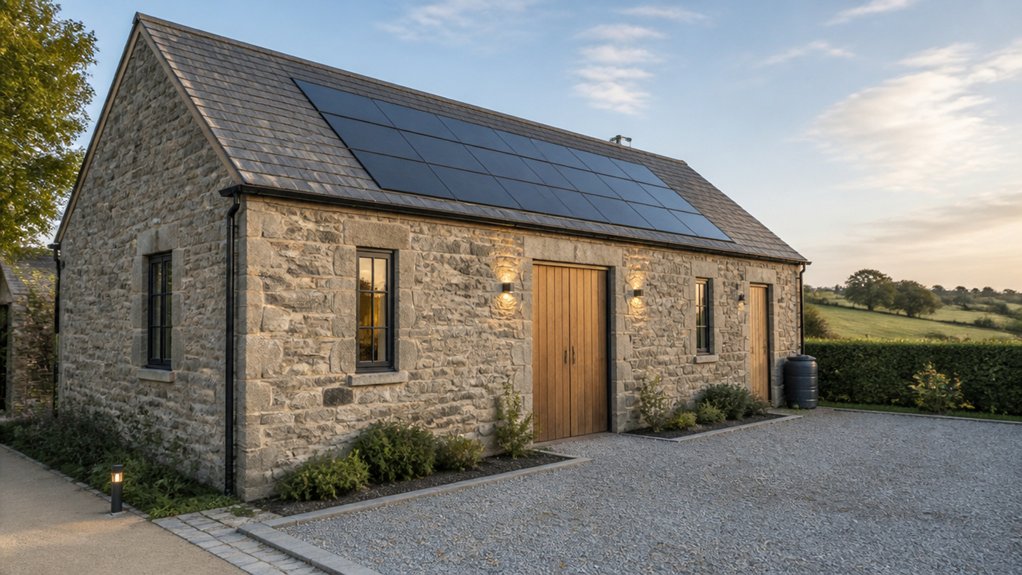
Address aesthetic considerations with window/door openings, cladding, rooflights, and lighting spill.
Align drawings with Part B, Part L, Part M, and foul drainage approvals too.
Barn Conversion Survey: Structure, Damp, and Roof Risks
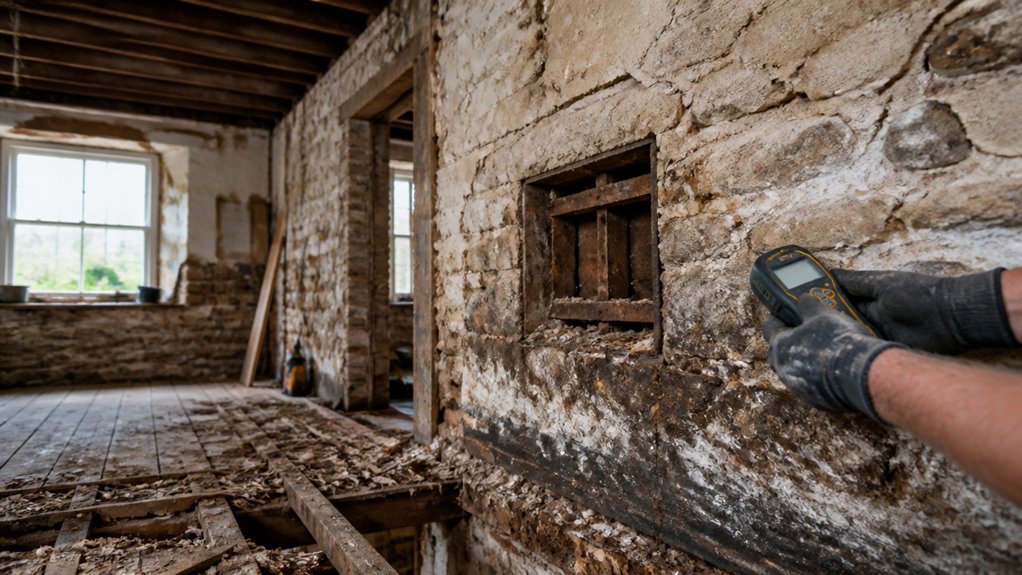
Before you commit to a barn conversion, you’ll need a measured survey that verifies structural integrity—check wall plumb, foundation movement, timber decay, and whether any steelwork or ties are required to meet Building Regs.
You should also map damp pathways by inspecting ground levels, drainage, gutters, and masonry breathability so any insulation and membranes don’t trap moisture.
Finally, you’ll want the roof assessed for spread, sag, failed coverings, and flashing defects, because water ingress and undersized members can trigger costly, compliance-critical upgrades.
Structural Integrity Assessment
Although a barn may look solid at first glance, you’ll need a structural integrity assessment that treats the building like an unknown load-bearing system—verifying foundations, wall stability, frame condition (timber, steel, or masonry), and roof performance against current use and code expectations.
You should commission a chartered structural engineer to map load paths, check lateral restraint, and confirm that any proposed openings won’t compromise stability.
Test masonry strength, assess timber sections for checks, splits, and bearing crush, and review steel for section loss and connection adequacy.
Require calculations for new floor loads, insulation build-ups, and mezzanines under applicable regulations.
Prioritise Material durability by specifying compatible repairs and corrosion-resistant fixings.
Use Preservation techniques like splice repairs and reversible strengthening so you retain character while meeting safety margins.
Damp And Roof Defects
Since barns were designed to breathe rather than seal up, you need to treat damp and roof defects as interlinked risks that can undermine both fabric performance and Building Regulations compliance once you introduce insulation, heating, and airtightness.
Start with a roof inspection: check coverings, flashings, valleys, gutters, and ridge lines for slipped units, nail fatigue, and blocked discharge that can drive penetrating damp into timbers and masonry. Probe rafters and purlins for rot and beetle, and confirm lateral restraint and bracing remain sound after any re-roofing.
For damp prevention, map moisture sources—ground levels, bridging at thresholds, failed pointing, and condensation risk from new linings. Specify breathable repairs (lime mortar, vapour-open membranes), maintain ventilation paths, and detail insulated roof build-ups with correct vapour control to avoid interstitial condensation.
Set Your Barn Conversion Budget (Top Cost Drivers)
Now that you’ve checked the structure, damp, and roof, you need to set a realistic budget around the biggest cost drivers: major structural repairs, utilities and services upgrades, and planning, design, and statutory fees.
You’ll spend heavily where compliance is non-negotiable—foundations, frames, drainage, insulation, electrics, water, and waste connections must meet current standards. Price these items early with qualified quotes and allow contingency, because approvals and site conditions can shift scope fast.
Major Structural Repairs
Where do barn conversion budgets most often blow up? Major structural repairs, because you can’t hide failing fabric behind Interior finishes or protect Exterior aesthetics if the frame’s compromised.
Start with a structural engineer’s survey and open up trial bays so you see rot, beetle damage, failing mortise-and-tenon joints, or undersized members early.
Expect costs to spike when you must splice or sister timbers, replace lintels, rebuild crumbling masonry plinths, or install new padstones and straps for lateral restraint.
If the barn’s out of plumb, you may need temporary propping, jacking, and re-leveling before any new loads go in.
Meet Building Regs by proving load paths, fixing moisture entry points, and documenting repairs for inspections and warranty sign-off.
Utilities And Services Upgrades
Once the structure can safely carry loads and keep water out, utilities and services often become the next budget shock, because rural barns rarely have mains-ready infrastructure. You may need a new electric service, meter position, and consumer unit sized for heat pumps, EV charging, and Smart home integration, all installed to current IET/NEC requirements with RCD/GFCI protection and bonding.
Water can mean a new main, pressure boosting, or drilled well testing, plus backflow prevention.
Drainage often requires a package treatment plant, percolation testing, and ventilation.
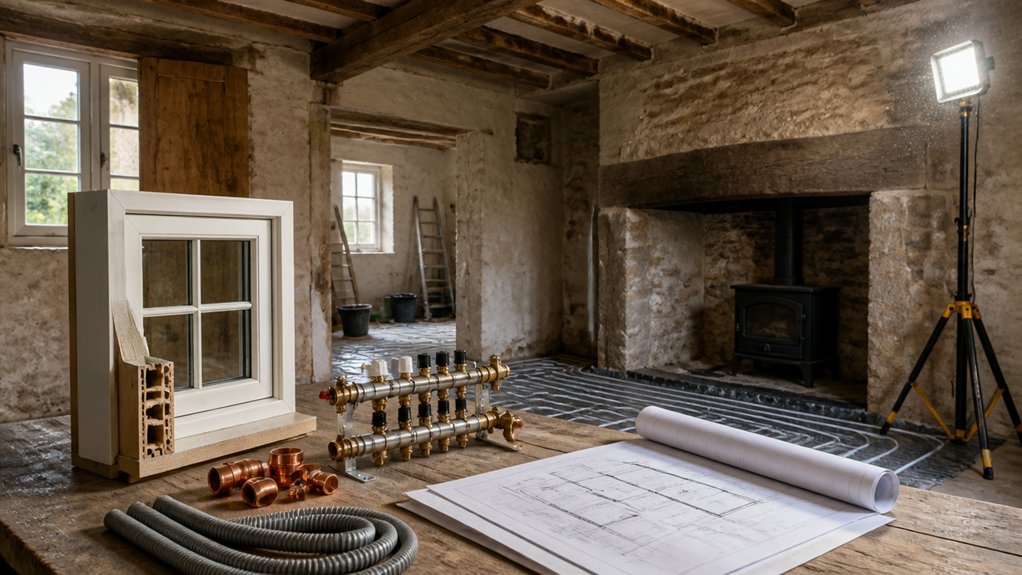
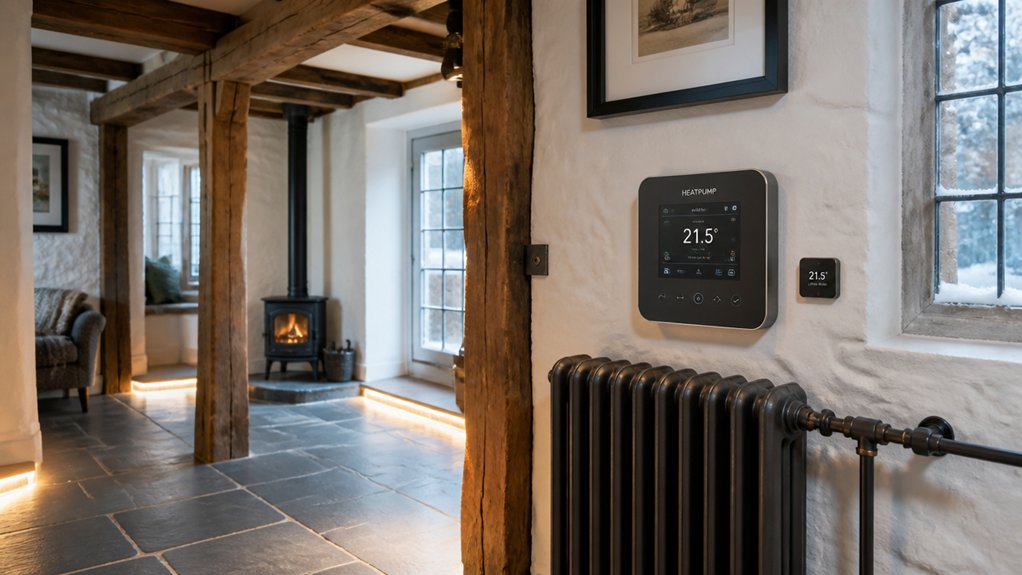
For heating, you’ll budget for insulated pipe runs, UFH manifolds, and properly zoned controls.
Data cabling, Wi‑Fi backhaul, and surge protection add cost.
If you choose Renewable energy systems, allow for inverter location, fire shutoffs, and export metering.
Planning, Design, And Fees
Because planners and building control can reshape your layout, glazing, and even roof height, planning, design, and professional fees often become the biggest “soft-cost” driver in a barn conversion budget. You’ll pay for pre-app advice, surveys, measured drawings, heritage statements for Historic preservation, and planning submissions, plus possible redesigns after officer feedback.
You should also budget for Building Regulations work: structural engineer calcs, SAP/energy strategy, fire strategy, and drainage design so you can satisfy Parts A, B, L, and H.
Party wall notices, ecology or bat reports, and tree constraints can add time and consultant costs.
Your architect’s fee rises with complexity, detailing, and site visits, especially where aesthetic considerations require bespoke glazing, conservation materials, or discreet rooflights.
Include contingency for amendments and discharge of conditions.
Structural Fixes First: Foundations, Frame, and Supports
Before you pick finishes or lay out rooms, you’ll need to confirm the barn can safely carry the loads your conversion introduces—new floors, insulation, glazing, and occupancy. Start with a Foundation inspection: check for differential settlement, frost damage, moisture wicking, and undermined pads at posts. Verify footing depth and bearing against local code and soil conditions; plan drainage and damp-proofing upgrades where needed.
Next, assess the frame. You’ll want an engineer to grade timbers, map rot, insect attack, and failed joints, then specify repairs that preserve load paths. Add support reinforcement only where calculations demand it: sistered members, steel flitch plates, new posts on proper footings, and bracing for racking and wind uplift. Document changes for permits and inspections.
Design the Layout Around Bays, Light, and Headroom
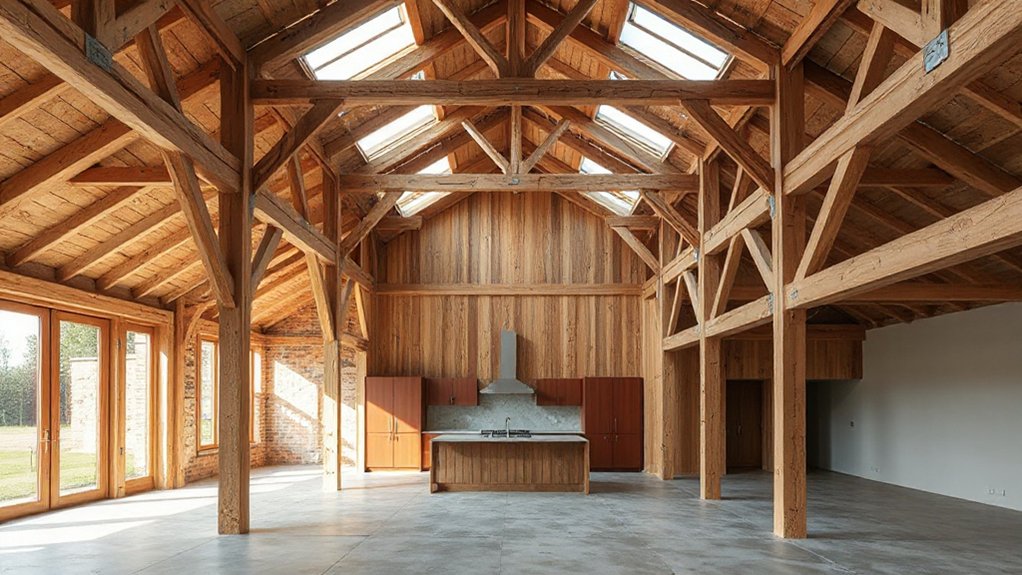
After you’ve confirmed the shell is sound, let the barn’s existing rhythm—its bays, openings, and roof geometry—drive your plan so you don’t fight structure or code.
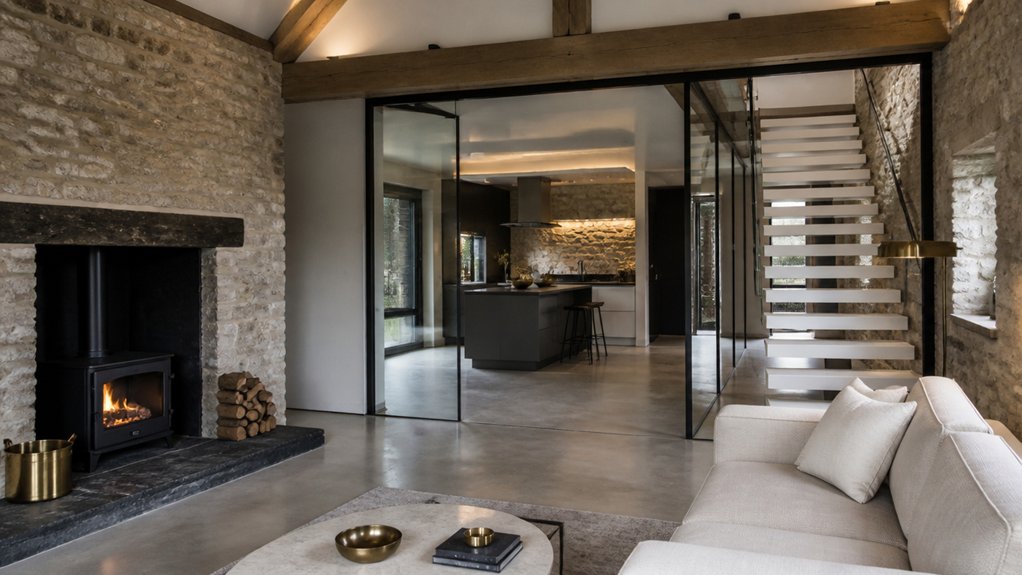
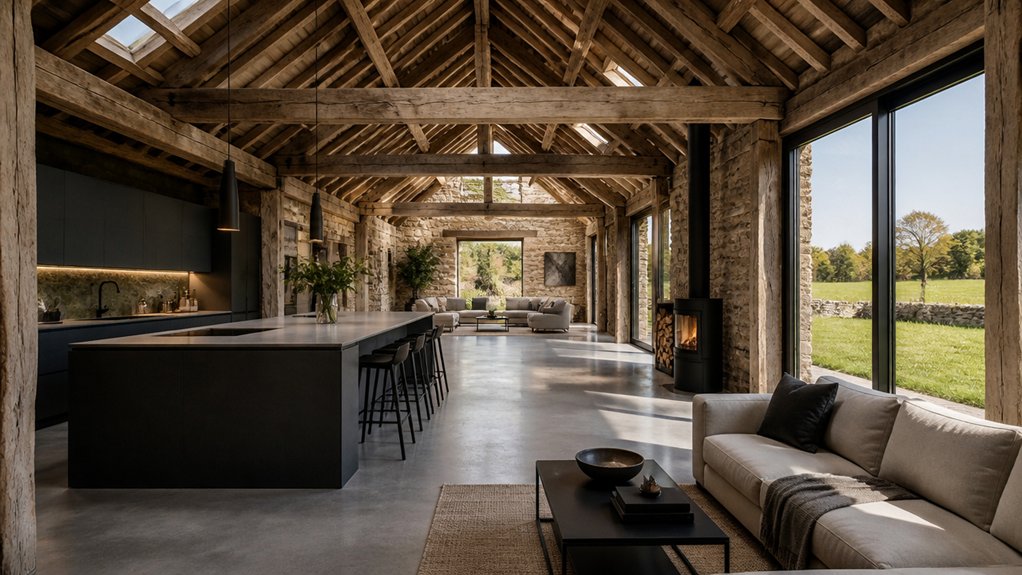
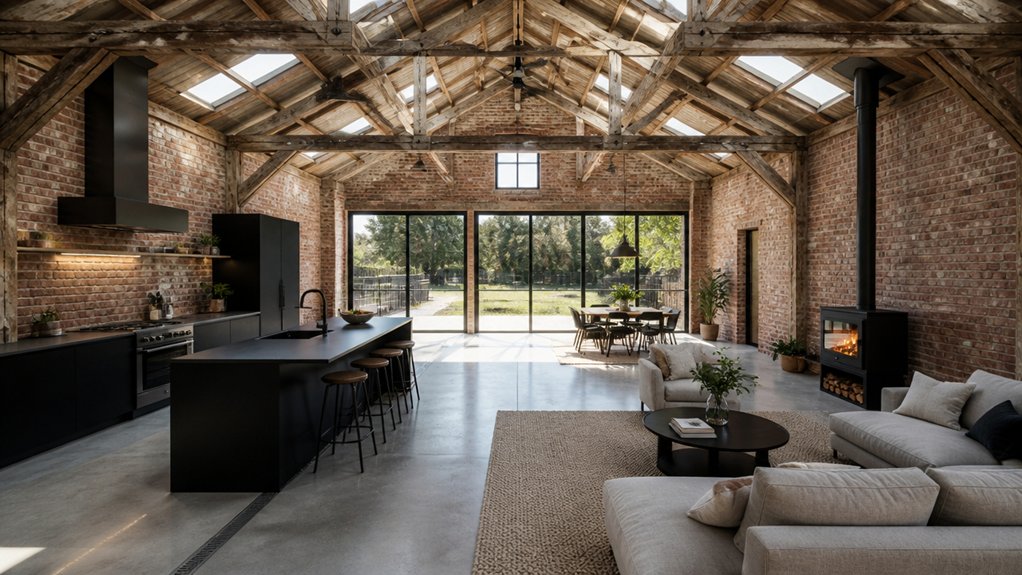
Align primary rooms with full-height bays and keep circulation in lower zones so egress routes stay clear and intuitive. Use bay posts as natural separators for living, dining, and work areas without over-partitioning, supporting clean Spatial flow.
Place stairs where headroom is generous and where they won’t cut required clear widths. Treat existing doors, cart openings, and window lines as anchors for Natural light: widen internal sightlines toward them, and position kitchens or desks where daylight and views matter most.
Under sloping rafters, reserve storage or seating and maintain safe clearances at pinch points.
Make It Habitable: Insulation, Airtightness, and Services Routes
Once your layout respects the barn’s bays and headroom, you’ll make it truly livable by building a continuous thermal and air-control layer and planning service routes that don’t compromise either.
Choose insulation strategies that suit the structure: internal wood-fibre or mineral wool with a smart vapour control layer protects historic masonry; use spray foam only where allowed and moisture-risk assessed.
Detail junctions at eaves, wall plates, and openings to avoid cold bridges and meet U-value targets.
Apply airtightness techniques: taped membranes, gaskets to posts, and sealed service penetrations; plan for a blower-door test and accessible remedial points.
Keep electrics and plumbing in a dedicated service void or floor zone, clip pipes with acoustic isolation, and provide fire-stopping where routes cross compartments.
Frequently Asked Questions
What Are the Best Ways to Preserve Original Barn Character Indoors?
Preserve character by exposing beams, keeping original boards, and restoring hardware; Interior preservation supports Architectural authenticity. Since 70% of charm comes from retained fabric, you’ll add discreet fire-rated linings, reversible fixes, and moisture control.
How Long Does a Typical Barn Conversion Take From Start to Finish?
You’ll typically take 9–18 months start to finish, depending on permits, inspections, and structural repairs. You’ll also schedule Interior lighting and Exterior landscaping after rough-ins and final grading to meet code and drainage.
Can I Use Reclaimed Materials, and How Do I Verify Their Safety?
Yes, you can use reclaimed materials, and you’ll verify safety by checking Reclaimed durability, inspecting for rot, pests, and contaminants, and obtaining Material certification, test reports, and engineer sign-off to meet local building codes.
What Insurance Cover Do I Need During and After the Conversion?
Like a VHS tape, you’ll need Insurance coverage: builder’s risk and public liability during works, plus employer’s liability if you hire labor. Afterward, switch to building/contents cover; secure conversion protection, code-compliant certificates, and warranties.
How Do I Manage Noise and Privacy in Large Open-Plan Barn Spaces?
You manage noise and privacy with soundproofing solutions: resilient channels, mineral wool, acoustic plasterboard, and sealed doors. Add privacy partitioning via glazed screens, sliding panels, or mezzanine pods. Check Building Regs Part E, fire egress.

Leave a Reply