

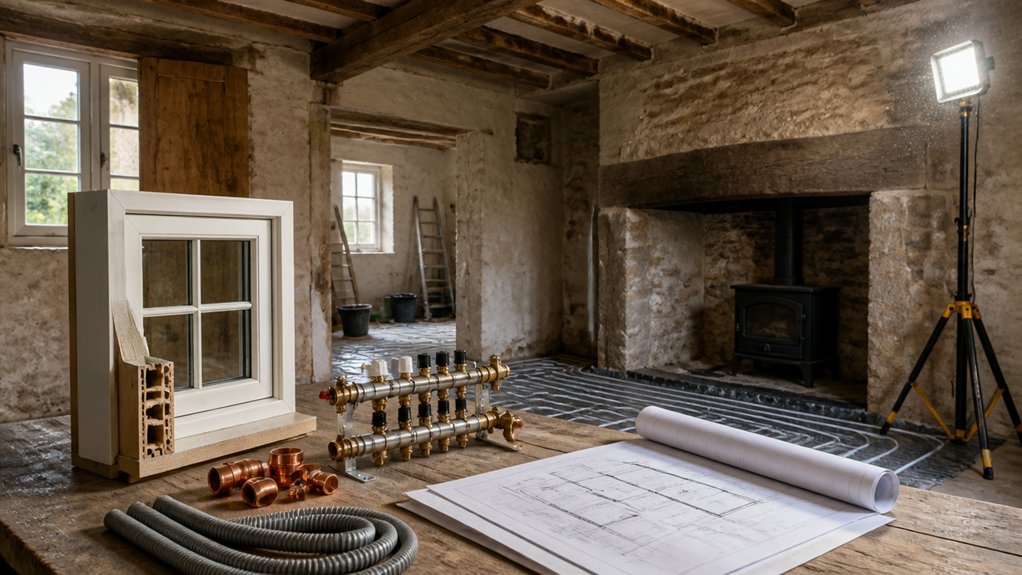
You can’t sensibly modernize a 17th‑century cottage until you’ve proved it’s dry, stable, and understood. Start with a measured survey that separates active decay from old scars, then track moisture paths from roof to footing. You’ll tackle slipped tiles, failing flashings, soft chimney masonry, blocked gutters, and high ground levels before you touch wiring or finishes. Get that order wrong, and every upgrade risks accelerating damage—so what do you test first?
Key Takeaways
- Start with a structural and historic survey, logging defects and alterations, then prioritize urgent decay and moisture risks.
- Fix the roof, chimneys, flashing, gutters, and drainage first to stop water ingress before any interior upgrades.
- Diagnose damp properly by mapping salts and moisture patterns to distinguish rising, penetrating, and condensation issues.
- Upgrade electrics, plumbing, heating, and ventilation using reversible routes and compatible materials, adding RCD protection and targeted extraction.
- Document all work, use breathable insulation and finishes, avoid cement and foil-backed boards, and monitor moisture after changes.
Survey Your 17th‑Century Cottage: Urgent vs. Later
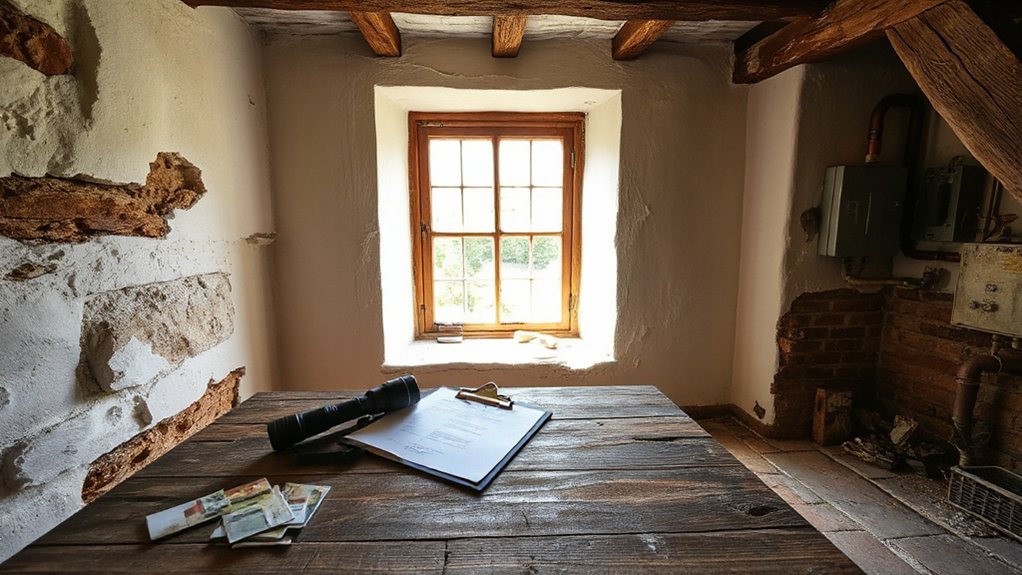
Before you plan any upgrades, start with a structured survey that separates immediate risks to historic fabric from work that can wait. Walk room by room, log defects, and date each alteration: carpenters’ marks, wattle-and-daub panels, limewash layers, and later gypsum repairs.
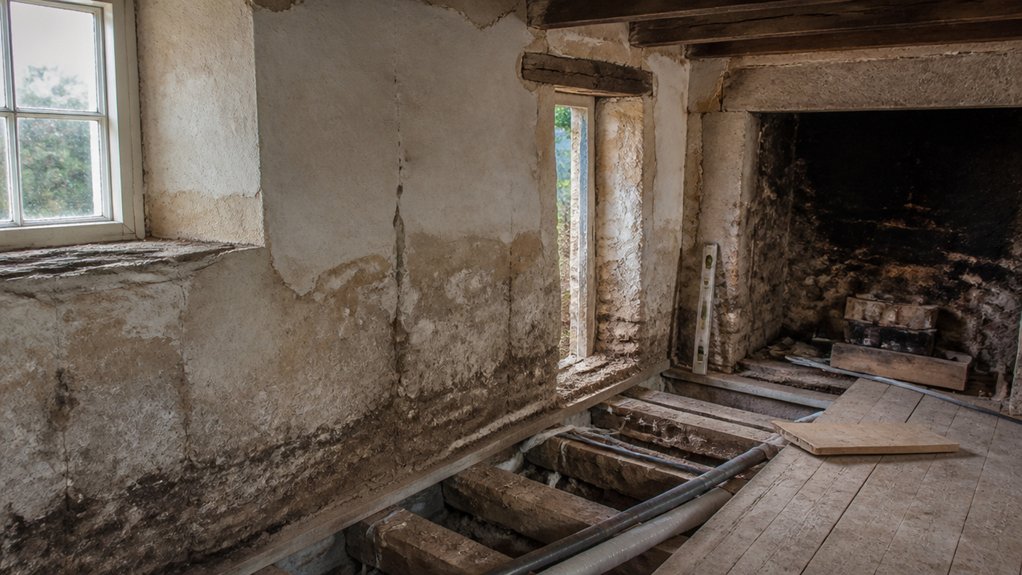
Prioritize active decay—soft oak sill ends, beetle-frass in joists, failing lime pointing, and salt-crusted plaster—because they accelerate loss. Commission a measured drawing set and moisture readings at skirting, hearths, and window reveals, then correlate findings with local building histories and probate inventories.
Tag interventions by reversibility and compatibility: lime, oak, and hand-made brick over cement and resins. That approach supports historical preservation while guiding restrained aesthetic restoration after the structure stabilizes and monitoring confirms conditions remain steady.
Keep Water Out: Roof, Flashing, and Chimneys
Because most 17th‑century cottages fail from the top down, you’ll protect more historic fabric by treating the roof, flashings, and chimney stack as your primary moisture barrier. Start with a close inspection of slipped or delaminating clay tiles, fatigue in hand‑riven laths, and nail sickness; you’ll spot staining before timbers soften.
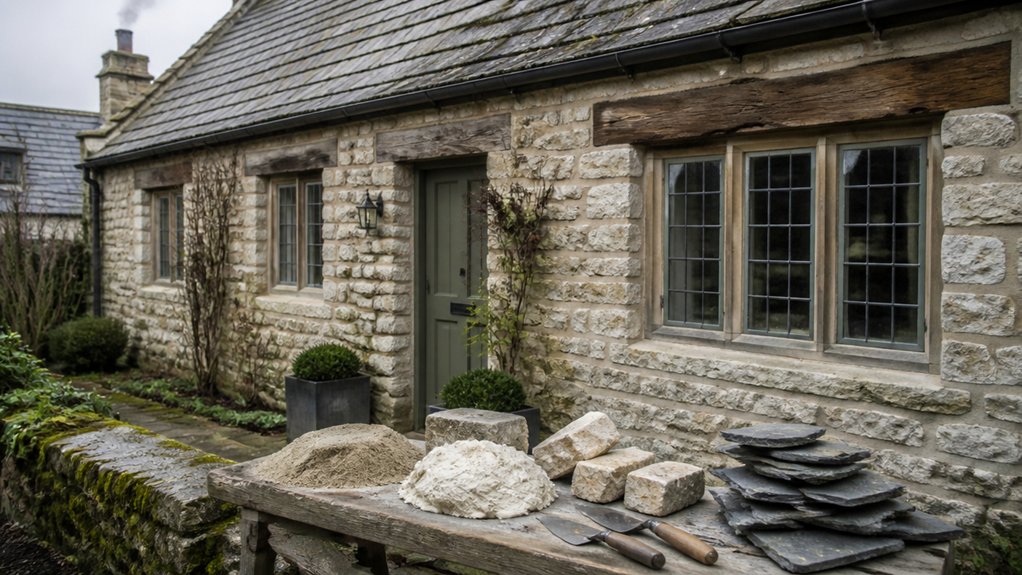
Repair, don’t strip: salvage matching tiles, use lime mortar under ridge tiles, and keep breathable roofing felt to a minimum. Replace failed flashings with code‑compliant lead or terne, shaped in stepped courses and fixed with proper clips, not sealant.
At the chimney, repoint with lime, renew flaunching, and fit a discreet cap that doesn’t trap moisture. This approach supports Historical preservation while enabling subtle aesthetic enhancements.
Fix Damp at the Edges: Gutters, Drains, Ground Levels
You’ll stop a lot of edge damp by managing rainwater where it lands: keep gutters and downpipes clear so discharge doesn’t saturate historic masonry at the base.
You’ll also regrade soil to fall away from the walls and keep ground levels below the internal floor line, a conservative move supported by building-pathology research on moisture bridging.
Where runoff still pools, you’ll restore or add simple, reversible drains to carry water away without sealing the cottage in impermeable materials.
Clear Gutters And Downpipes
Even if your cottage’s walls are sound, a blocked gutter or downpipe can overwhelm them by dumping roof water onto the base of historic masonry. That splashback drives moisture into lime mortar joints and soft brick or stone, accelerating salt movement and frost damage.
Start with routine gutter maintenance: clear leaves, moss, and silt twice yearly and after storms. Check for standing water that signals sagging, failed brackets, or split joints, and refix with compatible fittings rather than forcing modern profiles.
Flush each downpipe with a hose and confirm discharge runs freely; clear shoes and bends where debris lodges. Keep hoppers and rainheads open so they don’t overflow behind parapets.
This basic stormwater management protects fabric before you consider more invasive works.
Regrade Soil And Drains
Clear gutters and sound downpipes move rainwater off the roof, but damp often persists where ground levels and drains keep water parked against the wall. You’ll often find centuries of raised paths, flowerbeds, or concrete fillets bridging the plinth and trapping splashback.
Lower external ground to expose the base course and keep a fall of about 1:60 away from the cottage, preserving historic thresholds and avoiding undermining shallow footings.
Check soil stability before you dig; soft clays slump and can load the wall when saturated. You can add a shallow French drain with washed gravel and a geotextile wrap, but discharge it legally to a soakaway sized for your roof area.
Maintain traditional, permeable finishes so the wall can dry, and keep drainage systems accessible for rodding and inspection.
Diagnose Damp: Rising, Penetrating, or Condensation
Before you reach for tanks of sealant or a dehumidifier, pin down what’s actually wet and why, because a 17th‑century cottage sheds and stores moisture very differently from a modern cavity‑wall house.
Map stains, salts, and decay by height and season. “Rising damp” typically shows a low tide mark and hygroscopic salts in lime plaster; confirm with moisture profiles, not a single meter reading.
Penetrating damp tracks rain: look for defective gutters, porous pointing, cracked render, and windward faces.
Condensation appears on cold bridges, behind furniture, and in corners, and worsens after cooking or bathing.
Choose ventilation strategies that respect original fabric: gentle background airflow, breathable finishes, and targeted extraction.
Prioritise moisture control by keeping lime and timber able to dry, not trapped.
Rewire and Replumb a 17th‑Century Cottage Safely
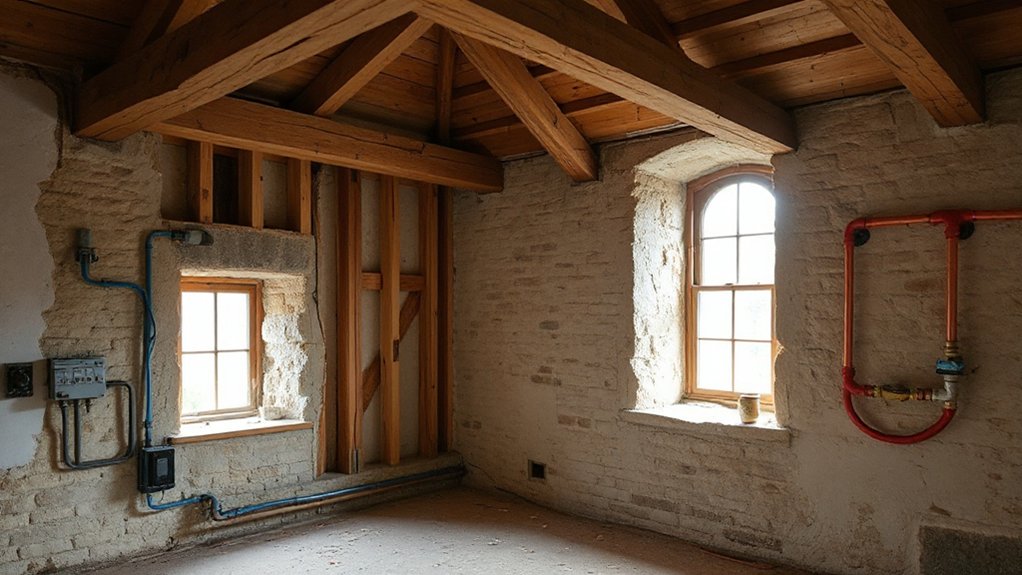
You’ll start by surveying any legacy wiring—often later additions threaded through lath-and-plaster or timber bays—and you’ll treat brittle insulation, undersized circuits, and informal junctions as high-risk until tested and mapped.
You’ll upgrade plumbing by routing new runs through existing voids and service chases, using minimal, reversible openings so you don’t weaken historic joists, disturb lime plaster, or trap moisture against old masonry.
You’ll then bring both systems up to modern safety codes with certified work, proper earthing/bonding, RCD protection, pressure testing, and clearly documented circuits and pipework.
Assess Legacy Wiring Risks
Although a 17th‑century cottage may look electrically “simple,” its wiring often reflects a century of piecemeal upgrades—rubber- or cloth‑insulated conductors, aged junctions, and later DIY spur additions—that can raise fire risk and complicate conservation work.
Start by mapping every circuit and accessory, then compare what you find to modern load expectations. You’ll often discover Legacy wiring buried in lime plaster or run tight to oak timbers, where heat can’t dissipate and chafing goes unseen.
Ask a qualified electrician to test insulation resistance, earth continuity, and RCD protection, and to open suspect junction boxes for signs of scorching or greened copper.
Treat any mixed cable types, missing earthing, or unlabelled spurs as urgent electrical safety priorities before you plan finishes.
Upgrade Plumbing Without Damage
Because most 17th‑century cottages rely on soft lime mortar, shallow foundations, and irregular timber framing, plumbing upgrades can cause structural and moisture damage if you chase walls, notch joists, or run hot pipes against historic fabric.
Start by mapping existing runs and keeping new services in reversible routes: floor voids, cupboards, or boxed skirtings, not cut into stone or wattle.
Control water pressure with a regulator and balanced valves so joints aren’t stressed and historic stopcocks aren’t forced.
Choose pipe materials that suit mixed construction: use copper or stainless where exposed to heat, and plastic only where fully sleeved and isolated from lime and timber.
Insulate and clip pipes to prevent condensation, capillary wetting, and vibration, and add accessible isolation points for maintenance.
Meet Modern Safety Codes
Keeping pipe runs reversible and gentle on lime mortar solves only half the problem; the other half is proving the work meets today’s electrical and water safety codes without undermining a 17th‑century structure.
Start with a conservation-minded survey: map existing wiring, earthing, and lead or iron pipework, then compare it against current regs and insurer requirements. You’ll usually need an RCD-protected consumer unit, bonded services, and tested circuits, but you can route cables through voids, skirtings, or surface-mounted conduit painted to match timber to protect aesthetic restoration.
For plumbing, add stopcocks, backflow prevention, and pressure control, and isolate modern copper from historic metals to limit galvanic corrosion. Document everything for Historical preservation approvals and future maintenance.
Insulate, Heat, and Ventilate Without Trapping Moisture
Choose breathable insulation—wood fibre, hemp-lime, or sheep’s wool—paired with vapour-open membranes, and avoid cement renders and foil-backed boards that drive damp into timbers.
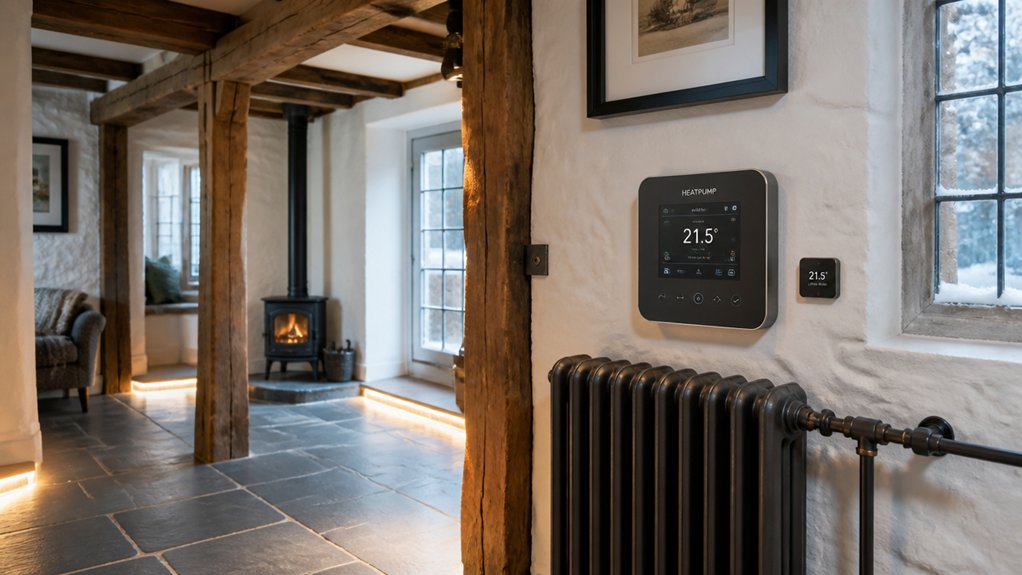
Improve heating with steady, low-temperature sources (small radiators, underfloor on suitable floors) so surfaces stay above dew point.
Add ventilation strategies that are controllable: restore chimneys, fit discreet trickle vents, and use humidity-sensing extract in kitchen and bath.
Monitor RH and timber moisture after changes.
Frequently Asked Questions
Will Upgrading Windows Affect the Cottage’s Listed-Building Compliance?
Yes, upgrading windows can affect listed-building compliance—coincidentally, it’s often the first element inspectors query. You’ll need listed building consent, prioritising historic preservation. Specify like-for-like profiles, glazing, and reversible details to boost energy efficiency.
How Do I Choose Heritage-Appropriate Paint and Finishes Indoors?
Choose heritage-appropriate paint by matching Historic palettes to your cottage’s era, testing conserved layers, and using breathable limewash or clay paints. You’ll favor Authentic finishes—distemper, casein, oil—avoid vinyls, and consult conservation guidance.
What Pest Issues Are Common in 17th‑Century Timber Frames?
You’ll commonly face woodworm (Anobium punctatum), deathwatch beetle, and damp‑driven fungal decay inviting ants. Like a ship’s keel, one soft joist spreads. You’ll prioritize timber preservation with moisture control, borate tests, and pest prevention monitoring.
Should I Commission a Structural Engineer Before Removing Any Walls?
Yes—you should commission a structural engineer before removing any walls. You’ll get a Structural assessment of load paths, timber frame joints, and settlement, informing renovation planning, minimizing irreversible fabric loss, and meeting conservation best practice.
How Do I Budget and Phase Renovations While Living in the Cottage?
Start with Budget planning: price essential services, allow 15–25% contingency, and ring-fence conservation trades. Use renovation phasing: make one dry, habitable zone, then tackle roof, damp, electrics, joinery sequentially. Keep original fabric.


Leave a Reply