

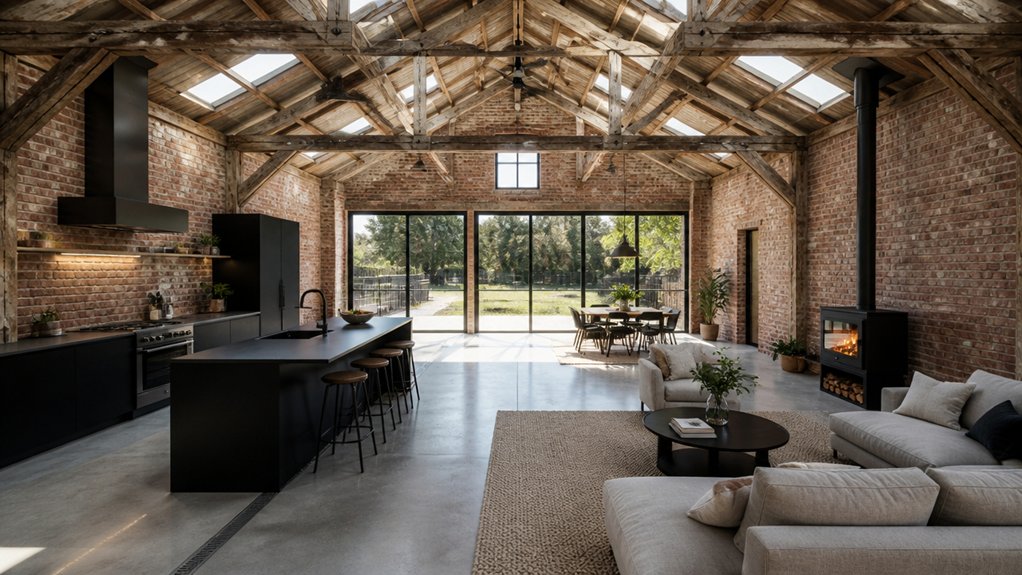
You can convert an old milking parlour, but you’ll start with a hard-nosed checklist: structural capacity, roof condition, damp sources, concrete falls, drainage channels, corrosion, and any asbestos or contaminated surfaces. You’ll then test the project against planning change-of-use rules and Building Regs, because ventilation, insulation, fire safety, and wastewater can’t be improvised. If you keep the brickwork, steelwork, and original fittings, you’ll need details that work with them—starting with what the floor is hiding…
Key Takeaways
- Survey structure, damp, drainage, and hazardous materials (asbestos, lead) to plan repairs and ensure safety before design work.
- Confirm planning permission, change-of-use legality, and Building Regulations early, including heritage or agricultural tie constraints.
- Design a “box-in-box” layout that preserves volume and character while efficiently hiding utilities in low bays and service zones.
- Upgrade floors, insulation, glazing, and ventilation using breathable systems to control moisture, improve comfort, and prevent overheating.
- Restore and showcase original brick, steelwork, cobbles, and fittings using gentle cleaning, lime mortars, and durable protective coatings.
Can This Milking Parlour Be Converted? (Checklist)
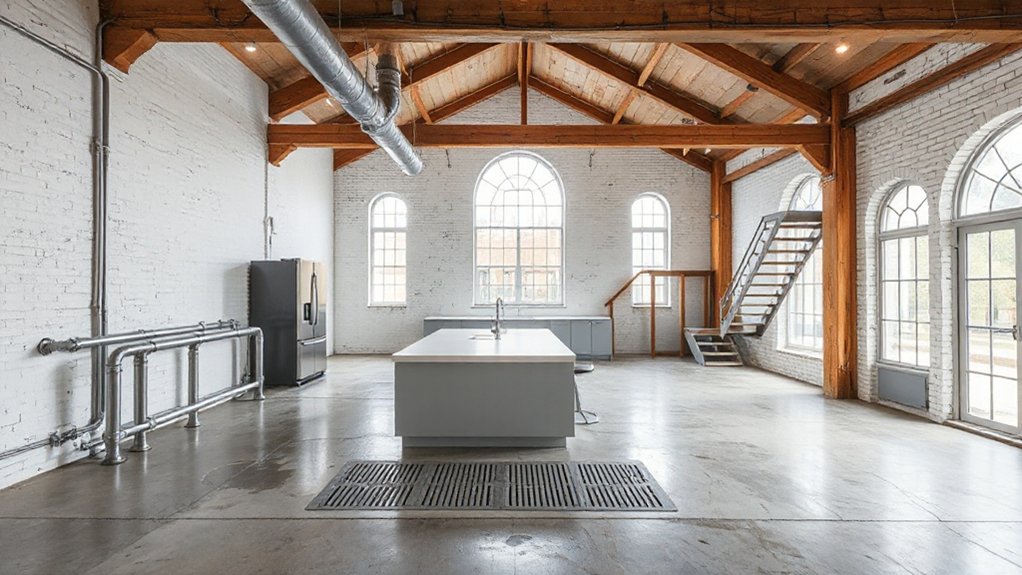
Before you sketch floor plans or pick finishes, you’ll need to confirm the parlour is a viable candidate for conversion by walking through a code-aware, preservation-first checklist.
Start with structure: check slab settlement, wall plumb, roof span integrity, and any corrosion on steelwork.
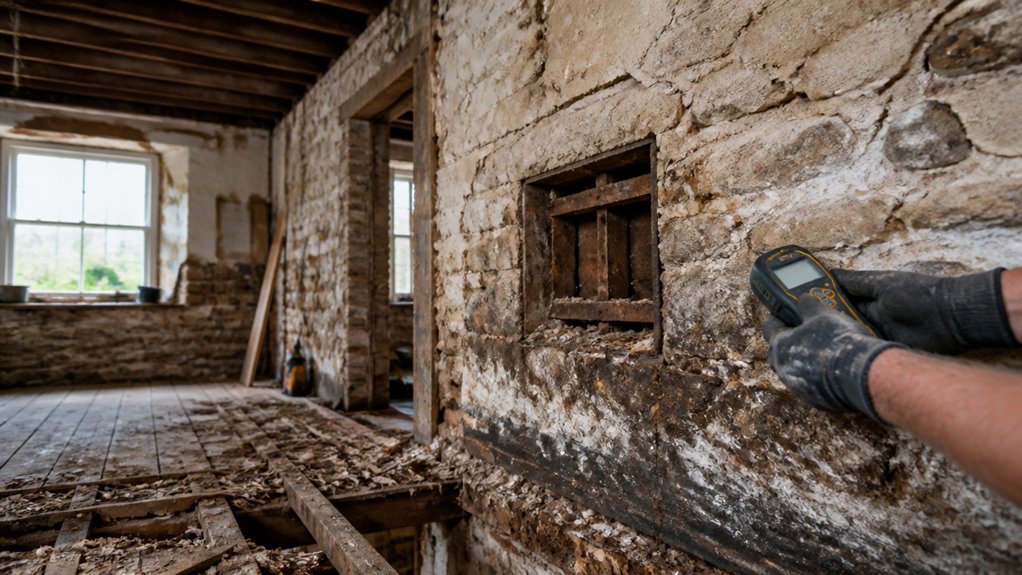
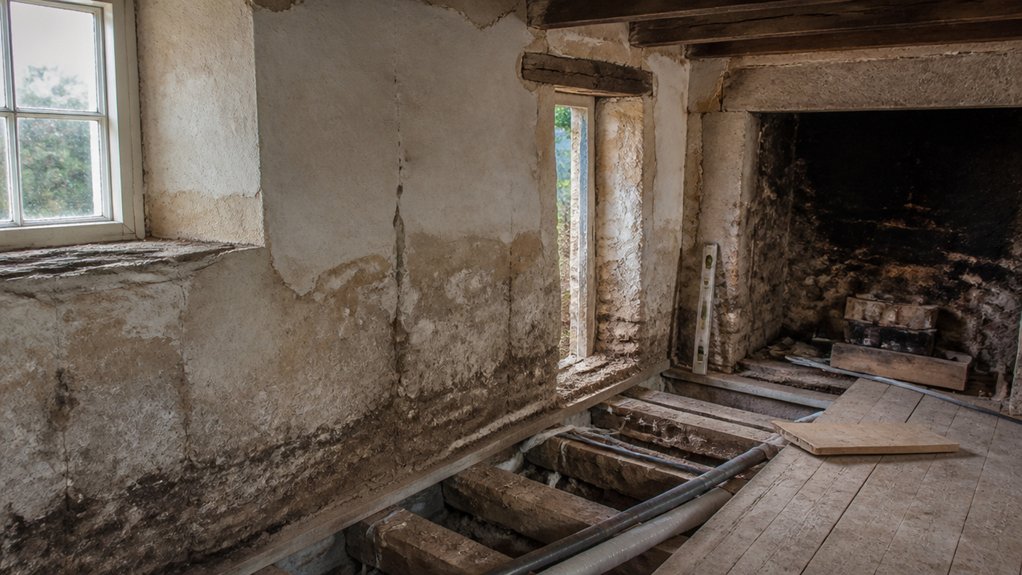
Map damp: look for capillary rise, failed gutters, salt bloom, and ammonia-stained masonry that’ll need breathable repair.
Identify hazardous materials (asbestos cement sheets, lead paint) and plan safe testing.
Trace services: confirm water ingress points, drainage fall, and existing electrical capacity you can upgrade.
Document character elements—stall posts, cobbles, brick piers—for Historical preservation, then decide what you’ll retain in situ.
Finally, note daylight openings, headroom, and circulation constraints that shape interior customization.
Planning Permission, Change of Use, and Building Regs
Next, you’ll map the planning permission pathways that fit your site—full application, prior approval, or a listed-building route—so you can protect original fabric while meeting local policy.
You’ll also confirm whether the proposal triggers a change of use and align the new dwelling classification, access, and amenity requirements before you lock the layout.
Finally, you’ll plan Building Regulations compliance from day one (structure, fire safety, insulation/ventilation, drainage, electrics) so upgrades integrate cleanly without erasing the parlour’s character.
Planning Permission Pathways
Although your old milking parlour may look like a straightforward conversion, you’ll usually need to map out three overlapping approval routes—planning permission, change of use, and Building Regulations—because each controls different risks: how the project affects the wider site and neighbours, whether a former agricultural building can lawfully become a dwelling, and how the finished space meets modern standards for structure, fire safety, insulation, drainage, ventilation, and accessibility.
For planning permission, start with the local plan, agricultural zoning constraints, and any Farm preservation policies that steer design, materials, and landscape impact. Pre-app advice helps you test massing, glazing, parking, access, and ecology reports before you lodge drawings.
Keep original openings where you can, justify new ones with daylight studies, and protect bat/owls. Parallel this with early Building Control chats on foundations, damp proofing, and escape routes.
Change Of Use Rules
While planning permission looks outward at siting, traffic, and neighbour impact, change of use decides whether your milking parlour can lawfully become a home at all—and it often triggers a different set of tests and conditions you’ll need to design around from day one.
Check the current lawful use class and whether agricultural-to-residential conversion fits local zoning requirements or needs a full application.
Confirm any Legal restrictions: agricultural ties, occupancy conditions, Article 4 Directions, conservation area constraints, listed status, or covenant limits on subdivision and curtilage.
Don’t assume “permitted development” applies; prior-approval routes can exclude isolated sites, protected landscapes, or buildings not genuinely in agricultural use.
Ask planning for a Lawful Development Certificate to lock in the use status before you commission detailed layouts or commit to heritage-sensitive fabric choices.
Building Regulations Compliance
Once you’ve confirmed you can change the use, you still need Building Regulations approval to make the parlour safe, energy‑efficient, and legally habitable—separate from planning, but often running alongside it. Ask your local authority early which route applies: full plans gives certainty; a building notice suits simpler works. Check zoning regulations for access, parking, drainage, and any agricultural occupancy ties that may condition consent.
Then design to Building codes: structural stability for new openings, moisture control over old concrete floors, insulation upgrades without trapping condensation, and adequate ventilation. Specify fire separation, escape windows, and protected routes if you add a mezzanine.
Upgrade electrics and plumbing to current standards, and prove foul and surface water capacity. Keep heritage features by documenting what you’ll retain and detailing reversible fixings for new services.
Layout Ideas for Open Bays and Low Ceilings
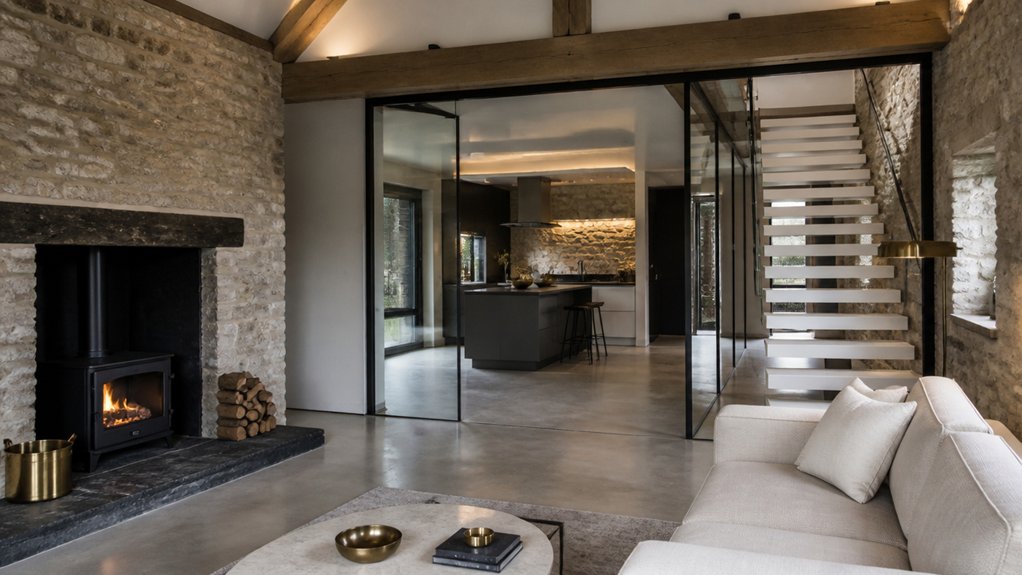
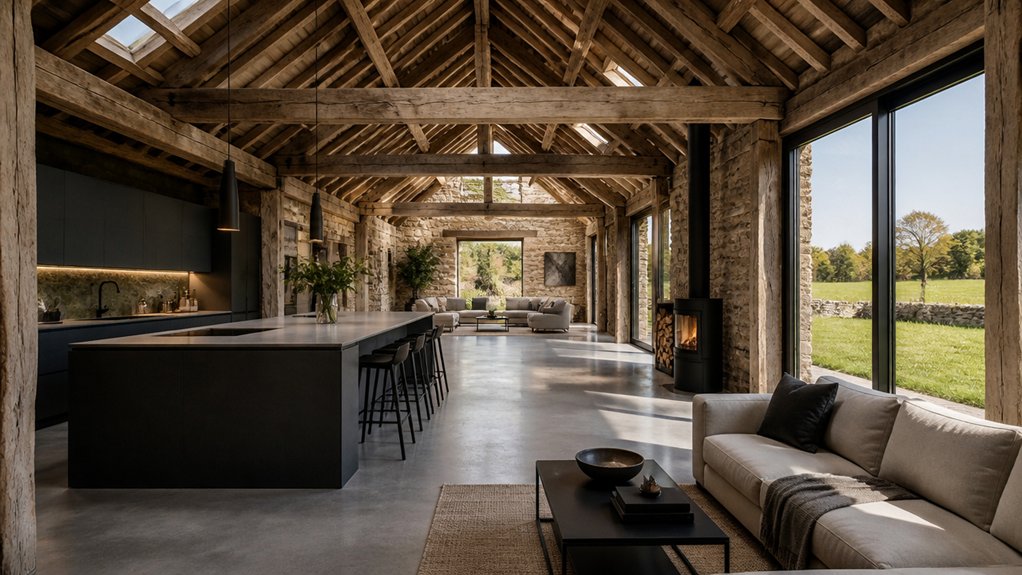
Because milking parlours tend to read as one big shed with awkward headroom changes, your layout needs to impose order without erasing the structure that makes the space worth saving. Start by mapping every bay line, post, and beam, then zone the plan with “box-in-box” pods that stop short of trusses so you keep volume and reveal heritage fabric.
Place kitchen and utilities under the lowest spans, reserving taller bays for living and dining where Natural lighting can wash across original concrete and timber. Use glazed screens, not solid walls, to maintain sightlines and meet separation needs without choking daylight.
Set circulation along former feed alleys, and treat low heads with built-ins and careful interior decor, not dropped ceilings. Keep clear egress widths and headroom where required.
Fix Damp, Falls, Drainage Channels, and Floors
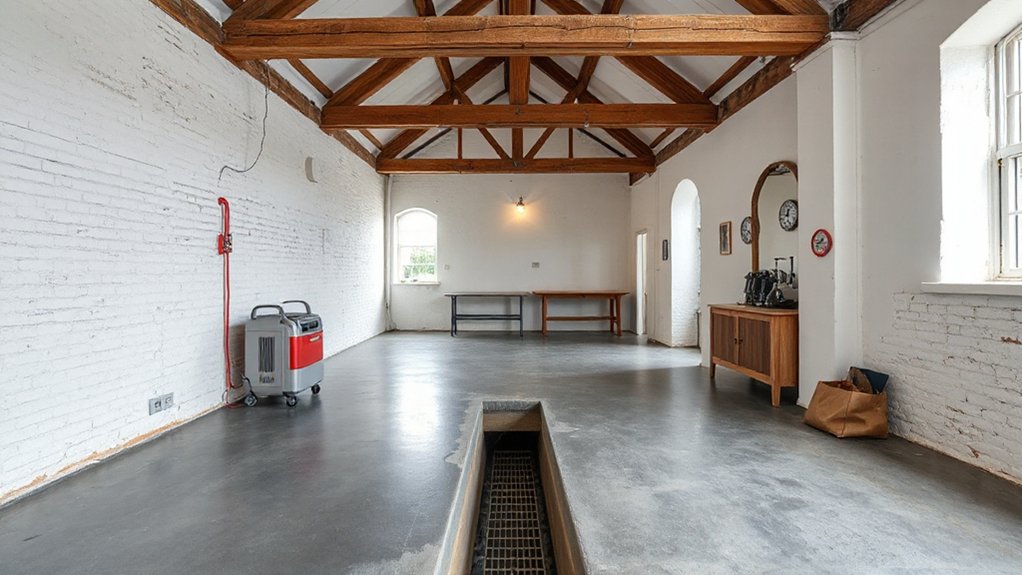
You’ll start by stopping moisture at the source with breathable damp-proofing, repaired pointing, and ventilation rates that meet Part F while keeping original masonry able to dry.
Next, you’ll re-form falls, clean and re-line or cap redundant drainage channels, and guarantee trapped outlets and inspection access meet local drainage requirements.
Finally, you’ll upgrade the floor with a vapour-controlled build-up and slip-resistant finish (rated for wet areas) that levels cleanly without erasing the parlour’s durable character.
Damp-Proofing And Ventilation
Before you insulate or close in any walls, deal with moisture at the source: old parlours were designed to be hosed down, so damp usually comes from failed falls, blocked drainage channels, and impermeable floor build-ups trapping water in the slab.
Confirm falls with a laser level, then specify a breathable floor build-up so moisture can’t migrate into finishes. Where heritage concrete must stay, add a compatible liquid DPM only after moisture testing meets manufacturer limits and local regs.
For mould prevention, prioritise air circulation: keep trickle vents, add discreet wall vents, and run a humidity-sensing MVHR or extract system sized to Part F (or local equivalent).
Use vapour-open lime or mineral paints, seal service penetrations, and keep skirtings off floors to avoid capillary bridging.
Drainage Channel Remediation
Once you’ve tackled ventilation and vapour control, sort the parlour’s wet infrastructure so moisture stops returning through the slab. Map existing channels, trapped gullies, and outlets, then CCTV or dye-test runs to find blockages, silt, and broken joints. Verify falls with a laser; you’ll often need to re-form screed margins so water reaches the drain, not wall bases.
For channel repair, retain original concrete where sound, but cut back spalled edges to square shoulders and rebuild with sulfate-resistant mortar or resin compatible with agricultural salts. Replace failed grates with load-rated, removable units and add rodding access per local drainage codes. Seal penetrations, reinstate trapped connections, and document drainage maintenance intervals so the system stays dry and compliant.
Slip-Resistant Floor Upgrades
After the drains run clean and the slab sheds water to the correct outlets, upgrade the parlour floor so it stays safe underfoot without trapping moisture or erasing its original fabric. Start by testing damp and salts; if you see active moisture, don’t seal it in with impermeable epoxy.
Instead, choose a breathable mineral topping or limecrete-compatible finish, and keep existing falls to the channel runs.
For slip resistance, grind and reprofile polished areas, then add a fine broadcast aggregate in high-risk zones (entries, wet room thresholds, utility). Detail edges with flush, code-compliant transitions, and maintain drainage channels with removable grates.
Specify robust sealers rated for wet interiors, and verify load, abrasion class, and cleaning regime to protect flooring durability while meeting building regs and accessibility guidance.
Insulation and Airtightness Without Losing Character
Even if you’re chasing modern U-values and blower-door numbers, you can’t treat a milking parlour like a blank new-build shell. Start by mapping existing masonry, ventilation paths, and moisture loads so you don’t trap damp behind new linings.
Choose breathable Insulation techniques—wood fibre, calcium silicate, or mineral wool with intelligent vapour control—so the original stone and brick can dry. Keep reveals, lintels, and trusses visible by insulating between rafters or adding slim internal boards only where sightlines allow.
For airtightness, tape junctions at wall-to-roof and around openings, then use lime-based parge coats or membranes that suit uneven substrates. You’ll get Airtightness benefits: steadier temperatures, fewer draughts, and reduced interstitial condensation risk.
Verify with thermography and staged blower tests.
Plumbing, Wastewater, and Electrics (Modern Compliance)
Airtight, well-insulated walls only perform if your services don’t punch uncontrolled holes through them, so plan plumbing, wastewater, and electrics as a coordinated package before you close up floors and linings. Route pipework in accessible service zones, sleeve every penetration, and seal with compatible grommets to protect vapour control layers.
Treat the old parlour drains cautiously: survey gradients, map existing gullies, and isolate any contaminated lines. Install trapped wastes, rodding access, and backflow protection to current code.
If you add a pump, mount it on vibration pads. Upgrade water supply with pressure regulation and scald protection at outlets.
For electrics, rewire to modern standards, use RCD/RCBO protection, and bond metalwork. Add Smart sensors for leak detection and circuit monitoring, improving energy efficiency and reducing callouts.
Add Daylight and Ventilation Without Overheating
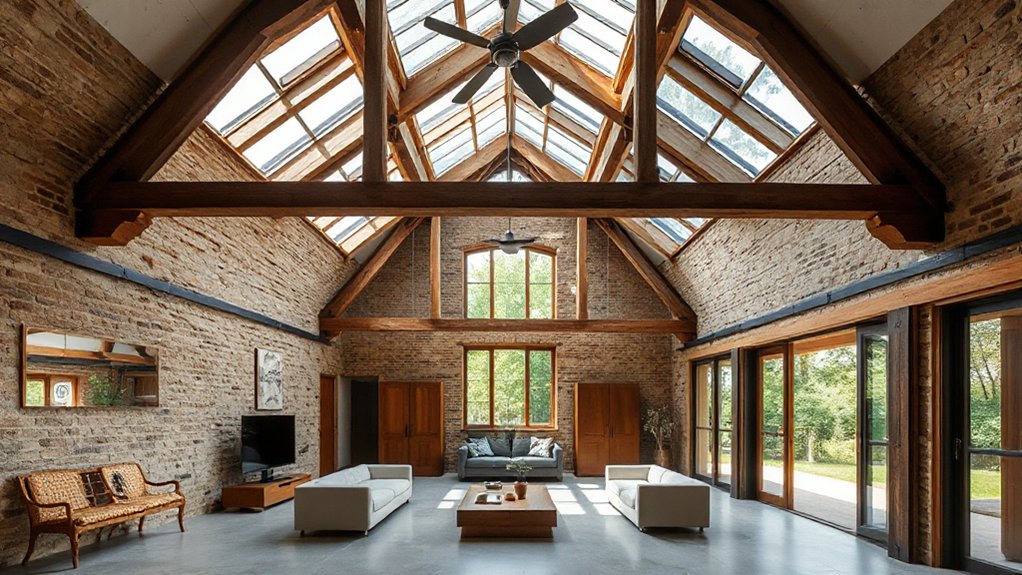
Because milking parlours were built for wash-down and livestock, not comfort, you’ll need to engineer daylight and fresh air in a way that respects the original openings, meets current ventilation requirements, and prevents summertime solar gain from turning the space into an oven.
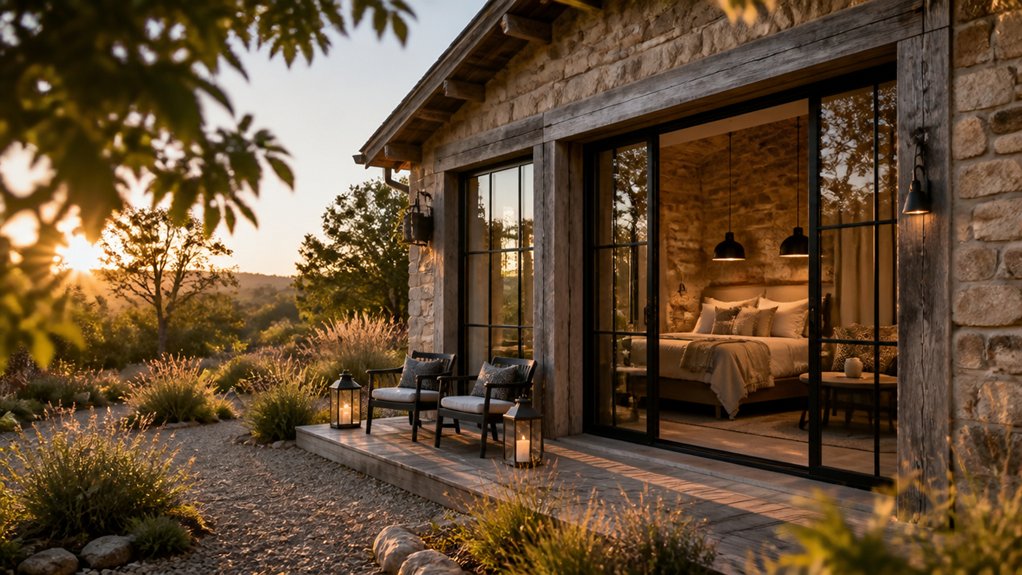
Reuse existing door bays and fan housings where possible, then add high-performance glazing with low‑e coatings and thermally broken frames to keep the exterior rhythm intact.
For natural lighting, favor clerestories or rooflights on north/east slopes, and specify diffusing glass to reduce glare.
Detail insect screens and flashing so you don’t compromise hygiene or waterproofing.
For ventilation, meet local whole-house rates with a balanced system and dedicated extract from wet zones; add operable high/low vents for purge.
Use dampers, sensors, and louvers for airflow control.
Heating Options for Cold, High-Volume Spaces
How do you heat a tall, wash-down-built parlour without wasting energy up in the rafters? Start by treating air leaks and moisture like code issues: seal penetrations, add a continuous vapour control layer where appropriate, and verify dew-point placement.
Your best insulation techniques include insulated slab edges, roof overcladding with ventilation paths, and thermal breaks at steel supports to prevent condensation.
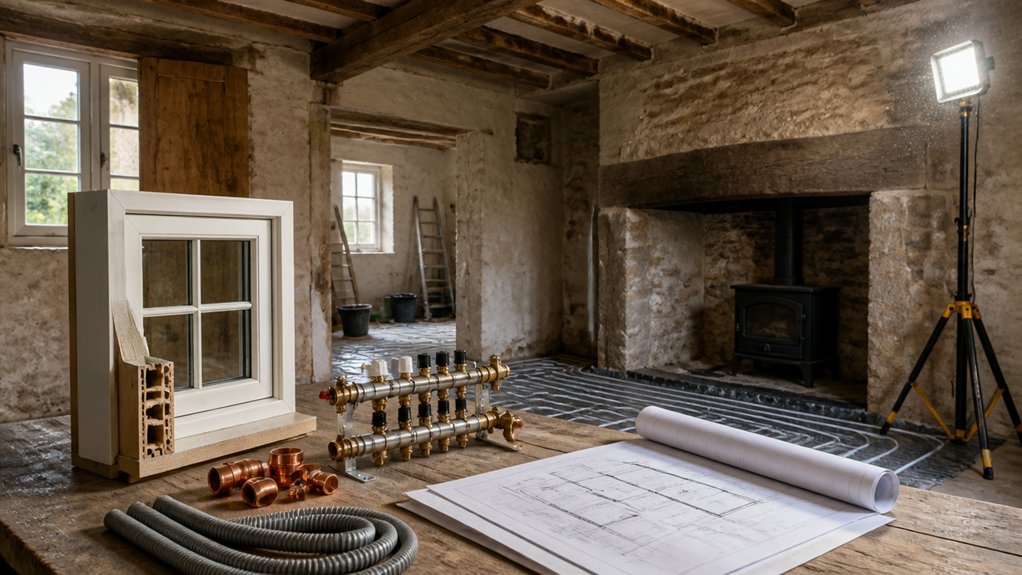
Then choose Heating options that focus warmth where you live. Radiant floor heating pairs well with a new slab and keeps comfort low in the space. High-wall radiant panels or infrared heaters target occupied zones without heating the whole volume.
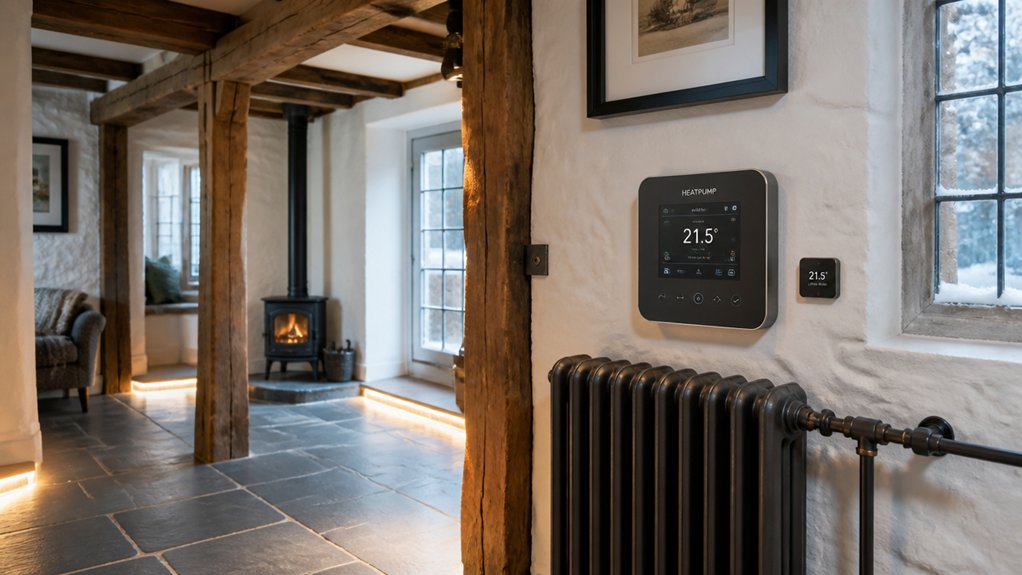
A ducted heat pump can work, but demand zoning, short runs, and balanced ventilation with heat recovery. Check combustion clearances, flue routes, and minimum outdoor-air requirements.
Heritage Finishes: Brick, Steelwork, and Original Fittings
Once you’ve controlled heat loss and condensation, you can expose the parlour’s character without inviting new moisture problems or code headaches.
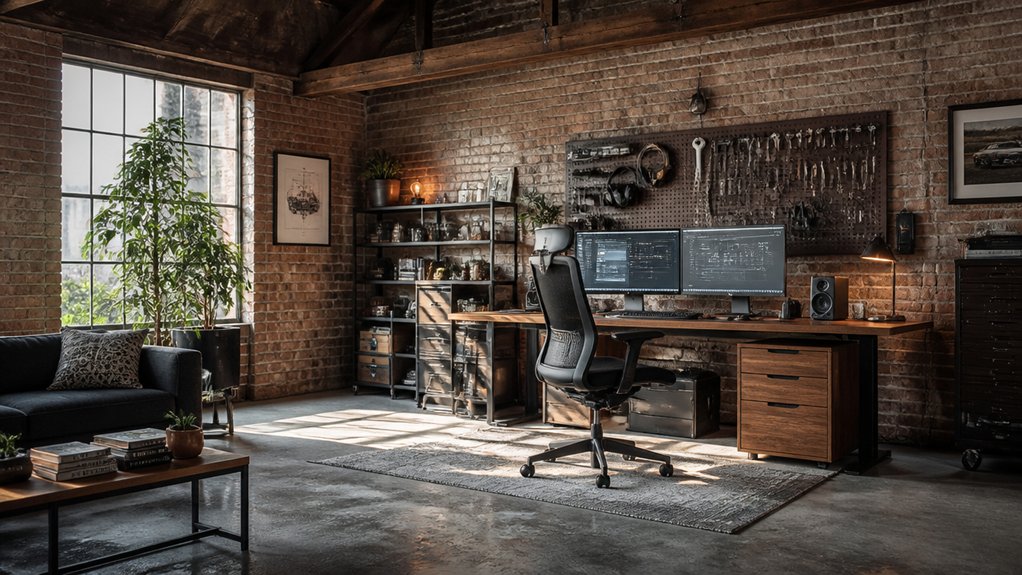
Start with Heritage finishes: clean brick using low-pressure steam or dry-ice blasting, then repoint with lime mortar so walls can breathe and salts don’t spall faces.
Seal only where required, and choose vapor-permeable coatings near splash zones.
For steelwork, remove rust to sound metal, treat with a tannic primer, and topcoat with an industrial enamel; keep load-bearing members accessible for inspection.
Retain original fittings—stanchions, hose reels, gates—as sculptural elements, but cap sharp edges and isolate conductive metal from wet areas.
Use preservation techniques that respect patina while meeting fire, egress, and sanitary codes.
Frequently Asked Questions
Will Lenders Offer Mortgages on Converted Milking Parlours?
Yes—some will, if your plans shine like a polished beam. You’ll need Farmhouse integration, Historic preservation compliance, permitted change-of-use, code-ready inspections, certified utilities, and stable comps; otherwise, lenders won’t underwrite.
How Do I Manage Lingering Odours From Decades of Livestock Use?
You’ll manage lingering livestock odours by deep-cleaning porous surfaces, sealing concrete, and upgrading Ventilation improvements to meet code. Apply Odour neutralisers (enzymatic) after drying, and replace contaminated insulation or timber to preserve finishes.
What Insurance Cover Is Needed During and After the Conversion?
You’ll need builders risk and liability coverage during works—don’t wait until the first inspection. Afterward, switch to home insurance with ordinance-or-law and replacement cost; document heritage elements, permits, and contractor certificates.
How Can I Phase the Project While Living On-Site?
You can phase work by sealing a habitable zone first, then scheduling structural modifications room-by-room, maintaining safe egress, utilities, and dust control. You’ll coordinate inspections, protect original fabric, and finalize interior design last.
What Are Typical Conversion Costs and Timelines for Milking Parlours?
You’ll typically see cost estimates of $150–$400/ft², depending on structural repairs, hazardous-material abatement, and MEP upgrades. Your renovation timeline runs 6–18 months, including surveys, permits, code compliance, and preservation detailing.

Leave a Reply