

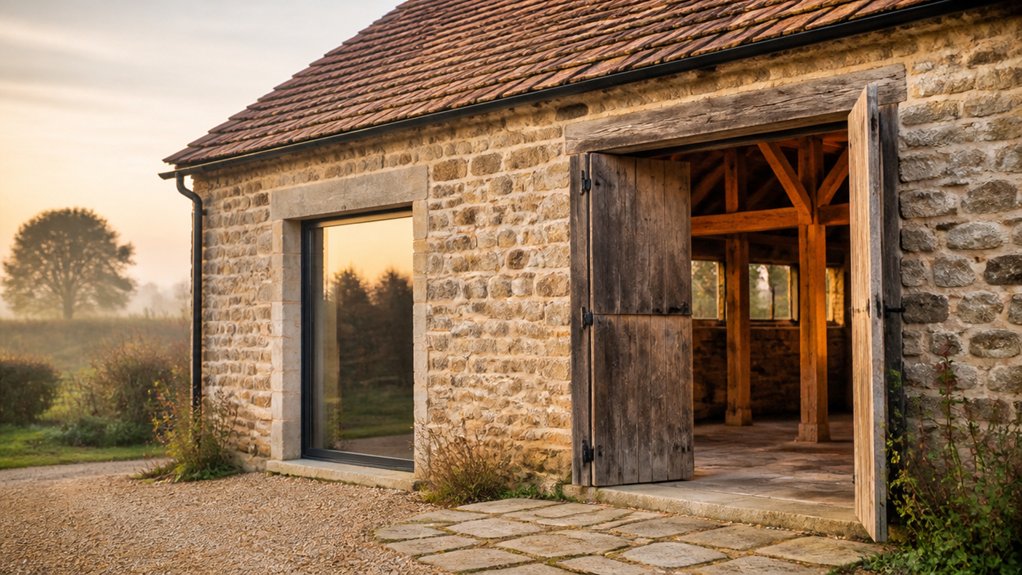
You’ll keep a British farm outbuilding’s character by starting with a careful survey: look for roof spread, soft timbers, failing joints, and damp routes before you touch a tool. You don’t rush to “upgrade” surfaces; you repair what’s there, match old sections, and choose lime over cement so stone and brick can breathe. You fix the roof first, then walls, then services, but one early decision will shape everything that follows…
Key Takeaways
- Survey the structure for cracks, bulges, damp salts, and past cement repairs; confirm listing or conservation status before planning work.
- Repair the roof first—replace slipped slates, fix ridges/hips, and clear gutters and lead valleys to stop ongoing water ingress.
- Repoint and patch walls with well-matched lime mortar, avoiding cement so masonry stays breathable and sheds salts safely.
- Preserve original doors, windows, glass, and ironmongery using gentle stripping, linseed putty, and minimal like-for-like splicing.
- Use reversible, vapour-open upgrades—hemp or wood-fibre insulation, ventilated linings, and accessible conduits—so character and fabric remain intact.
Survey Your British Farm Outbuilding: Structure, Damp, Roof
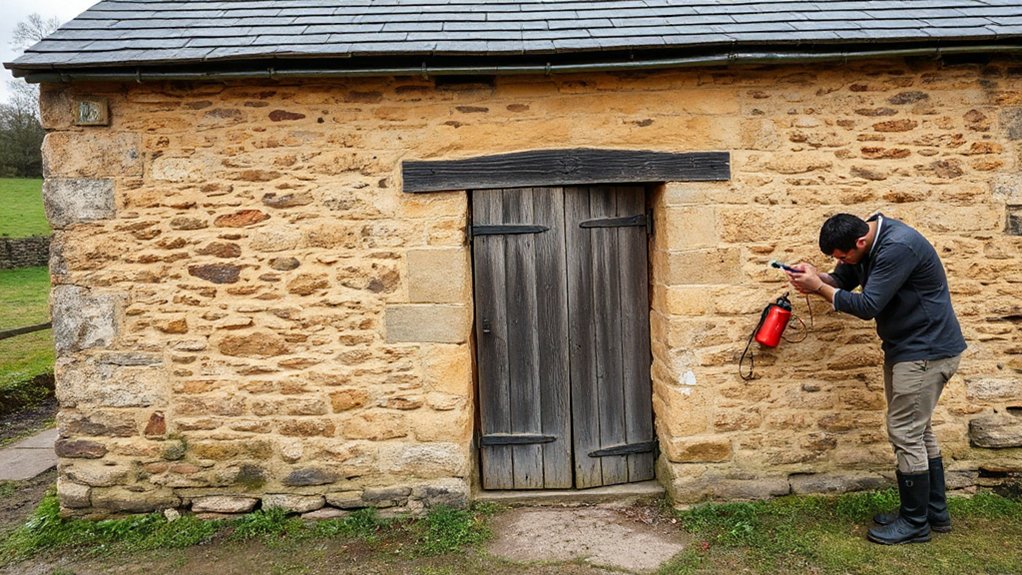
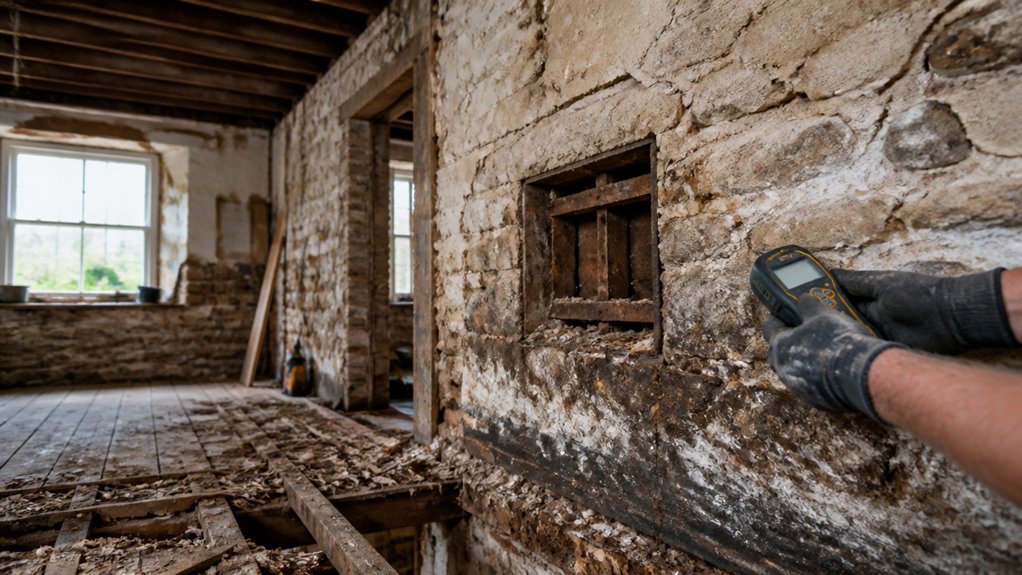
Before you lift a slate or rake out a single joint, you’ll want to survey the outbuilding as a working fabric of stone, brick, timber, and lime. Walk the perimeter and read the walls: bulges, stepped cracks, and washed-out joints signal movement or failed pointing. Note past repairs—hard cement, dense paint, or resin patches—that trap moisture and undermine Historic preservation.
Track damp with your senses and a torch. Look for tide marks, friable mortar, salt bloom, soft brick arrises, and decayed sill ends. Check ground levels, blocked air bricks, and leaking gutters, then trace how water exits.
On the roof, inspect slipped slates, nail sickness, sagging purlins, and beetled rafters. Map defects and building materials so you repair like-for-like, not replace wholesale.
Planning Permission and Listed Building Consent Checks
With your survey notes in hand—cracks plotted, damp routes traced, and roof faults mapped—you can now check what the law will allow you to alter. Start by confirming whether the outbuilding is listed, curtilage-listed, or inside a conservation area; each status can trigger Listed Building Consent even for “like-for-like” work.
Ask the council’s conservation officer early, and bring photos, measured sketches, and mortar samples so you can justify Historic preservation choices.
Planning permission may apply if you change use, insert new openings, extend, or alter drainage runs. Don’t assume agricultural buildings are exempt.
Record existing materials—soft brick, limestone rubble, oak, iron fixings—so proposed Conservation techniques match permeability and movement.
Keep approvals in writing, and file conditions with your method statements.
Fix the Roof First to Keep the Outbuilding Dry
Although you’ll be tempted to tackle the cracked walls and damp floor first, you should start overhead: a sound roof stops the wetting cycles that drive decay in soft brick, lime mortar, oak purlins, and iron fixings.
Strip only what’s failed, keeping sound slates or pantiles, and tag them for re-laying. Check ridge and hip joints, replace missing pegs, and ease slipped courses back into line. Patch lead valleys and flashings with traditional codes, and clear gutters so runoff doesn’t soak eaves.
Treat timber sparingly: splice like-for-like where ends have rotted, and maintain ventilation. Once you’ve stopped drips, you’ll protect Farm animal care areas and safeguard crop storage solutions from mould, pests, and taint.
Repair Farm Outbuilding Walls With Lime (Not Cement)
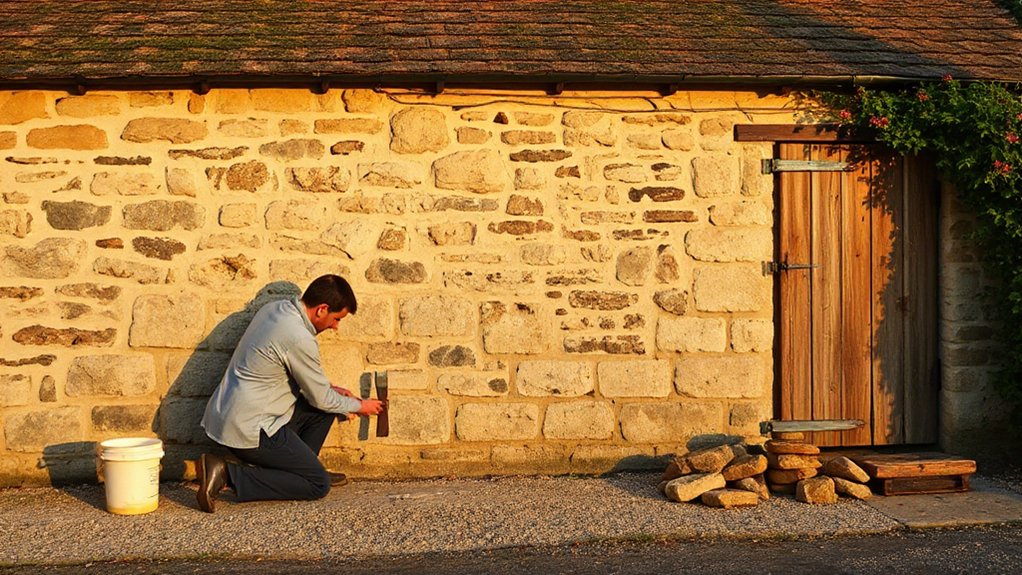
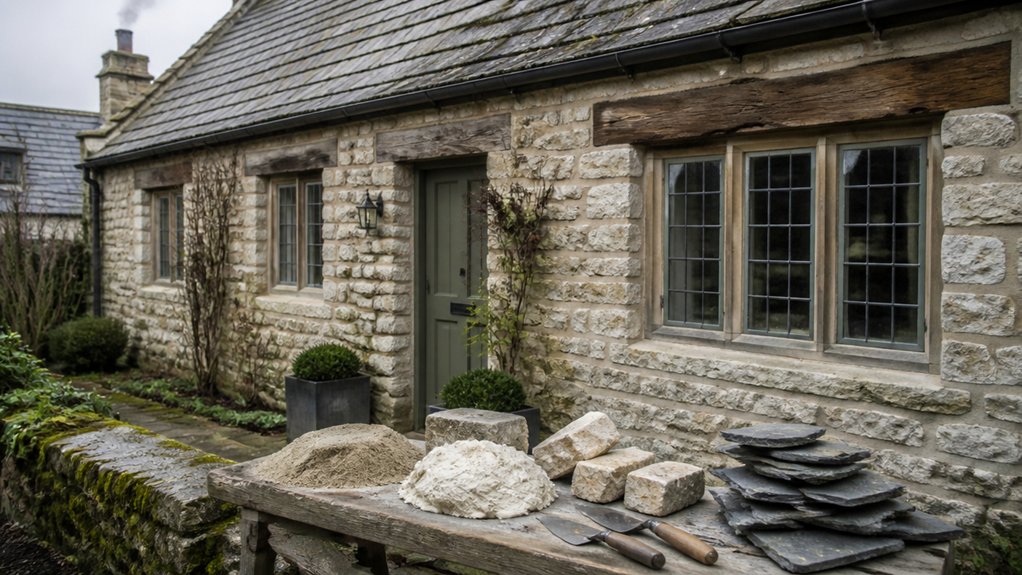
Once you’ve fixed the roof, you’ll let the stone and brick walls breathe by repairing them with lime, not hard Portland cement. You choose lime because it flexes with old masonry, sheds salts, and moves moisture outward instead of trapping it behind an impermeable joint.
You rake out failed pointing carefully, then repoint and patch with a well-matched lime mortar so the wall remains sacrificial, stable, and true to its historic fabric.
Why Lime Beats Cement
Because most British farm outbuildings were built to breathe, lime mortar suits their stone and soft brick far better than cement ever will. You’re working with walls that handle moisture by taking it in and letting it evaporate; lime supports that cycle, while dense cement blocks it.
Trapped damp then pushes salts to the surface, rots embedded timbers, and blows faces off softer brick.
Lime also moves with the building. Its slight flexibility accommodates seasonal settlement and vibration without forcing cracks through masonry. When it does weather, it sacrifices itself first, preserving stones and bricks—an old, repairable logic that underpins Lime durability.
Cement dependency reverses that logic: the mortar stays hard, but the historic fabric fails around it, irreversibly.
Lime Mortar Wall Repairs
Lime’s breathability and forgiving strength only pay off if you repair the wall in the same spirit: take out what’s failed, protect the surrounding stone or soft brick, and put back a mortar that remains sacrificial.
Rake joints by hand to a sound depth, leaving arrises crisp, and mist the masonry so it doesn’t rob the mix. Match the original: a workable Lime mortar with sharp, well-graded sand, and minimal binder, so it yields before the wall does.
Press it firmly in thin layers, keep it slightly back from the face, then finish with a brushed texture that suits old work. Cure slowly: shade, dampen, and avoid frost.
Good Wall restoration looks quiet, not new.
Mend Timber Frames Without Over-Sanding Patina
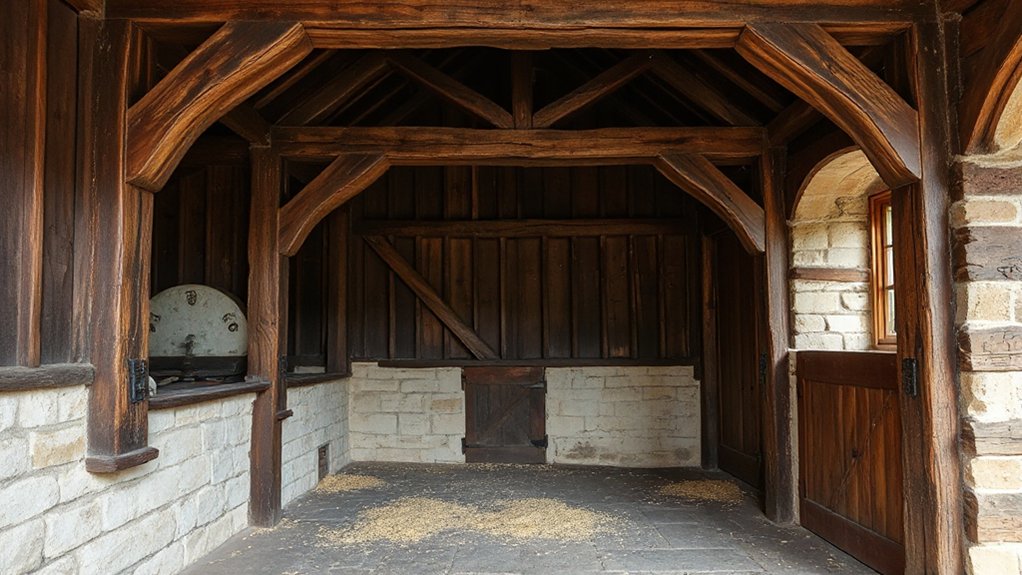
Even if the timbers look rough, you shouldn’t chase a “clean” finish with aggressive sanding, since that soft sheen, tool chatter, and soot-darkened grain are part of the building’s working history.
Start by brushing off dust and friable rot, then test with an awl to map sound wood. You’ll get stronger repairs by keeping original faces and letting new work read as new.
Splice only where needed: scarf in seasoned oak or larch with matching grain, and replicate timber joinery—pegged mortice-and-tenon, wedges, or oak trenails—rather than plates and screws.
Consolidate minor punky areas with limewash-compatible resin only if essential.
For paint preservation, lift loose flakes with a scraper, retain firm layers, and spot-prime patches; don’t strip back to bare wood.
Insulate Discreetly Without Trapping Moisture
Once you’ve stabilised the frame and let its age show, turn to comfort upgrades that won’t smother the building’s breathability. Keep the stone or brick working as intended: drying to both sides.
Use vapour-open insulation—wood fibre boards, hemp batts, or sheep’s wool—fixed lightly between studs or on the inner face with timber battens, not foams. Add a lime plaster or clay finish to buffer humidity, and seal drafts with oakum, brush strips, and lime mortar, avoiding hard cement fillets.
Leave an air gap behind any Vintage decor panelling so boards don’t sweat. For garden integration, insulate only occupied bays, letting the cooler tool end stay robust and airy in winter.
Run Electrics and Plumbing Without Chasing Masonry
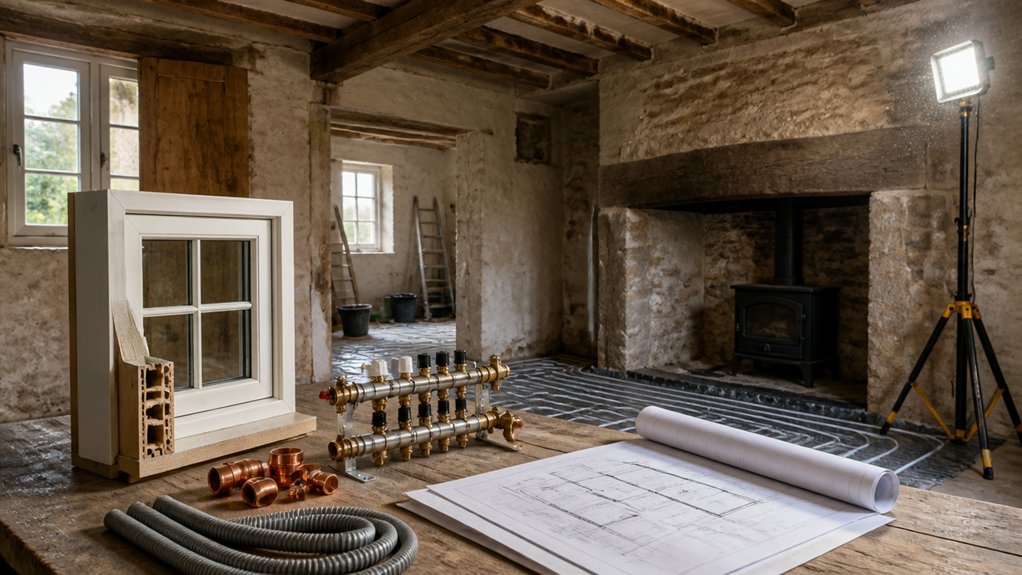
You’ll protect old brick and lime mortar by running electrics and plumbing on surface-mounted routes, fixing neatly into joints or timber rather than cutting chases.
You can keep the work honest and tidy with galvanised conduit, copper pipe, and clipped runs that follow beams, corners, and existing lines.
Where you need concealment, you’ll use discreet utility boxing systems in painted timber or lime-finished board so services stay accessible without scarring the masonry.
Surface-Mounted Service Routes
A surface-mounted service route lets you run electrics and plumbing through an outbuilding without cutting into old brick, rubble stone, or lime-plastered walls that were never meant to be chased. You’ll protect friable mortar, uneven arrises, and historic finishes while keeping everything inspectable and reversible.
Choose Surface mounted service routes in galvanised conduit, painted steel trunking, or timber pattresses fixed into joints or sacrificial battens, not the masonry face. Keep runs high and straight, follow beams and corners, and align fittings to existing bays for aesthetic integration.
Use heritage-friendly clips and grommets, and leave a small air gap so damp can breathe behind. Where pipes might sweat, add insulation and drip clearance. You’ll gain modern convenience without scarring the fabric.
Discreet Utility Boxing Systems
Because old outbuildings rarely offer true cavities and their walls need to breathe, discreet utility boxing gives you a controlled “service zone” for cables and pipework without chasing brick, rubble stone, or lime plaster.
Set a slim timber or metal frame off the wall on packers so air can still move, then face it with limewashed boards, matchboard, or breathable fibre-cement for Material compatibility.
Keep junctions accessible with screwed panels, not filler and paint.
Run electrics in surface conduit within the box, and isolate plumbing with vapour-open insulation to prevent condensation against cold masonry.
Stop short of skirtings and beams so the join reads as a reversible insert, preserving Rustic aesthetics.
Paint fixings dark, align edges to existing bays, and you’ll barely notice it.
Save Original Doors, Windows, and Ironmongery
Even if the frames look skewed and the paint has failed, original doors, windows, and ironmongery often hold the clearest record of how a British farm outbuilding was made and used. You’ll face Preservation challenges: swollen stiles, rusted strap hinges, cracked crown glass, and worn latches that don’t throw cleanly.
Start with gentle Restoration techniques. Strip back with heat and scrapers, not aggressive sanding that erases tool marks. Tighten joints with hide glue and timber inserts, and splice only the decayed ends, matching grain and moisture. Keep old glass where you can; bed it in linseed putty and reuse sprigs.
Clean ironwork with a wire brush, oil it, and refit with hand-cut screws. If you must replace, copy profiles and keep originals labelled for archive.
Frequently Asked Questions
What Insurance Covers Accidental Damage During Outbuilding Restoration Works?
You’ll need specialist renovation/building works insurance or a contractor’s policy for Damage coverage; you can’t rely on standard home insurance. Confirm you can make Insurance claims for mishaps to slate, lime mortar, timber, brick, and glazing.
How Much Does Restoring a Farm Outbuilding Typically Cost per Square Metre?
You’ll typically pay £1,200–£2,500 per m² to restore a farm outbuilding, depending on Building materials and Farmstead aesthetics. You’ll spend more if you retain lime mortar, timber framing, stone slates, handmade brick repairs.
Which Heritage Grants Are Available for Restoring Traditional Agricultural Buildings?
You can apply to Historic England repair grants, National Lottery Heritage Fund, local authority conservation grants, and LEADER/RDPE schemes. Check grant eligibility for listed status, lime mortar repairs, stone roofing, Heritage preservation outcomes, and access.
How Long Should a Typical Outbuilding Restoration Take From Start to Finish?
You’re not done in a blink; you’ll likely need 6–18 months, sometimes 2 years. You’ll source historical materials, apply preservation techniques, allow lime mortars to cure, and schedule surveys, approvals, and specialist trades.
Do I Need a Specialist Architect or Surveyor for This Type of Project?
You’ll usually need a specialist architect or surveyor, especially for listed fabric or structural movement; they’ll specify sympathetic building materials and details. They’ll also coordinate garden landscaping impacts, drainage, and approvals, protecting patina, joints.



Leave a Reply