

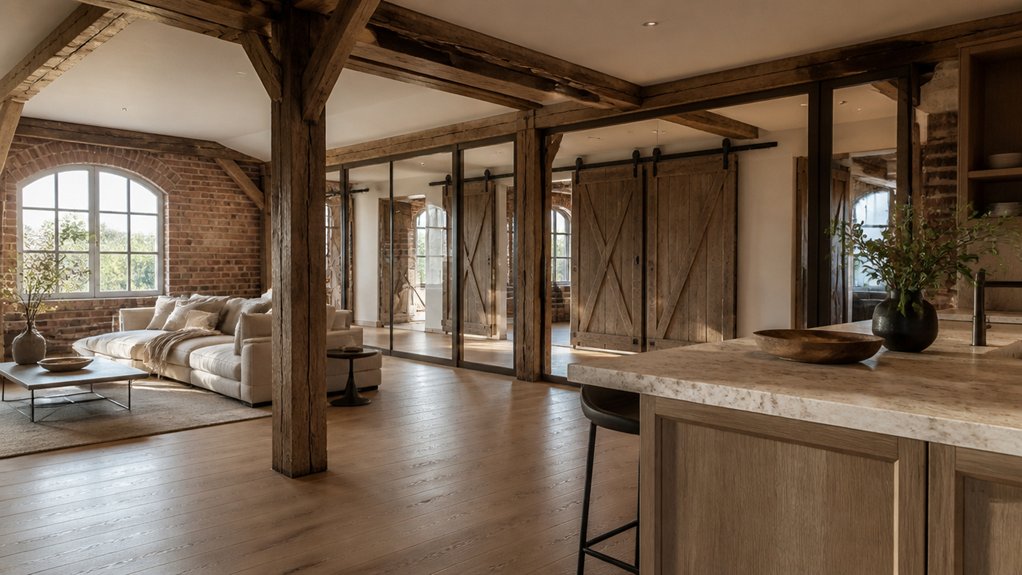
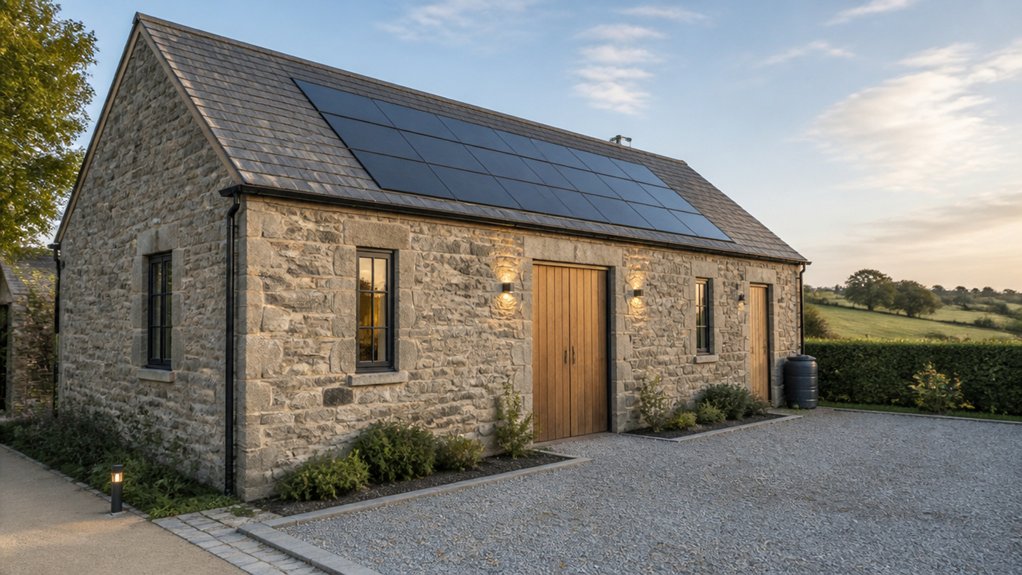
You can’t just drop a kitchen into an old stable and call it done. You start by checking the roof, framing, and foundations, then you map permits, zoning, and any heritage limits before you price the work. You’ll need a moisture plan, insulation and heating that suit the building, and clean routes for electrics, plumbing, and waste. Once you add light and ventilation, the interior choices get tricky…
Key Takeaways
- Confirm zoning allows residential conversion, and secure change-of-use, building, electrical, plumbing, and fire-safety permits before design begins.
- Inspect structure, roof, and foundation for rot, pests, leaks, and settlement, and engineer reinforcements before adding floors or openings.
- Control moisture with regrading, drains, vapor barriers, sealed penetrations, and ventilation to prevent mold and protect new insulation.
- Plan utilities early: code-compliant electrical (GFCI/AFCI), efficient plumbing slopes and cleanouts, and HVAC/venting sized for the new envelope.
- Preserve character while meeting code by exposing beams or brick, adding insulated service cavities, and ensuring egress windows, fire separation, and safe exits.
Check If Your Stable Is Convertible
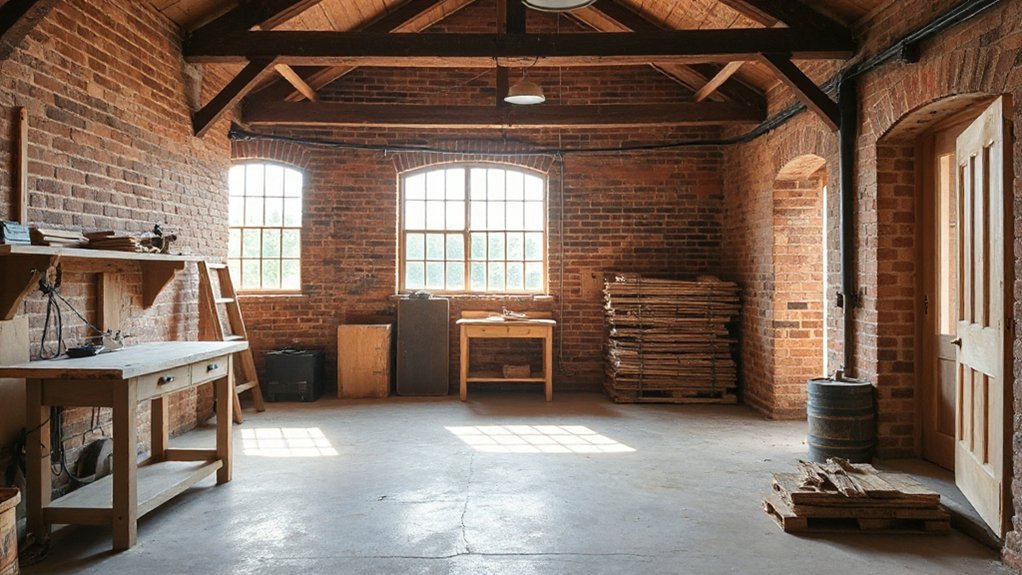
Before you sketch layouts or price materials, you’ll need to confirm the stable can legally and structurally handle being lived in. Start by checking zoning: is residential use permitted, or will you need a conditional use permit or variance?
Verify access and addressability for emergency services, plus required setbacks, easements, and any floodplain or wildfire overlays.
Confirm utilities are feasible: water source approval, septic perc tests or sewer tie-in, and electrical service capacity.
Ask the building department which code applies (IRC, existing building code, or change-of-occupancy rules) and what fire-resistance, egress, and insulation targets you must meet.
For historic preservation, check landmark status and review restrictions on exterior alterations.
Finally, plan Stable security: controlled entries, lighting, and defensible boundaries.
Inspect Structure, Roof, and Foundations
Even if zoning and utilities check out, you’ll still need to verify the stable’s bones can meet residential load, moisture, and safety demands. Start with a level-and-plumb survey: bowed walls, racked door openings, or sagging ridge lines signal compromised Structural integrity.
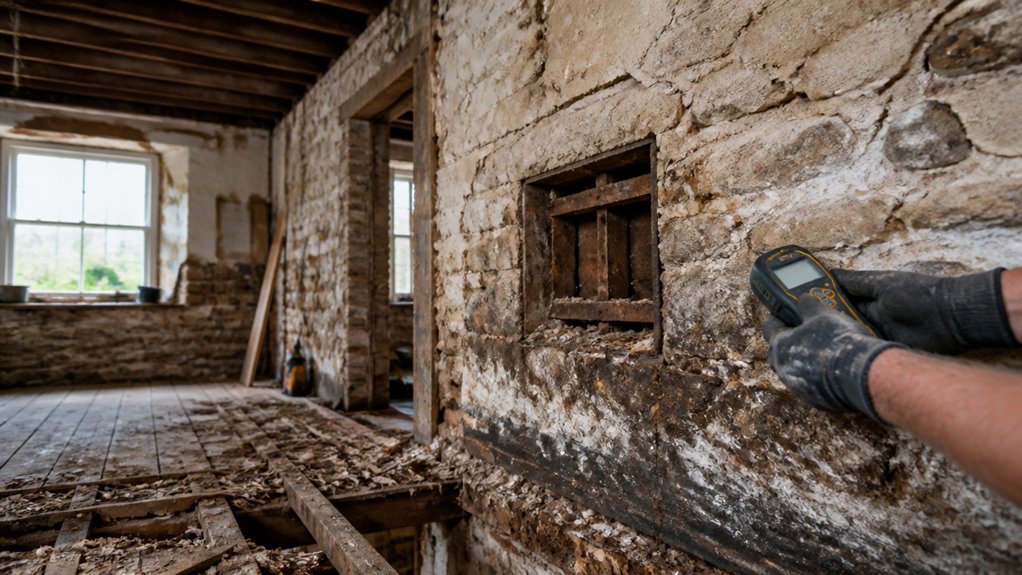
Probe posts and sill plates for rot, beetle damage, and past manure saturation; use a moisture meter where finishes will trap vapor.
On the roof, inspect trusses/rafters for splits, undersized members, and failed connectors; confirm bracing and tie requirements for wind uplift. Check sheathing, flashing, and valleys for chronic leaks, then plan ventilation to meet code condensation limits.
At the foundation, map cracks, settlement, and drainage paths; verify bearing capacity before adding slabs or second floors. Confirm Material compatibility when pairing old masonry with new insulation, membranes, or steel.
Get Permits, Zoning, and Heritage Rules Sorted
Before you draw plans, you’ll verify zoning and land-use rules so the stable’s new use is permitted. You’ll also check that setbacks and parking comply, and ensure any agricultural-to-residential conversion triggers are addressed.
If the building has heritage status, you’ll map what must stay intact (façade, roofline, timbers) and align your design with conservation requirements.
Then you’ll apply for the right building permits—change of use, structural work, plumbing/electrical—so inspections and approvals track cleanly from demo to final occupancy.
Zoning And Land Use
Because a stable conversion changes how the property’s used, you’ll need to confirm zoning, land-use permissions, and any heritage constraints before you lock in a design or budget. Start by checking the parcel’s designation and whether residential use is allowed, conditional, or prohibited. Verify setbacks, height limits, lot coverage, fire-access widths, and required parking; these often determine whether you can add dormers, decks, or an ADU-style unit.
Next, review environmental overlays: floodplain, wetlands, wildfire interface, or agricultural protection rules that can restrict utilities, grading, and occupancy. If you’re considering land clearing for access, septic, or daylighting, confirm tree-protection, erosion-control, and stormwater requirements.
Finally, if the site triggers historic preservation review, align your use change with approved district guidelines and document existing conditions.
Heritage And Building Permits
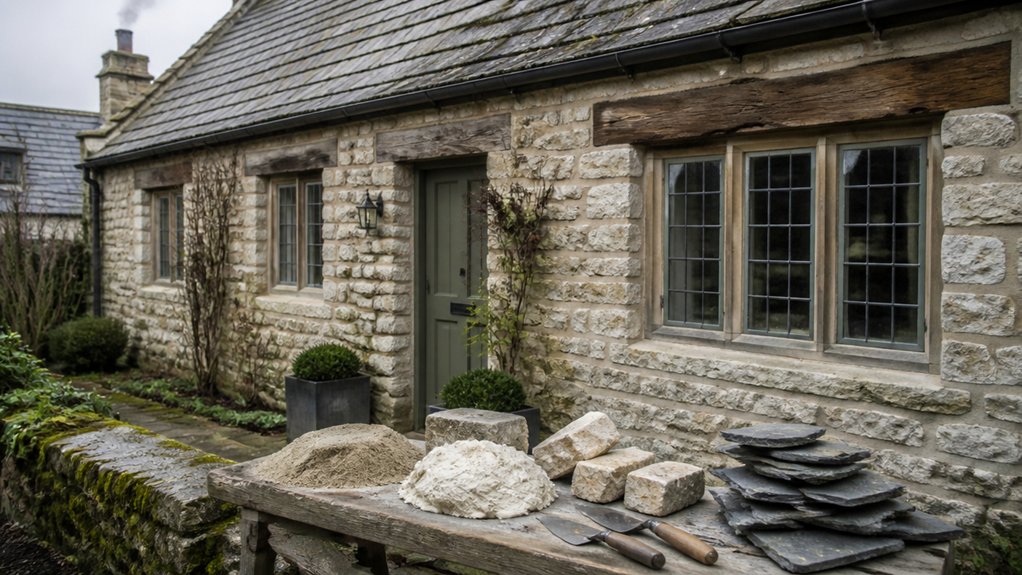
Once you decide a stable’s becoming living space, pull the permit path and any heritage obligations into the plan so you don’t design something the authority won’t approve. Start by confirming the site’s Heritage significance: check local registers, conservation overlays, and any covenants. If it’s listed, you’ll likely need a heritage impact statement, measured drawings, and like-for-like material specs for cladding, windows, rooflines, and stall fronts.
Then map required Building permits: change-of-use, structural alterations, fire separation, insulation, ventilation, and egress compliance. Ask the building surveyor early about floor levels, damp-proofing, and septic or stormwater upgrades. Submit staged applications if needed, but keep documentation consistent so reviews don’t reset clocks.
Budget, Timeline, and Who to Hire
Even if the stable looks like a simple shell, your budget, timeline, and hiring plan will hinge on what you find behind the boards—foundation settlement, roof span condition, rot, vermin damage, and the “hidden systems” you’ll need to add to meet residential code (insulation, egress, plumbing, electrical load, and HVAC).
Start with a measured survey and a pre-app meeting notes, then build a line-item cost estimation with 10–20% contingency for unknowns.
Sequence work: structural stabilization, framing, rough-in MEP, inspections, then interior finishes; plan lead times for windows, panel upgrades, and custom trusses.
For contractor selection, choose a team that’s done adaptive reuse and can show inspection pass histories.
Hire a structural engineer and code-savvy architect before you sign fixed-price bids.
Stop Damp: Drainage, Floors, and Moisture Control
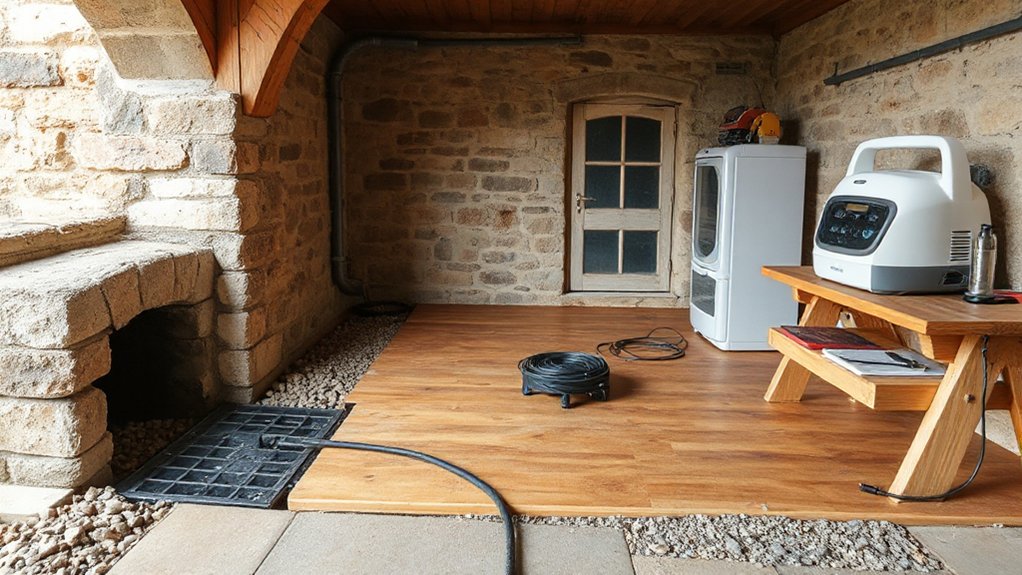
Moisture control should sit right next to your structural and MEP plan, since damp will undermine new insulation, flooring, and finishes faster than any scheduling slip.
Start outside: regrade to fall away, extend downspouts, and add swales or French drains where runoff pools. You’ll need drainage solutions that keep water off foundations and out of door thresholds, especially at converted stalls.
Inside, check the slab or earth floor for capillary rise. If you’re pouring a new slab, follow local code for a capillary break, taped vapor retarder, and sealed penetrations; tie it into perimeter drains where required.
Over existing floors, install compatible moisture barriers, then choose breathable wall and floor finishes so trapped humidity can escape. Verify with moisture readings before closing anything up.
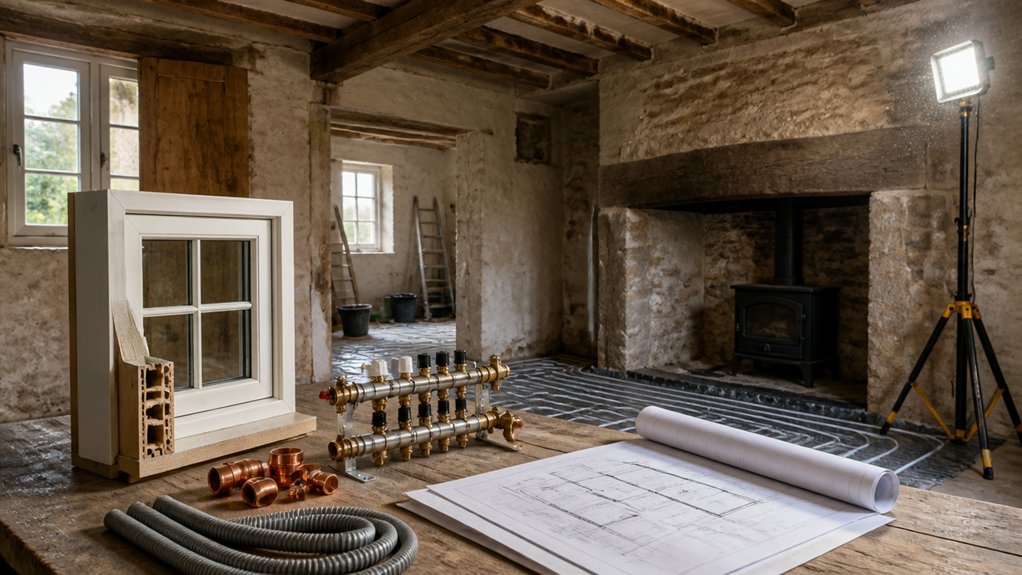
Insulate and Choose Heating That Works
Because stables were built to shed heat and ventilate hard, you’ll need a continuous insulation and air-sealing plan before you pick a heater, or you’ll pay to warm the outdoors. Start by mapping the thermal envelope: roof first, then walls, then slab edge, and seal junctions with tapes, gaskets, and fire-rated foam where required.
Choose insulation materials that handle moisture and pests—closed-cell spray foam at irregular stone, mineral wool in stud bays, rigid foam over masonry with a code-compliant thermal barrier. Maintain a ventilated roof assembly or design an unvented one per local code.
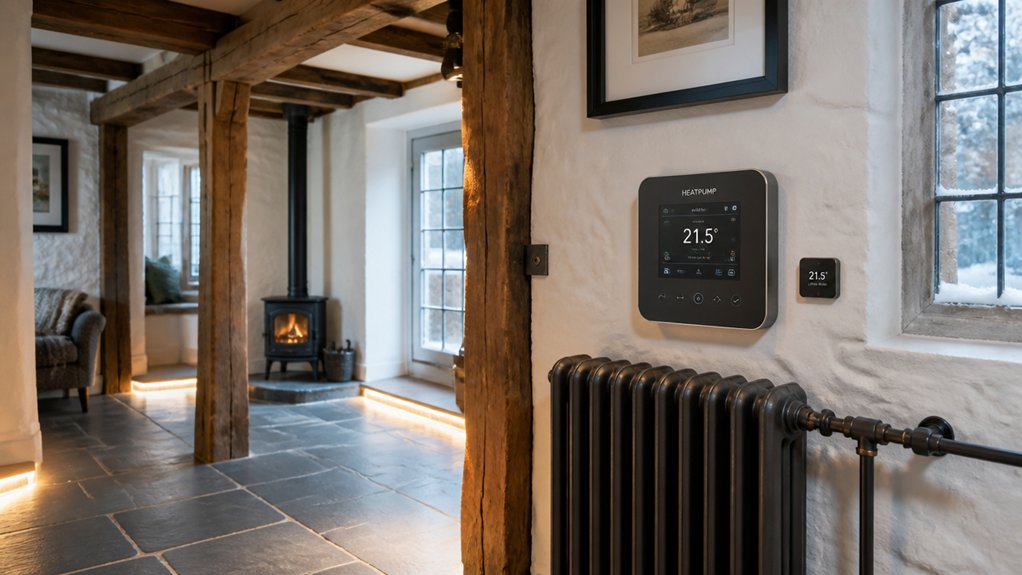
After you cut heat loss, compare heating options: ductless heat pumps for efficiency, radiant floor for comfort, or a sealed-combustion stove where allowed. Size equipment by load calcs, not guesswork.
Plan Electrics, Plumbing, and Waste Runs
Before you close up walls and ceilings, you’ll map every electrical circuit—lighting, sockets, fixed appliances, and any outbuildings—so load calculations, breaker sizing, and RCD/GFCI placement stay compliant.
You’ll then route hot/cold supplies with service access in mind, keeping clearances from insulation and electrics and planning shutoffs where code expects them.
Finally, you’ll set waste and vent runs early so you can hold the required fall, avoid structural timbers, and position cleanouts for inspection and maintenance.
Map Electrical Circuits Early
Once you decide where the kitchen, bath, and utility spaces will land, map your electrical circuits immediately so you’re not drilling through new framing or rerouting pipes later. Start with a load calculation and panel capacity check, then assign dedicated circuits for high-demand appliances and any required small-appliance receptacle circuits. Place GFCI/AFCI protection where code demands and label every run for Electrical safety.
Next, lay out receptacles, switches, and lighting by use, not habit: task lighting at counters, damp-rated fixtures where moisture may occur, and three-way switching for long stable aisles. Keep cable routes in protected zones, maintain required stapling and boring clearances, and plan junction box access so nothing gets buried behind future finishes.
Good circuit planning prevents failed inspections and expensive rework.
Route Plumbing And Waste Lines
With your circuits mapped, lock in plumbing supply and waste routes next so pipes don’t compete with cable paths, beams, or new insulation bays. Set fixture locations, then draw straight runs to a main stack, keeping trap arms within code limits and venting every branch.
Prioritize Waste line routing with gravity in mind: maintain required slope, avoid long flat sections, and limit offsets that clog. Where the stable sits low, plan Drainage solutions like a pumped lift station or exterior regrading to protect the new slab.
Sleeve penetrations through masonry, firestop around stacks, and isolate pipes from timber to prevent rot. Keep cleanouts accessible behind panels, not buried in finished walls. Confirm tie-ins to septic or sewer meet local permits, backflow rules, and freeze protection.
Pressure-test supply lines before you close cavities.
Add Light and Airflow: Windows, Doors, Vents
Although a stable’s thick walls and low openings help it stay cool, they’ll also leave your new living space dim and stale unless you deliberately design for daylight and cross‑ventilation. Start with window placement: put larger units on the sun side for usable light, keep sill heights and egress sizes code‑compliant, and align openings on opposite walls to drive a breeze.
If you’re cutting masonry, add a proper lintel and verify load paths before you saw.
Next, refine door design so airflow isn’t an afterthought—use a full‑height exterior door with weather‑seals, and consider a screened secondary leaf or transom for secure purge ventilation. Add ridge or gable vents, plus soffit intake, and size net free area per local requirements.
Seal gaps against pests, not air.
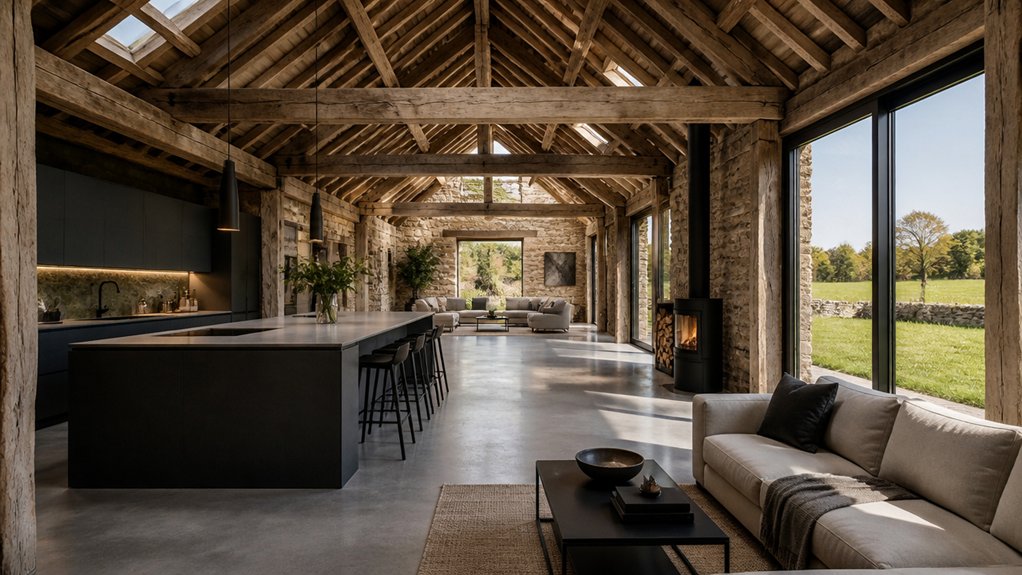
Finish Inside While Keeping Stable Character
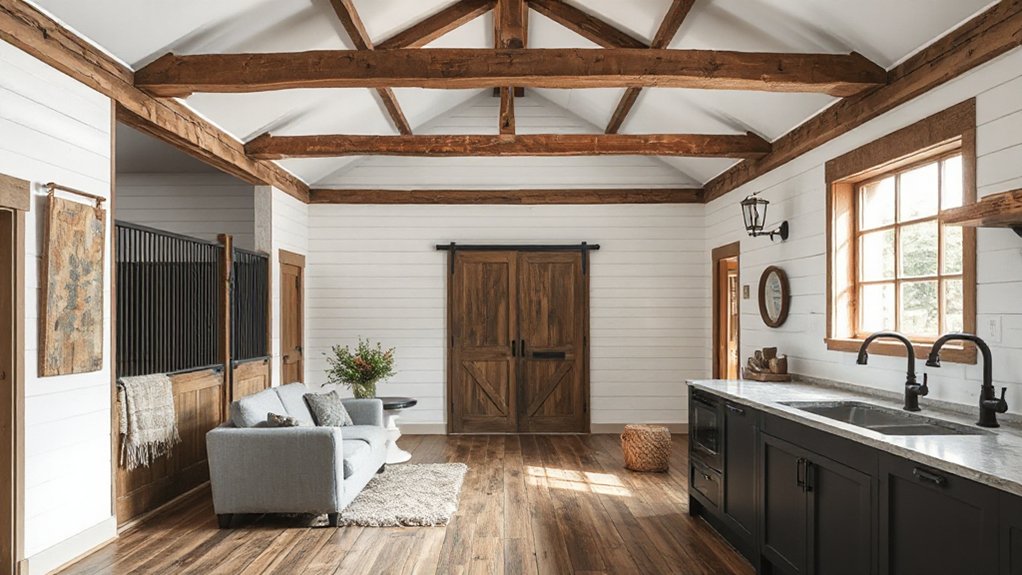
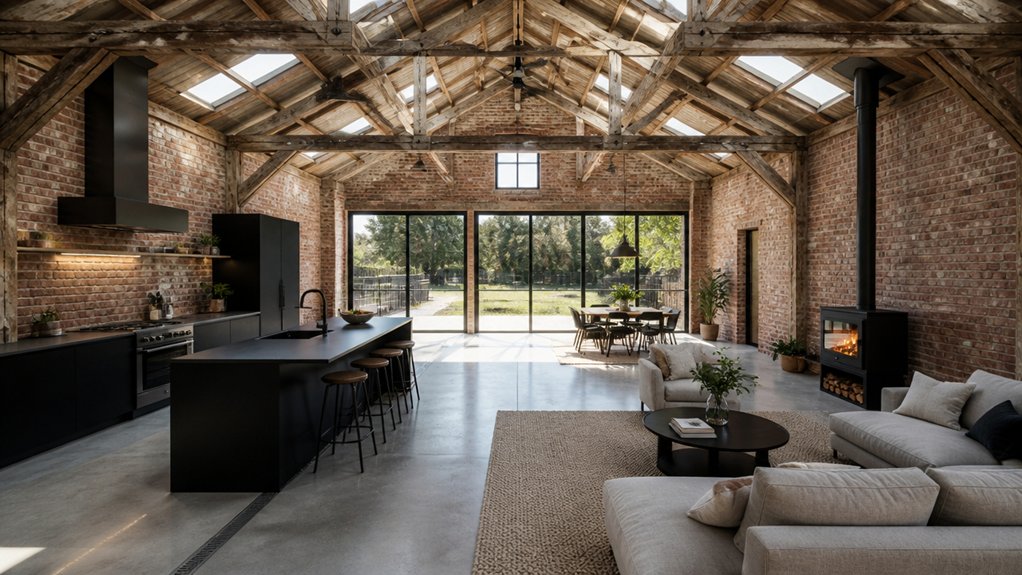
Because a stable’s charm lives in its structure, you’ll get the best interior finish by treating the old fabric as a feature—not something to bury under drywall—while still meeting fire, moisture, and insulation requirements.
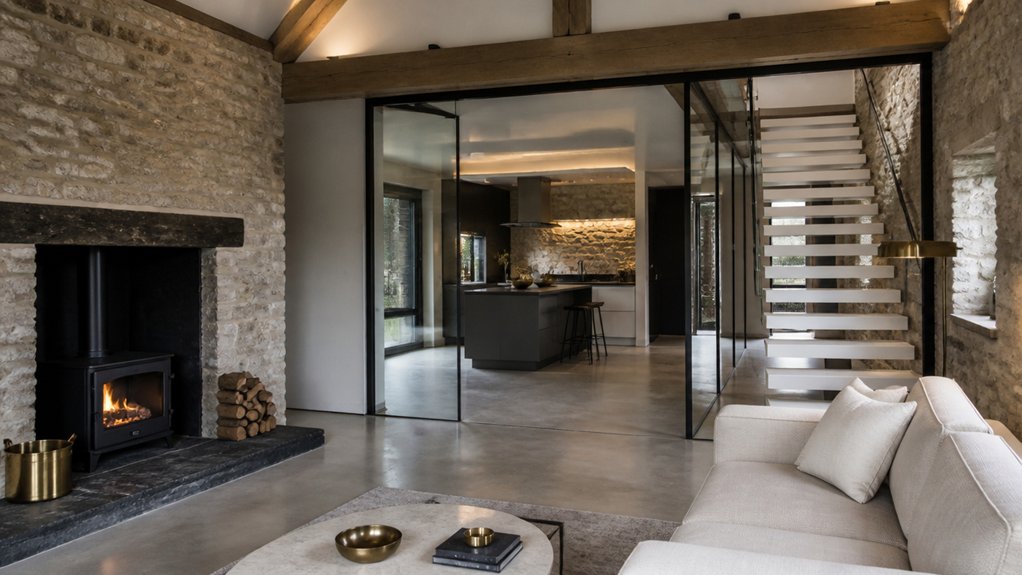
Keep beams, trusses, and brick exposed, then add a service cavity: furring strips over a vapor-smart membrane, mineral-wool insulation, and Type X gypsum where code demands a rated assembly.
Seal gaps at sill plates and around penetrations with fire-rated caulk, and use washable, mold-resistant paints on former stall walls.
Choose Decorative finishes that echo agricultural use—limewash, oiled wood, blackened steel—without trapping moisture.
Plan furniture placement to avoid covering vents, access panels, or historic joinery, and leave clear egress paths for doors and windows.
Frequently Asked Questions
Can I Keep Horses in Part of the Stable After Conversion?
Yes, you can keep horses in part of the stable after conversion, if you separate zones with fire-rated, sealed partitions, preserve ventilation, and meet Horse safety rules; maintain aisles, drainage, and Stable maintenance access.
How Do I Handle Lingering Odors From Animals in the Finished Space?
You’ll handle lingering animal odors by stripping contaminated surfaces, sealing with odor-blocking primer, and deploying Odor neutralization enzymes. Add Ventilation strategies: continuous HRV/ERV, activated-carbon filtration, and negative-pressure exhaust during cleanup to prevent reabsorption.
Will Converting a Stable Affect My Home Insurance or Premiums?
Yes, it can; you can’t assume your current policy covers it. Document Conversion costs, pull permits, and update electrical/plumbing to code, then notify your insurer to address Insurance implications; premiums may rise, but gaps won’t.
Do I Need a Party Wall Agreement if the Stable Borders a Neighbor?
If the stable shares a boundary wall or you’ll excavate nearby, you’ll likely need a Party wall agreement; legal requirements vary locally. You should serve notice early, document scope, and get written neighbor consent.
How Can I Make the Conversion Accessible for Wheelchair Users?
You’ll make it accessible by meeting local codes: add Accessible ramps with proper slope, landings, and handrails; install wheelchair friendly doors with 32-inch clear width, low thresholds, lever hardware, and clear floor space throughout.

Leave a Reply