

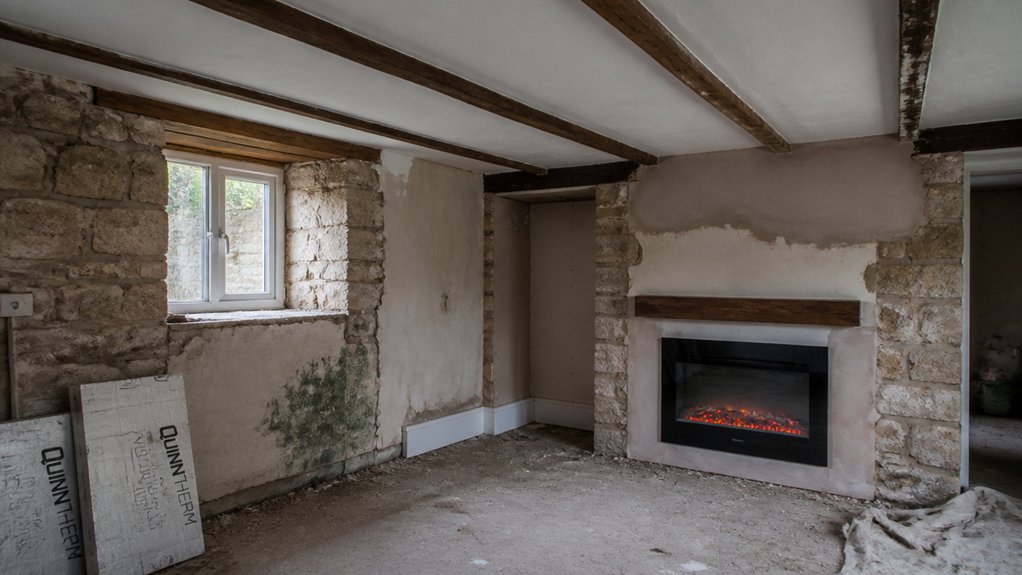
If you’re renovating a UK cottage, you can’t treat it like a modern shell with cosmetic quirks. You need to check listed status and planning constraints early, assess damp sources and ventilation paths, and choose breathable materials that don’t trap moisture. You must also accept historic movement and irregular finishes instead of forcing “straight” solutions. Rewires, earthing, and plumbing often exceed assumptions, and the wrong builder compounds every risk—starting with the first site visit…
Key Takeaways
- Failing to confirm listed status or conservation area rules, then starting work without the right consents and written approvals.
- Hiring builders without heritage renovation experience, leading to poor sequencing, avoidable rework, and enforcement or compliance problems.
- Using incompatible materials like cement mortar, gypsum plaster, or impermeable paints that trap moisture and damage traditional fabric.
- Treating “damp” without proper diagnostics, ignoring ventilation, RH, and water entry points, which causes recurring mould and condensation.
- Adding solid-wall insulation or airtight linings without hygrothermal checks, creating interstitial condensation, cold bridges, and timber decay.
Mistake: Skipping Listed Building and Planning Checks
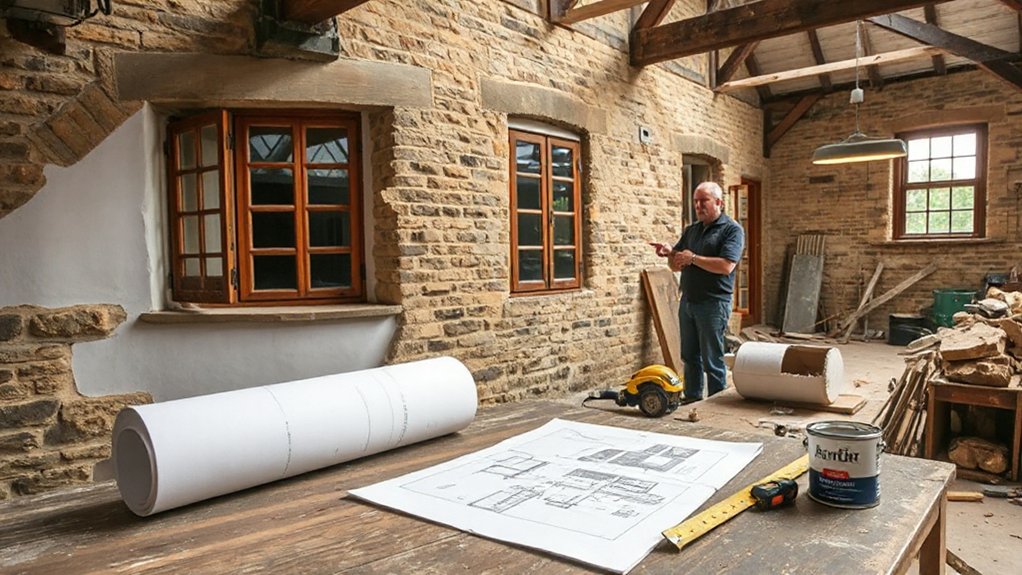
Even if your cottage renovation feels like “minor works,” you still need to confirm whether the property is listed and what consents apply before you start. Check the National Heritage List for England (or devolved equivalents) and your local authority’s constraints maps.
If it’s listed, you’ll often need Listed Building Consent for fabric changes, including windows, doors, fireplaces, internal partitions, and even like-for-like repairs that alter detail. You should document existing conditions with dated photos and measured notes to support architectural preservation decisions.
Separate planning permission from Building Regulations; they’re different tests, timelines, and enforcement routes. Don’t assume permitted development covers extensions, outbuildings, or garden landscaping; curtilage listing and conservation areas can restrict paths, walls, gates, and lighting.
Get written confirmation.
Mistake: Ignoring Damp, Ventilation, and Breathability
Because most UK cottages were built with breathable fabric—lime mortar, soft brick or stone, and permeable plasters—you can create persistent damp problems if you “modernise” the envelope without a moisture strategy.
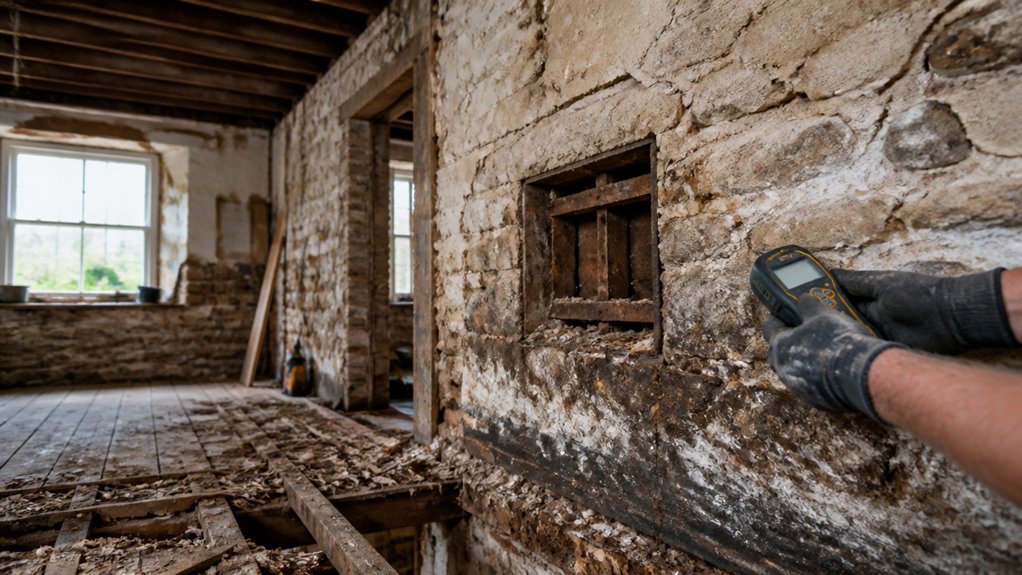
Start with diagnostics: measure internal RH and surface temperatures, map salts and staining, and check gutters, ground levels, and pointing for bulk-water entry.
Then control vapour and airflow systematically.
If you add Modern insulation, model condensation risk (e.g., dew-point or hygrothermal analysis) and verify you’re not driving moisture into colder zones.
Provide contemporary ventilation sized to occupancy: extract from wet rooms, ensure make-up air paths, and commission flow rates.
Maintain modest background heat to keep surfaces above mould thresholds.
Re-check RH after works and adjust ventilation duty cycles.
Mistake: Using Modern Materials That Trap Moisture
When you retrofit a cottage with dense, impermeable products—cement renders, gypsum plasters, injected “waterproof” DPCs, vinyl paints, foil-backed plasterboard, or closed-cell insulation—you change the wall from a moisture-buffering assembly into a vapour trap.
Moisture from rain penetration, rising damp, and indoor humidity can’t diffuse outward, so it accumulates at interfaces, driving salt crystallisation, spalling brick faces, timber decay in embedded ends, and mould behind linings.
You’ll often see patchy efflorescence, cold-spot condensation, and persistent musty odours despite “dry” readings on surface meters.
If you want Modern aesthetics and Contemporary finishes, specify vapour-open systems: lime-based plasters, breathable mineral paints, and capillary-active repair mortars, then confirm performance with hygrothermal assessment and moisture monitoring.
Mistake: Insulating the Wrong Areas the Wrong Way
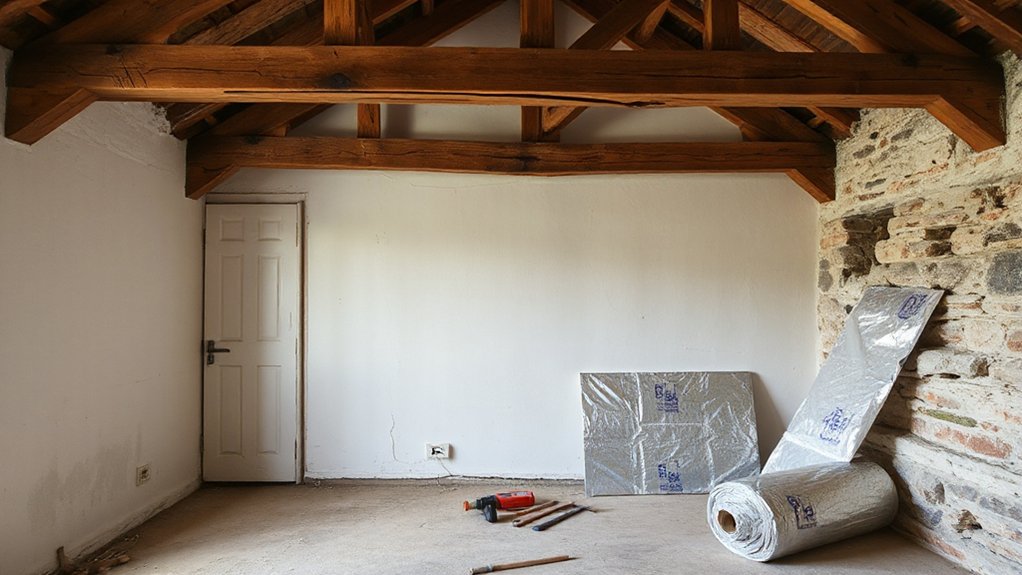
Insulation can either improve a cottage’s comfort or destabilise its moisture and thermal balance if you apply it to the wrong elements or in the wrong build-up. You need to target heat-loss paths while preserving vapour permeability and controlled ventilation, or you’ll shift the dew point into timber and masonry.
Don’t add impermeable internal linings to solid walls without hygrothermal checks; you can drive interstitial condensation and rot. Prioritise Roof insulation first, but maintain eaves ventilation and continuity at rafters to avoid cold bridges and mould.
Treat floors and walls with breathable systems and specify airtightness only with planned air changes. Upgrade Window glazing cautiously: secondary glazing often reduces draughts with lower risk than sealed double units in fragile frames.
Validate decisions with U-value and moisture modelling for your build-up.
Mistake: “Fixing” Wonky Walls and Uneven Floors
If you “fix” wonky walls and uneven floors to modern tolerances, you can erase historic character and introduce new stress paths in lime-based, flexible structures.
You need to first verify the cause—historic settlement, timber decay, moisture ingress, or previous alterations—using measured levels, crack monitoring, and moisture readings before you touch finishes.
Once you’ve evidenced what’s moving and why, you should choose sensitive repairs (localised packing, breathable plasters, targeted joist repairs) that stabilise performance without forcing the building square.
Respecting Historic Character
Although those bowed stud walls and sloping floorboards can look like defects, they’re often part of a cottage’s original movement profile—timber shrinkage, historic settlement, and breathable lime-based construction working as designed. If you “true” everything to modern tolerances, you risk locking moisture in, introducing stress points, and erasing evidence of age.
Treat irregularity as data: record levels, plumb lines, and floor deflection, then decide what you must alter for function and safety. Use reversible fixes—shim joinery, pack skirtings, and adjust thresholds—so you don’t need wholesale flattening.
Match materials and finishes to existing fabric, and retain tool marks, lath lines, and waviness where possible. That supports Historic preservation and protects Architectural authenticity, while still letting rooms read as genuinely old.
Investigating Underlying Causes
Before you reach for self-leveller or start “pulling” studwork back to plumb, establish *why* the wall or floor moved in the first place, because the same forces will distort your new work again.
Map the distortion: measure level and plumb over full spans, not just at the defect. Check for settlement indicators—stepped cracking, racked openings, sloping thresholds—and correlate them with external ground levels, drainage routes, and nearby trees.
Probe moisture: record RH, inspect for salts, decay, insect damage, and failed gutters, because wet timbers and friable mortar creep.
Lift sample boards to assess joist bearing, deflection, and wall plate condition.
If movement is active, monitor with tell-tales.
Your goal is Structural integrity first, then aesthetic consistency.
Choosing Sensitive Repairs
Once you’ve confirmed what drove the movement and whether it’s still active, choose repairs that stabilise the structure without forcing a cottage into modern tolerances. Don’t chase level floors or plumb walls if the frame has settled; you’ll simply transfer stresses and trigger new cracks.
Specify lime-based mortars and breathable plasters so moisture can migrate, and use discreet stitching or timber splicing only where monitoring shows progressive separation.
Pack and support floors with targeted joist repairs, not wholesale screeds that trap damp and overload weak subfloors.
When adding Modern extensions, detail flexible junctions and slip joints to accommodate differential movement.
Use Smart technology—crack gauges, humidity sensors, and level monitoring—to verify performance before you redecorate.
Keep records, recheck seasonally, and adjust interventions accordingly.
Mistake: Underestimating Rewires, Earthing, and Plumbing Upgrades
Because many older cottages hide decades of DIY fixes and partial upgrades, you can’t treat electrics and plumbing as “minor” line items. You should assume legacy cables, mixed earthing arrangements, and overloaded circuits until testing proves otherwise.
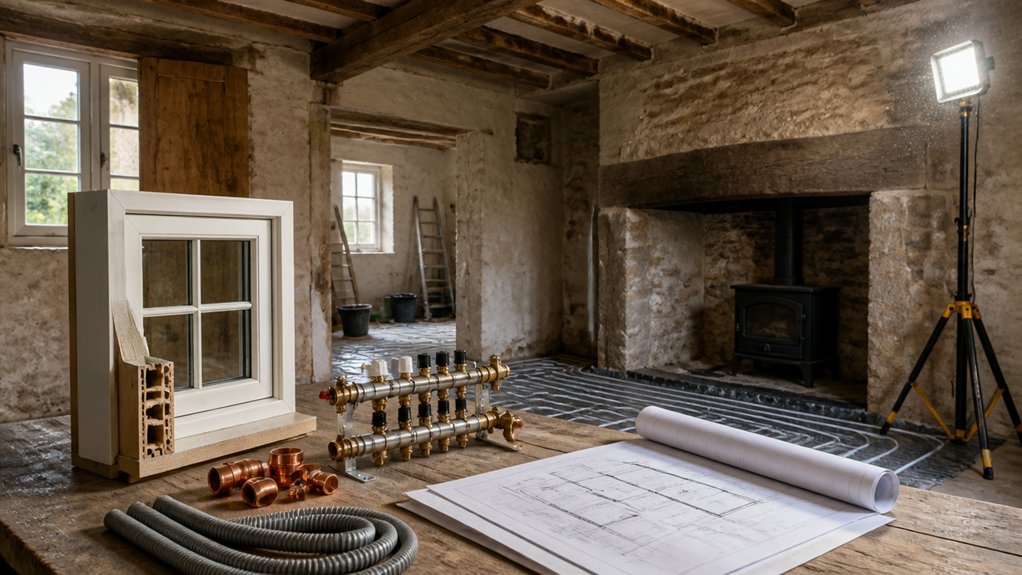
Plan Electrical upgrades around an EICR, earth-loop impedance readings, RCD protection, bonding to services, and routes that minimise fabric loss. If you ignore earthing, you risk nuisance tripping, shock hazards, and failed certification.
For plumbing considerations, verify pipe materials, pressure, and dead legs; check stopcocks, isolation valves, and venting. Old lead, galvanised steel, or microbore often constrains flow and hot-water recovery.
Budget for rerouting, soil-stack upgrades, and leak detection before you close walls or lime plaster.
Mistake: Hiring Builders Without Cottage Renovation Experience
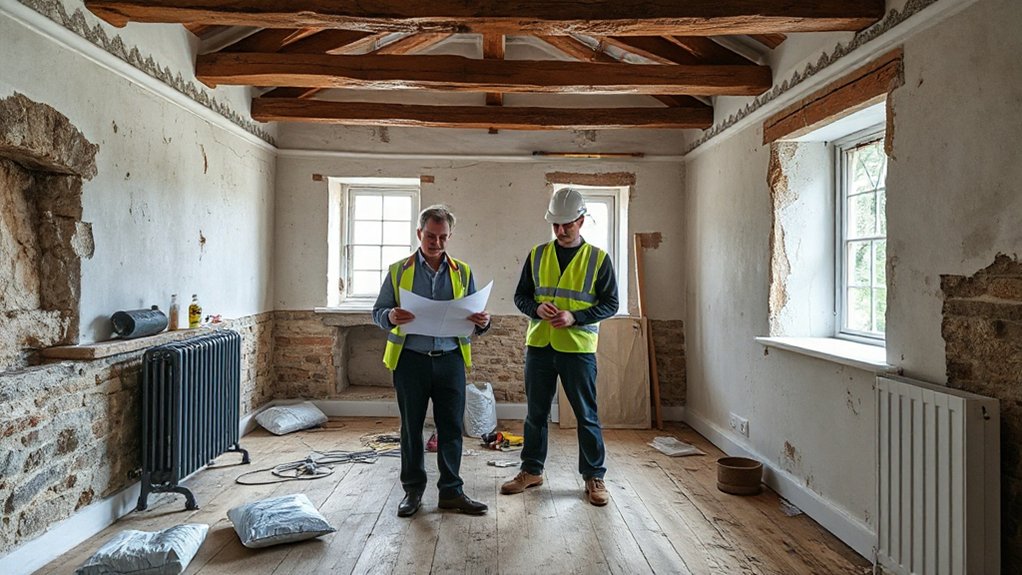
If you hire builders without proven cottage-renovation experience, you risk losing heritage construction skills that protect the structure’s moisture balance and fabric.
You’ll also see errors when they lack period material knowledge, such as specifying hard cement mortars or non-breathable finishes that accelerate decay in solid-wall cottages.
You can compound the problem if they ignore cottage-specific regulations—especially listed-building consent and conservation-area constraints—leading to rework, enforcement action, and budget overruns.
Overlooking Heritage Construction Skills
Although a competent general contractor can deliver a neat finish, cottage renovations in the UK often fail when you hire builders without heritage construction skills. You’ll see problems where old fabric meets new work: trapped moisture, cracking at junctions, and uneven settlement. These aren’t “snags”; they’re predictable outcomes of mismatched construction techniques.
You should vet for Heritage craftsmanship the same way you’d vet for structural competence. Ask for case studies on listed or period cottages, method statements for breathability management, and evidence of working with conservation officers.
Require a survey-led scope, photos of opening-up works, and a plan for recording existing details before altering them. If they can’t explain why they sequence repairs to keep the building stable and dry, you’re taking a measurable risk.
Missing Period Material Knowledge
When your builder treats a cottage like a modern cavity-wall house, you get failure modes driven by material mismatch rather than “bad luck.” Period buildings rely on vapour-open, hygroscopic materials—lime mortar and plaster, timber, stone, soft brick—that buffer moisture and move seasonally.
Swap in dense cement, gypsum, or impermeable paints and you change the hygrothermal behaviour of the whole wall. You then see trapped moisture, elevated salts, frost spalling, and timber decay at embedded joist ends.
You also drive thermal bridging and interstitial condensation because you’ve removed capillary drying paths. To protect Historical accuracy, specify like-for-like repair: lime-based binders, breathable finishes, and compatible aggregates.
Demand evidence of Material compatibility: sample panels, moisture readings, and manufacturers’ vapour-permeability data. If your builder can’t explain why lime cures by carbonation, you’re gambling with the fabric.
Ignoring Cottage-Specific Regulations
A cottage renovation in the UK often triggers a different regulatory stack than a standard extension, and hiring builders without heritage experience makes non-compliance a predictable risk rather than a one-off surprise. You’ll face planning constraints, conservation area controls, and, if listed, Listed Building Consent; these govern fabric changes, windows, rooflines, and even internal alterations.
Inexperienced builders may specify incompatible insulation, replace lime plaster with gypsum, or add Modern extensions that breach scale, materials, or sightline rules. You should require a written compliance plan: confirm the property’s listing status, check local validation requirements, map approvals to scope, and log materials and methods.
For energy efficiency, you’ll need evidence-led upgrades (e.g., breathable insulation, secondary glazing) aligned with SAP/Part L exceptions and conservation guidance.
Frequently Asked Questions
How Do I Keep Renovation Costs Under Control Without Cutting Corners?
Prioritise precise, preventative budget planning: scope, specifications, and contingencies. Use evidence-based contractor selection with comparable bids, references, and fixed-price milestones. Track costs weekly, approve changes in writing, and buy materials early to avoid overruns.
What Cottage Features Add the Most Resale Value in the UK?
You’ll add most UK resale value by preserving historic charm while upgrading modern amenities: efficient insulation, discreet double glazing, compliant electrics, and quality kitchens/bathrooms. You’ll evidence gains with EPC improvements, surveyor-ready documentation, and conservation-sensitive detailing.
How Long Does a Typical Cottage Renovation Take From Start to Finish?
You’ll typically take 6–18 months, like scaffolding wrapping stone walls. You plan surveys, permissions, and Historic preservation. You sequence structural work, MEP, finishes. Delays cluster around Material sourcing, lead times, and contractor availability.
Do I Need Specialist Insurance During a Cottage Renovation Project?
Yes—you’ll typically need specialist insurance during renovation. Standard home policies may exclude works. Confirm Insurance requirements with your insurer and builder. Buy renovation coverage covering public liability, contract works, theft, and unoccupied periods.
Can I Live in the Cottage While Renovation Work Is Ongoing?
You can, but you’re walking a tightrope: assess dust, noise, utilities, and fire egress. Plan Living arrangements room-by-room. If structural work or asbestos arises, choose Temporary accommodations until safety certificates and services restore.


Leave a Reply