

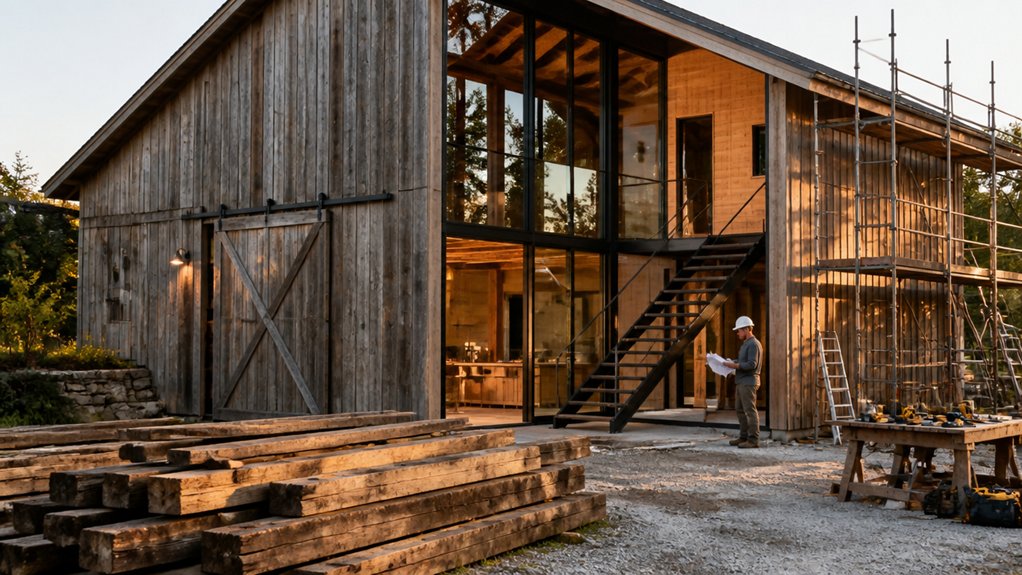
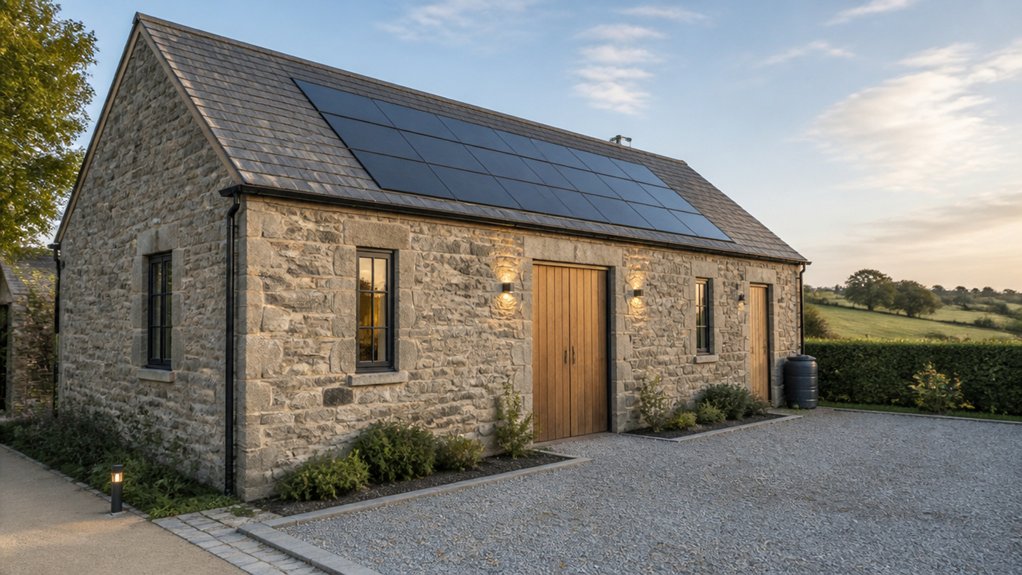
You buy a redundant stone barn outside York and plan a luxury two‑bed with underfloor heating and full‑height glazing. Before you price finishes, you’ll verify structural capacity, access, utilities, and planning constraints like curtilage listing, bats, and flood risk. You’ll map a compliant route for insulation, airtightness, and moisture control so timber and masonry don’t fail. Get this early sequence wrong, and every “premium” choice becomes a costly compromise—so start with what you can’t change.
Key Takeaways
- Survey the barn and site, confirming boundaries, access, utilities, flood risk, contamination, and structural stability before design decisions.
- Choose the correct planning route (full permission or Class Q) and check constraints like Green Belt, AONB, curtilage, and protected species.
- Set a realistic budget covering structural remediation, high-performance insulation, M&E systems, compliance fees, and premium finishes.
- Upgrade structure, insulation, and airtightness with moisture-safe, vapour-open details, continuous air barriers, and properly flashed, high-spec glazing.
- Integrate modern services early—heating, electrics, plumbing, drainage, and ventilation—while retaining character using breathable, conservation-appropriate materials and detailing.
Is Your Barn Conversion Viable? (Survey + Constraints)
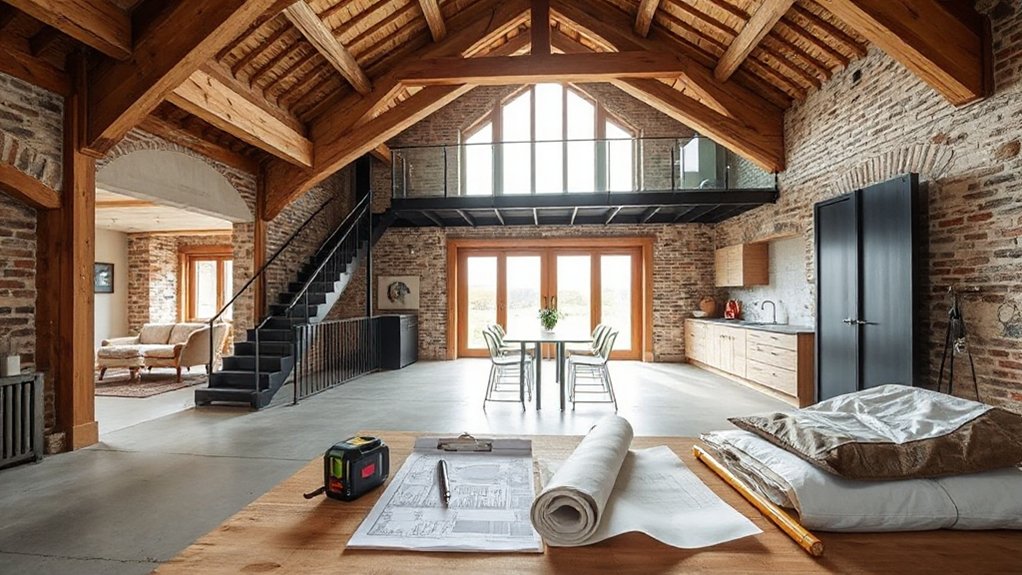
Before you fall in love with layouts and finishes, you need to confirm the barn can legally and physically become a dwelling, starting with a measured survey and a constraints check. Get accurate plans, levels, and photographs, then map boundaries, easements, and access for construction vehicles and future services.
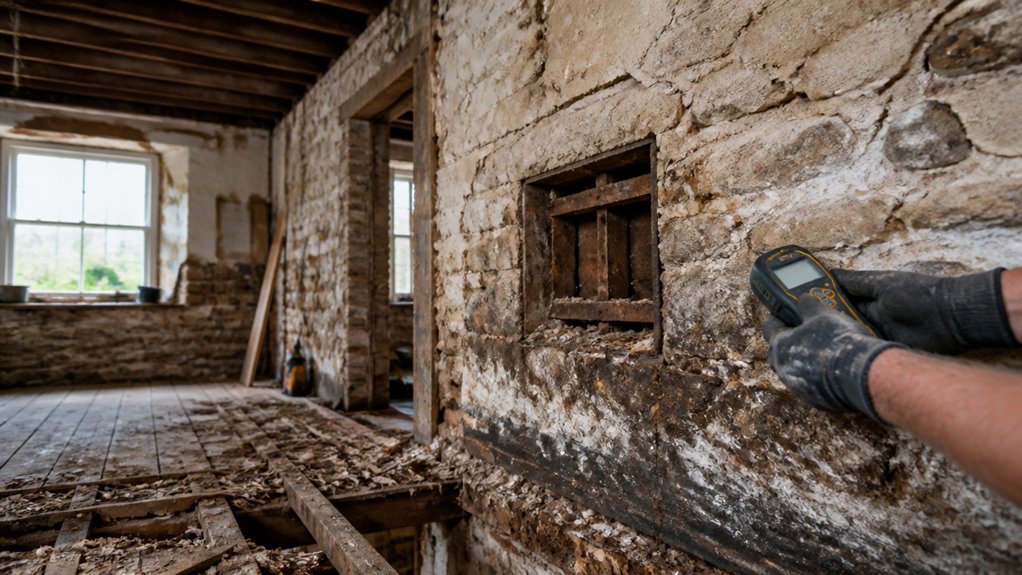
Commission a structural engineer to test foundations, frame integrity, roof spread, wall plumb, and moisture movement so you can evidence structural stability and scope remedial works.
Check flood risk, groundwater, drainage routes, and contamination from past agricultural use. Verify utilities capacity, set‑back requirements, and fire‑service access, including turning circles and hydrant proximity.
If the barn has historical significance, record fabric and features early so your design team can retain character while meeting insulation, ventilation, and safe escape standards.
Barn Conversion Planning Permission: Routes and Risks
Once your survey and constraints check confirm the barn can physically work, you need to choose the right planning route and understand where it can fail. You’ll usually apply for full planning permission, or use permitted development (often Class Q) if the building qualifies and the use change stays within limits.
Check Planning regulations early: curtilage extent, highway access, flood risk, protected species, and whether the site sits in Green Belt, AONB, or a conservation area. Listed status triggers listed building consent and tight controls on fabric, openings, and insulation strategy.
Class Q can fail if the structure isn’t “reasonably capable” of conversion without major rebuilding, or if you propose excessive new glazing or extensions. Tie your Barn renovation drawings to Building Regulations compliance, drainage approvals, and fire access.
Luxury Barn Conversion Costs: Budgets and Drivers
Three numbers usually set your luxury barn conversion budget: the structural shell you inherit, the performance standard you’re targeting (Part L insulation/airtightness, Part F ventilation, Part B fire safety), and the amount of “new build” you’re effectively introducing through glazing, extensions, and services.
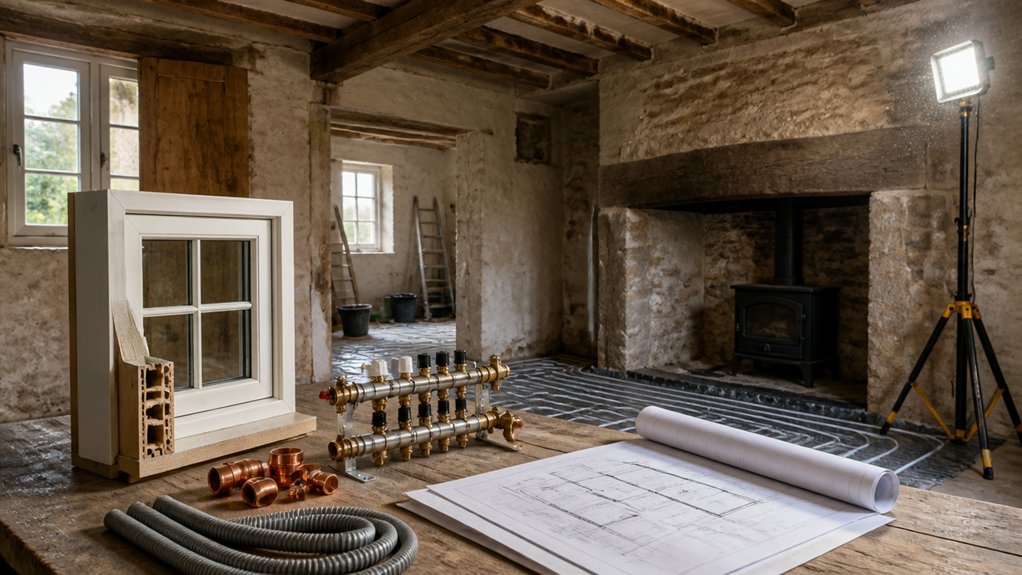
From there, costs swing on M&E scope: underfloor heating, heat pumps, MVHR, smart lighting, and comms runs across long spans.
Your finishes drive the next jump—bespoke joinery, stone, microcement, high-spec kitchens, and acoustic upgrades for open volumes.
Professional and compliance fees add up: measured surveys, design team, building control, SAP, fire strategy, and Party Wall where applicable.
If Barn aesthetics and historical significance matter, you’ll pay for careful detailing, conservation-grade materials, and mock-ups to secure approvals and avoid rework.
Structure First: Roof, Walls, Frame, Foundations
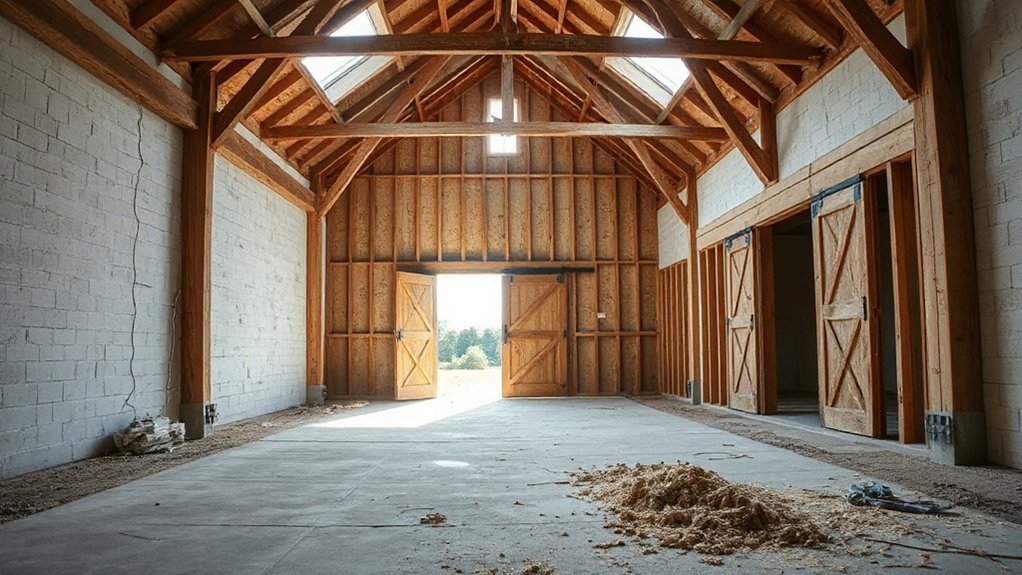
Cost plans only hold up if the building’s bones can carry the loads, resist wind, and meet today’s performance and safety rules, so you start by proving (or upgrading) the roof, walls, frame, and foundations.
Bring in a structural engineer to verify structural integrity and size members for current live, snow, and wind loads per local code.
Inspect rafters, purlins, trusses, and connections; replace undersized timbers, add straps, and specify corrosion-rated fasteners.
Check wall racking resistance and straighten out-of-plumb posts with sistering or steel flitch plates.
Confirm foundation stability by mapping cracks, moisture staining, and settlement; test bearing capacity where loads change.
Add pad footings, underpinning, or a new slab only where required, and document everything for permitting.
Barn Conversion Insulation: Airtightness + Moisture Control
Because old barns were built to dry outward—not to be airtight—you’ll need an insulation strategy that pairs continuous air sealing with deliberate moisture control that meets local energy code (IECC or your jurisdiction’s equivalent).
Start by mapping your primary air barrier (taped sheathing, membrane, or spray foam) and keep it continuous across wall-to-roof and slab-to-wall transitions. Your airtightness strategies must include sealed penetrations, gasketed framing interfaces, and verified blower-door targets where required.
Add insulation to hit required R-values while protecting historic timbers from trapped vapor. Use smart vapor retarders or vapor-open assemblies where climate demands, and maintain a dedicated drainage plane behind cladding.
For moisture mitigation, control bulk water with flashing, capillary breaks, and conditioned-space humidity management. Detail seams before insulating.
Glazing a Barn Conversion: Doors, Windows, Daylight
While you’re opening up a barn shell for a luxury conversion, treat glazing as a performance system—not just a view—by sizing and placing doors and windows to meet energy code (U-factor/SHGC by climate zone), egress and tempered-safety requirements, and your daylight goals without compromising the air and water control layers you just detailed.
Map openings to structure: keep new headers sized, and limit cuts in shear-critical bays. Choose insulated Glass panels with warm-edge spacers and certified ratings; use triple glazing where winter design temps demand it.
Set window frames in the insulation plane, flash with pan and head flashings, and integrate tapes to your WRB for continuity.
Control glare with orientation, overhangs, and interior shading allowances. Specify multipoint locks and threshold drainage, and confirm sill heights meet egress clearances.
Barn Conversion Services: Electrics, Water, Drainage, Heating
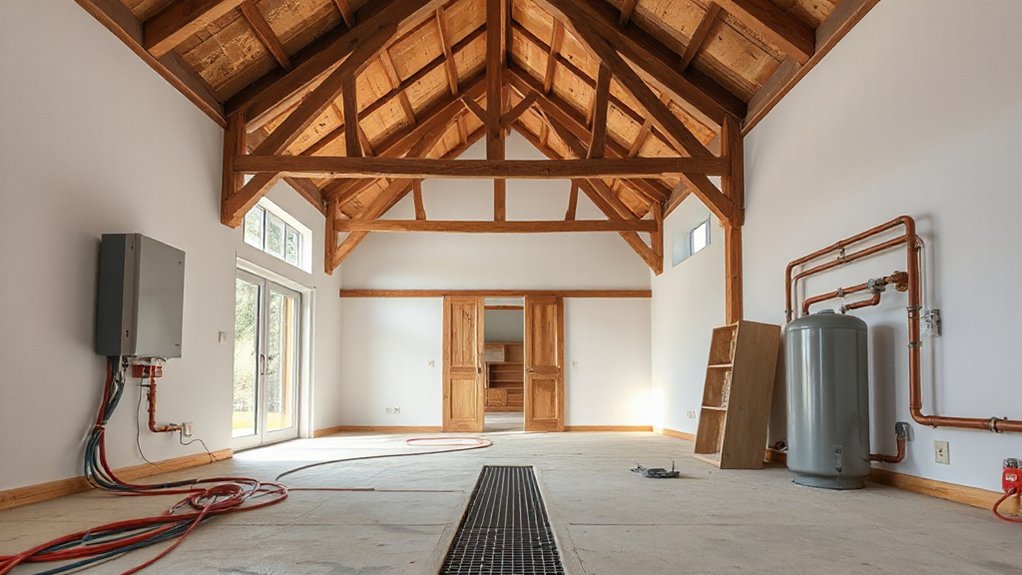
Next, you’ll plan the barn’s core services so they meet current regs and suit the building’s fabric. You’ll rewire for modern loads and layered lighting.
Then, route a compliant water supply and plumbing with isolation valves, backflow protection, and accessible maintenance points.
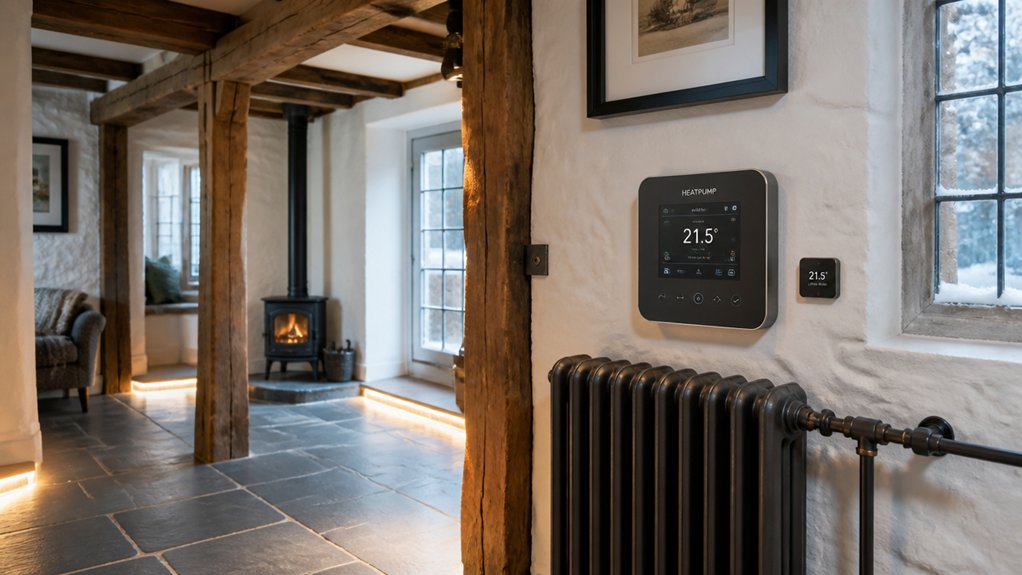
You’ll specify drainage falls, vents, and treatment where needed, and choose a heating system (underfloor, radiators,, or heat pump) that matches insulation levels, airtightness, and zoning.
Electrical Rewiring And Lighting
Once you’ve confirmed the barn’s structural layout, you’ll want to plan a full electrical rewire that meets current Building Regulations (Part P) and suits modern living without fighting the building’s original character. Use a NICEIC/NAPIT electrician, agree cable routes early, and protect historic timbers by running services in voids, surface-mounted conduit, or discreet trunking where chasing isn’t viable.
Design circuits around use: dedicated radial circuits for ovens and workshop loads, separate lighting circuits per floor, and plenty of sockets to avoid adaptors.
Upgrade the consumer unit with RCD/RCBO protection, label everything, and install SPD where required for electrical safety.
Specify fire-rated downlights under floors, choose IP-rated fittings for damp areas, and combine task lighting with vintage lighting to soften stone and frame original beams.
Test, certify, and file EIC documents.
Water Supply And Plumbing
Because many barns sit on private supplies and long, undersized runs, start your water and plumbing plan by confirming the incoming mains (or borehole) flow rate, static/dynamic pressure, stop-tap location, and whether you’ll need a booster set or break tank to meet peak demand.
Then size the incoming service, meter position, and internal distribution so water pressure stays stable when multiple outlets run.
Specify WRAS-approved pipework and fittings, insulate against freezing in exposed voids, and detail fire-stopping where pipes pass through rated elements.
Add accessible isolation valves to each zone and to key appliances for maintenance.
Plan hot and cold routes early to avoid structural steel and heritage walls, and allow for acoustic control.
Choose plumbing fixtures with compatible flow requirements and provide proper backflow protection at hose taps.
Drainage Systems And Heating
Where will all that water go—and how will you keep the converted barn warm without creating noise, smells, or damp? Start with drainage design: commission a percolation test, map falls, and confirm whether you’ll connect to mains sewer or install a packaged treatment plant. Keep foul and surface water separate, add rodding access at changes in direction, and vent soil stacks to meet Building Regulations. Use trapped gullies, backflow protection where flood risk exists, and insulate pipes in unheated voids to prevent freezing.
Then choose heating options that suit high volumes and exposed fabric. Underfloor heating pairs well with air- or ground-source heat pumps; use zoning, low‑temperature flow, and acoustic mounting. If you fit a stove, specify an insulated flue, combustion air, and carbon‑monoxide alarms.
Luxury Barn Conversion Finishes That Suit the Building
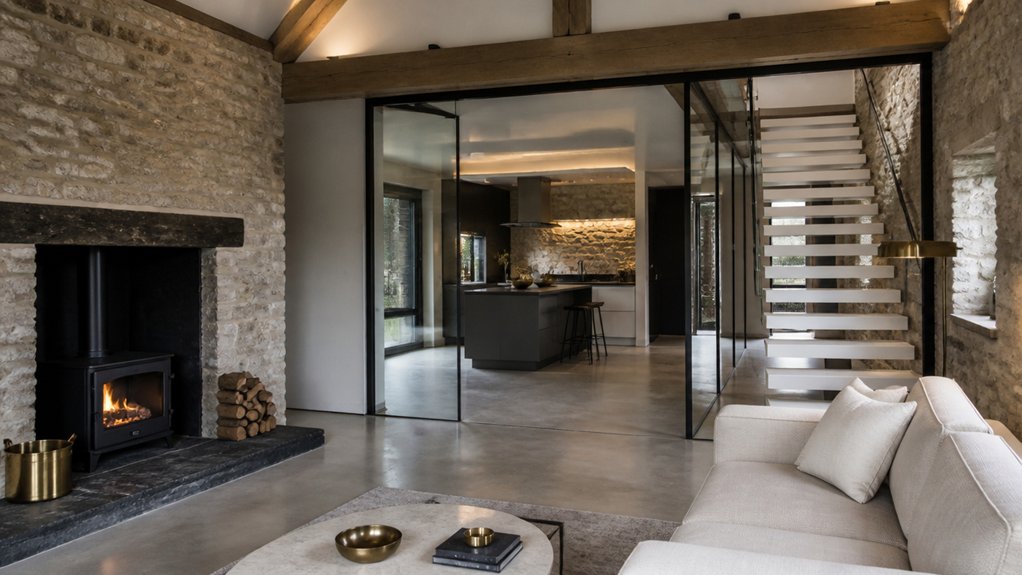
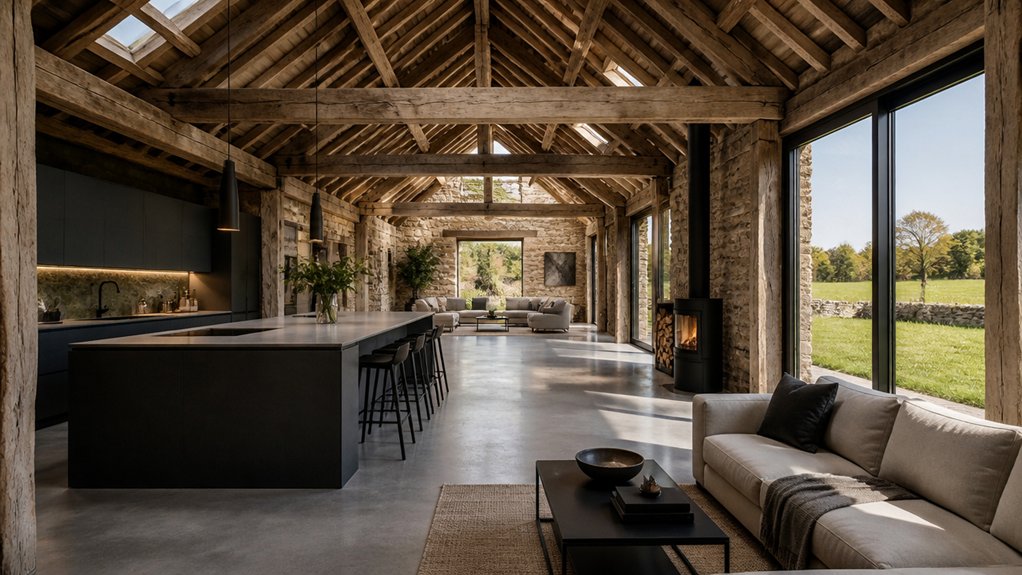
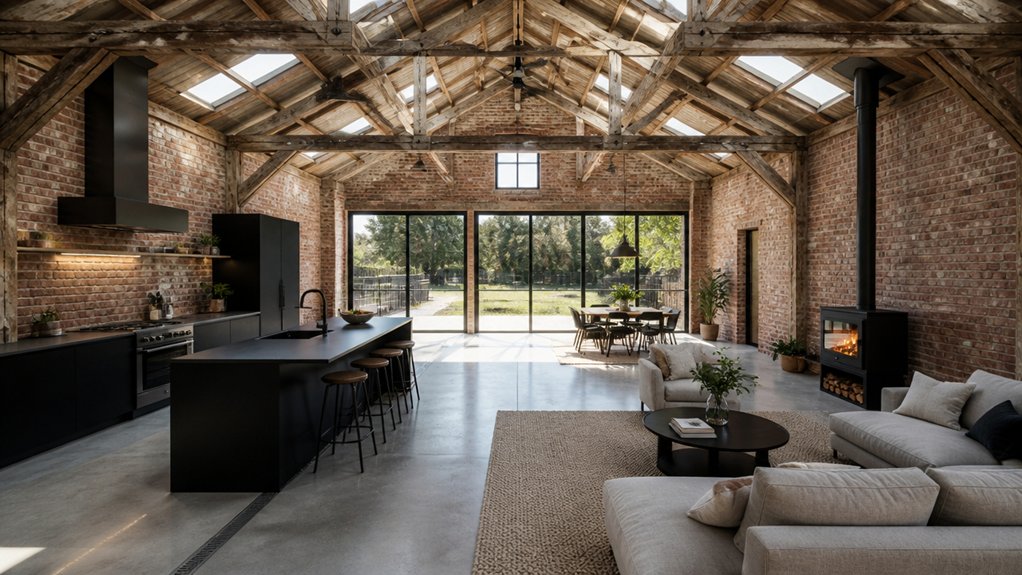
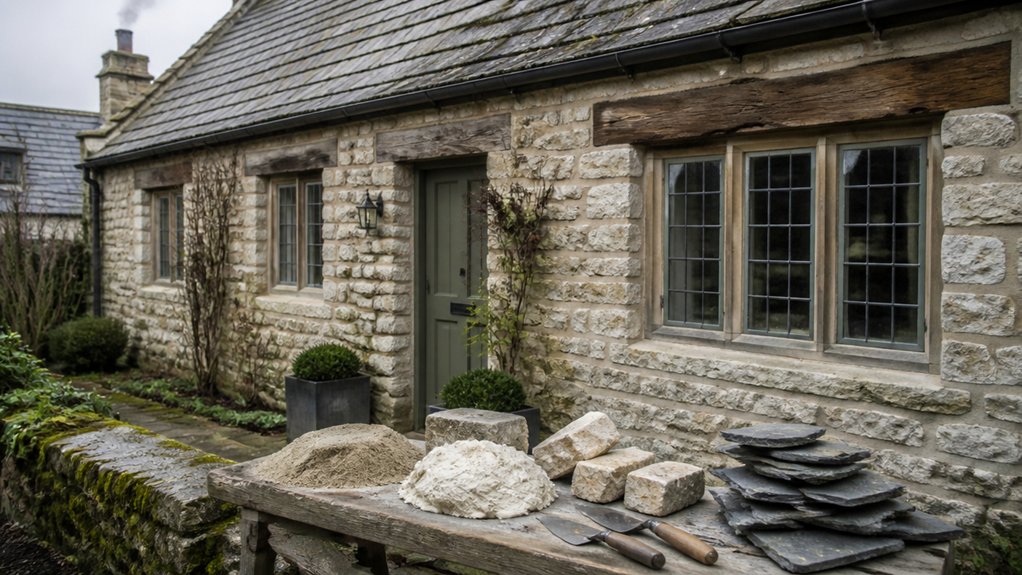
You’ll get the best results when you choose a heritage-inspired material palette—reclaimed timber, lime-based plaster, and locally matched brick or stone—that respects the barn’s original fabric and meets fire, moisture, and insulation requirements.
You can layer in modern comfort with underfloor heating, airtightness detailing, and high-performance glazing sized to the openings so you don’t compromise structure or planning constraints.
You’ll keep the rustic character by leaving key beams and honest textures exposed, then finishing them with durable, breathable sealers suited to agricultural timbers.
Heritage-Inspired Material Palette
Although the temptation is to “modernise everything,” a luxury barn conversion looks and performs best when you specify a heritage-led palette that works with the building’s structure, moisture loads, and fire requirements. Start with Heritage preservation: retain sound stone, brick, and timbers, and record repairs so your consent package reads clearly.
For Material selection, match lime-based mortars and plasters to existing permeability, and avoid hard cement pointing that can trap moisture and spall masonry. Choose reclaimed or FSC oak for repairs, sized to replicate original sections, and use intumescent coatings or tested encapsulation where Building Control requires fire resistance without hiding character.
Specify breathable mineral paints, natural stone flags, and solid wood joinery with robust seals. Detail junctions to prevent capillary bridges, and confirm finishes meet slip, VOC, and reaction-to-fire ratings.
Modern Comfort, Rustic Character
Once you’ve locked in a breathable, heritage-led palette, focus your finish choices on comfort upgrades that don’t fight the barn’s proportions, vapour movement, or fire strategy. Keep exposed timbers readable: limewash, clear intumescent coating where required, and discreet acoustic panels between bays to soften echo without masking structure.
For floors, choose underfloor heating in a low-build system, then lay reclaimed oak or large-format stone with movement joints sized for seasonal swing. Specify vapour-open insulation to walls and roof, and pair it with airtightness tapes at junctions so you meet energy targets without trapping moisture.
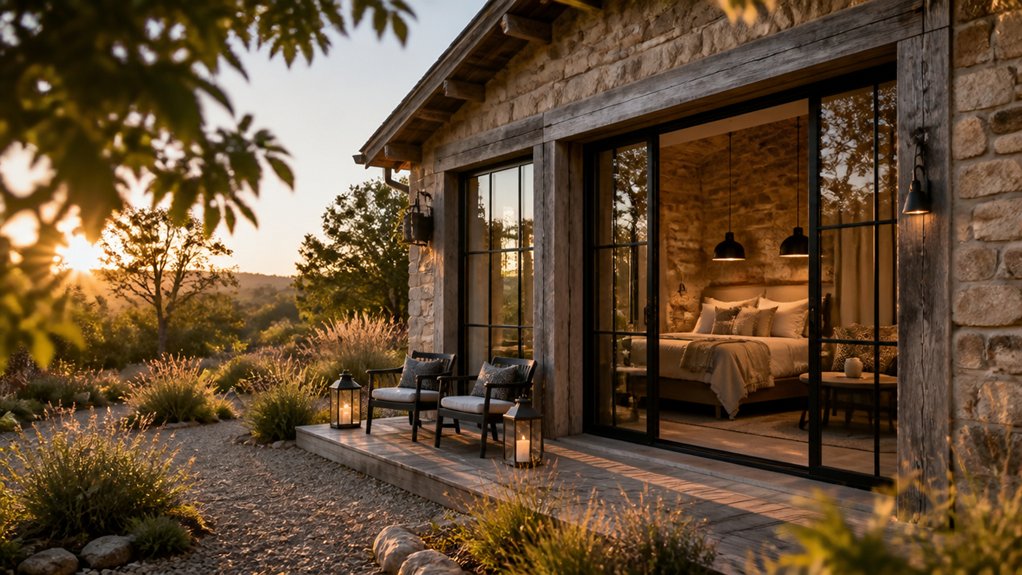
Fit steel-framed glazing that respects openings, and add blackout linings inside deep reveals. Use matte, hardwearing paints, DPC-correct bathroom build-ups, and concealed sprinklers or upgraded alarms.
You’ll keep Rustic charm while gaining Modern amenities.
Frequently Asked Questions
How Do You Secure Barn Conversion Finance or a Self‑Build Mortgage?
You secure barn conversion finance by presenting a costed schedule, planning consents, and valuations to specialist lenders. You’ll align Architect selection, Material sourcing, and stage inspections with building regs, drawdown milestones, contingencies, and evidence.
What Insurance Is Needed During Construction and After Completion?
Roughly 1 in 5 builds face a claim, so you’ll need Insurance requirements: contractor’s all‑risk, public/employers’ liability, existing‑structure cover, and site security. After handover, you’ll switch to Post construction coverage: buildings, contents, and defects.
How Long Does a Luxury Barn Conversion Typically Take End‑To‑End?
You’ll typically need 9–18 months end‑to‑end; complex Historical preservation or planning can push it to 24. You’ll keep schedules tighter by specifying Eco friendly materials early and meeting inspections, permits, and code milestones.
How Do You Choose the Right Architect and Contractor for Barn Conversions?
You choose the right architect/contractor by checking barn portfolios, code compliance, and references; coincidentally, their best projects balance Design innovation with historical preservation. You’ll vet planning experience, structural knowledge, clear scopes, and transparent pricing.
How Can You Protect Valuable Features While Meeting Modern Accessibility Needs?
Protect valuable features by documenting, bracing, and shielding originals, then add discreet ramps, lifts, and wider routes per code. Use Historical preservation plans and Structural reinforcement to conceal supports, match materials, and keep clearances.

Leave a Reply