

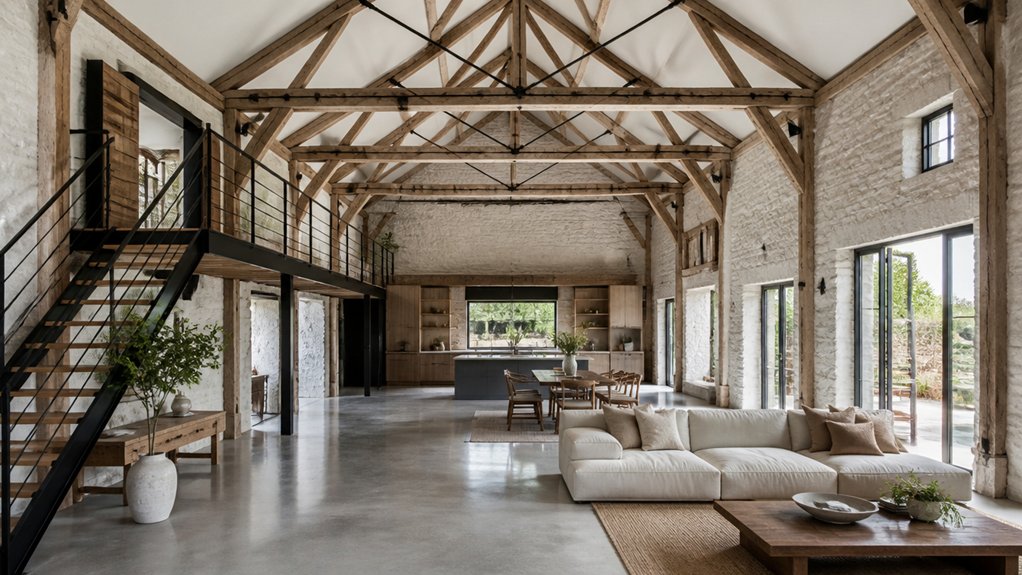
When you open up a barn, you’re really negotiating with what’s already there. You can’t shift load paths, trusses, or party walls without consequences, so you need to identify structural “no‑go” lines before you place stairs, a mezzanine, or big furniture runs. If the span gets ambitious, you’ll likely need steel or engineered timber, plus properly detailed portals and ties. The tricky part is where services and new openings collide with those members…
Key Takeaways
- Identify immovable structural elements (trusses, posts, beams, load-bearing walls) and plan zones and furniture layouts around them.
- Verify load paths before removing bracing or cutting openings; use temporary propping and correctly sized lintels with proper bearing.
- Use engineered long-span beams or portal frames for wide open areas, and prevent point-loading on masonry with spreader plates.
- Integrate stairs and mezzanines with existing truss geometry, avoiding notches in primary timbers and ensuring headroom and lateral guarding strength.
- Plan services early within a coordinated grid, reserving fire-stopped risers and routes to avoid structural weakening and awkward boxed-in bulkheads.
What You Can’t Move: Walls, Trusses, and Loads
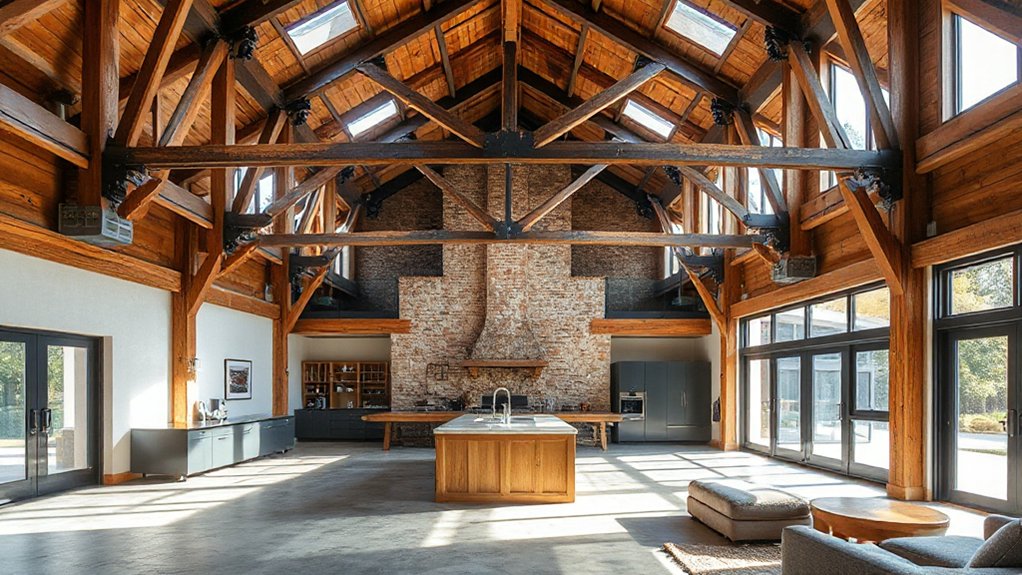
Before you start knocking through for open-plan space, you need to identify the structural elements you can’t relocate without redesigning the load path: load-bearing walls, primary trusses, and any posts, beams, or masonry piers that transfer roof and floor loads into the foundations.
Trace joist directions, bearing ends, and tie locations so you don’t remove a diaphragm line or create racking risk. Treat truss bottom chords as tension members; if you cut or notch them, you’ll alter thrust at the walls.
Map point loads from purlins and ridge members onto posts and pads, then keep those supports continuous to footings. Work around immovable elements with Decorative wall treatments that disguise piers, and use furniture placement to define zones without stressing spans.
Know When an Open-Plan Barn Conversion Needs Steel
Once you’ve mapped the walls, trusses, and posts you can’t disturb, you’ll often find the remaining “open” area still needs a new load path—and that’s where steel comes in. You’ll typically need it when you’re removing internal cross-bracing, cutting new door/window openings in masonry, or stitching together uneven bay spacing where timber members can’t align bearing points.
Steel also becomes necessary if the existing frame shows rot, undersized sections, or eccentric loads that cause racking under wind. Look for sagging purlins, cracked joints, or spread at eaves: they signal inadequate restraint.
You can conceal steel within partitions or cabinetry so Decorative elements and furniture arrangements don’t depend on structurally risky timber trims or freestanding posts.
How to Span Open-Plan Space (Beams, Ties, Portals)
To keep an open-plan barn stable, you’ve got to bridge long bays without letting the roof spread or the walls rack under wind load.
You’ll typically specify engineered beams and trusses to carry primary gravity loads, then add ties where you need to restrain outward thrust and control deflection across wide openings.
When spans and openings get bigger, you’ll often switch to portal frames that deliver clear headroom while transferring moments into the foundations and adjacent stiffening elements.
Engineered Beams And Trusses
Although open-plan barn conversions look effortless on paper, you’ll only achieve that clear span by replacing missing internal support with engineered structure that’s sized, detailed, and connected as a system.
You’ll typically specify glulam, LVL, or flitch beams where headroom is tight, and prefabricated trusses where depth can sit above ceiling line.
Coordinate bearing lengths, packers, and steel spreader plates so historic masonry isn’t point-loaded.
Set camber to control long-span deflection and protect cracking in interior finishes.
Detail concealed hangers, bolt groups, and lateral restraint so the member won’t roll under asymmetric roof loads.
If you want exposed members as Decorative accents, plan service penetrations early and keep notches out of high-shear zones.
Verify fire resistance and acoustic linings.
Portal Frames And Ties
How do you keep a barn’s wide bay open when you’ve removed the cross-walls that used to stop it spreading? You stabilise it with Portal frames or tension ties that replace the missing diaphragm action.
A portal frame works as a rigid rectangle: rafters and columns form moment joints, so lateral loads and roof thrust resolve into bending, not outward wall movement. You’ll need proper base fixity, or pad foundations sized for uplift and horizontal reactions.
Where you want slimmer walls, specify tie designs: steel rods, timber ties, or concealed flitch ties that take tension across the bay and limit rafter spread. Detail connections carefully—gusset plates, resin anchors, and slip-critical bolts—so the frame behaves predictably, not as a pinned kit.
Adding New Openings to Barn Conversion Walls Safely
Before you cut a new doorway or window into a barn wall, you’ll confirm whether the masonry is load-bearing and how it currently routes roof and floor loads. You’ll then specify the right lintel and temporary supports—padstones, needles, and props—so the new opening carries loads without crushing weak stone or mortar.
When you cut, you’ll sequence saw cuts and remove masonry in controlled stages to prevent crack propagation, racking, and loose faces.
Assess Load-Bearing Masonry
When you cut a new doorway or widen an opening in a barn’s masonry wall, you’re not just removing stone or brick—you’re interrupting the load path that carries roof, floor, and wind loads down to the foundations.
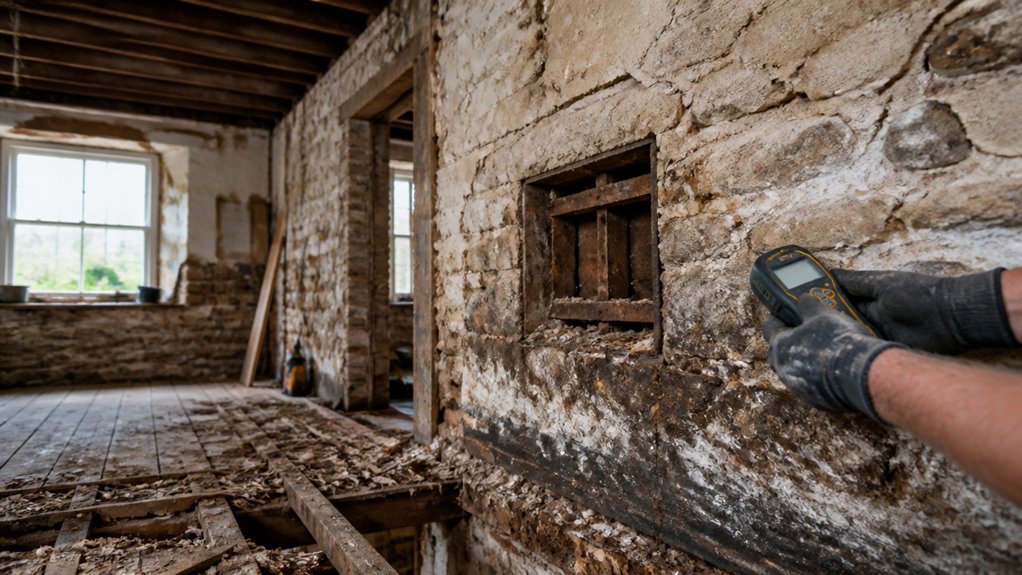
First, verify whether the wall is primary structure or just infill by checking thickness, buttresses, bond patterns, and how joists, purlins, or trusses bear into it.
Trace load transfer: look for bearing pads, wall plates, concentrated reactions, and cracking or stepped settlement that signals overstress.
Expose edges behind interior finishes and any decorative facades so you can see real masonry, not veneer.
Map services and previous patching that may hide weak zones.
If you’re unsure, get a structural survey and temporary propping plan before any cuts.
Design Lintels And Supports
Once you’ve traced the load path through a barn wall and confirmed what’s truly structural, you need to substitute any removed masonry with a lintel-and-support arrangement that carries those reactions safely to the foundations. Size the lintel for span, eccentricity, and bearing length, then specify padstones to spread stress into irregular stonework.
You’ll typically detail 150–200 mm end bearings, but increase where mortar is weak or rubble is loose. Choose support material options—steel UB/UC, precast concrete, engineered timber, or stone—to match durability, fire strategy, and wall thickness.
If you want Decorative lintel designs, you can wrap steel with reclaimed timber, express a curved brick arch as a non-structural facing, or set a slim concealed beam above a feature opening. Ensure bearings align over competent footing zones.
Ensure Crack-Free Cutting
How do you cut a new opening into irregular barn masonry without chasing cracks across the elevation? You start by confirming wall build-up (rubble infill, tied stone, or brick skins) and locating voids with endoscopy.
Set out a stepped reveal that follows existing joints where possible, then stitch the perimeter with helical bars in resin to pin loose wythes.
Saw-cut in short passes from both faces, keep the blade cooled, and avoid percussive breaking that wedges stones apart.
Provide temporary needling and acrow props before removing the core.
Leave a sacrificial margin, then trim back to plumb with hand tools.
You’ll protect decorative finishes by controlling vibration and dust.
Finally, coordinate furniture placement so new openings don’t weaken load paths or interrupt bracing lines.
Stairs and Mezzanines: Fit Them Around Trusses
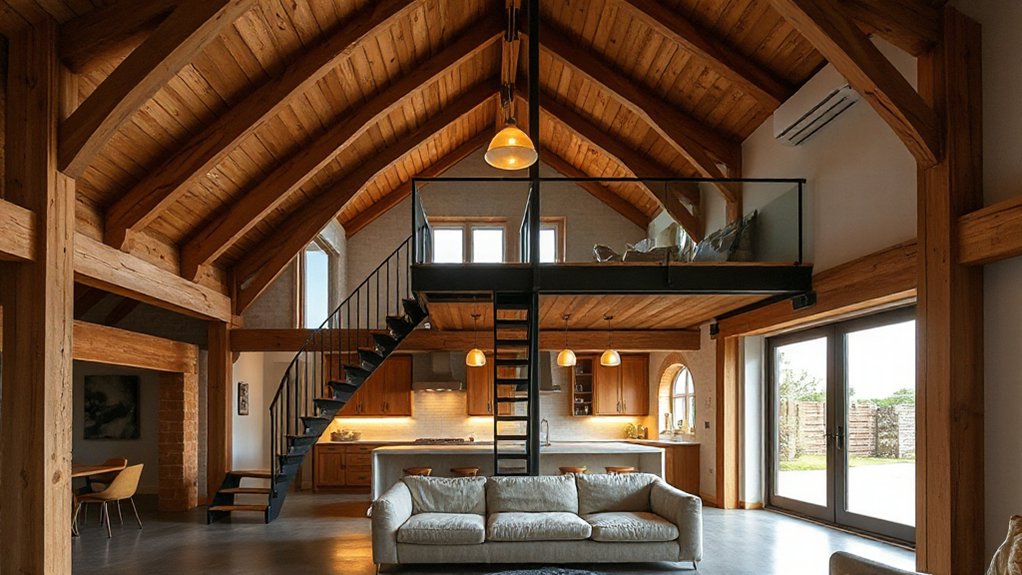
Because barn trusses dictate both headroom and load paths, you can’t treat stairs and mezzanines as “fit-anywhere” inserts; you need to map their footprint to the truss geometry before you lock in the plan.
Set the stair run parallel to the truss span where possible, so landings fall between bottom chords and you avoid notching or drilling members.
Choose staircase materials that limit self-weight: folded steel, open-tread timber, or slim concrete with verified bearing points.
For mezzanine design, align primary beams under node lines and hang secondary joists off them, keeping loads on posts or existing masonry piers.
Check headroom at the stair pitch line and under the mezzanine edge, then size guardings to resist lateral loads without bracing into truss webs.
Plan Services Early (Before You Fix the Layout)
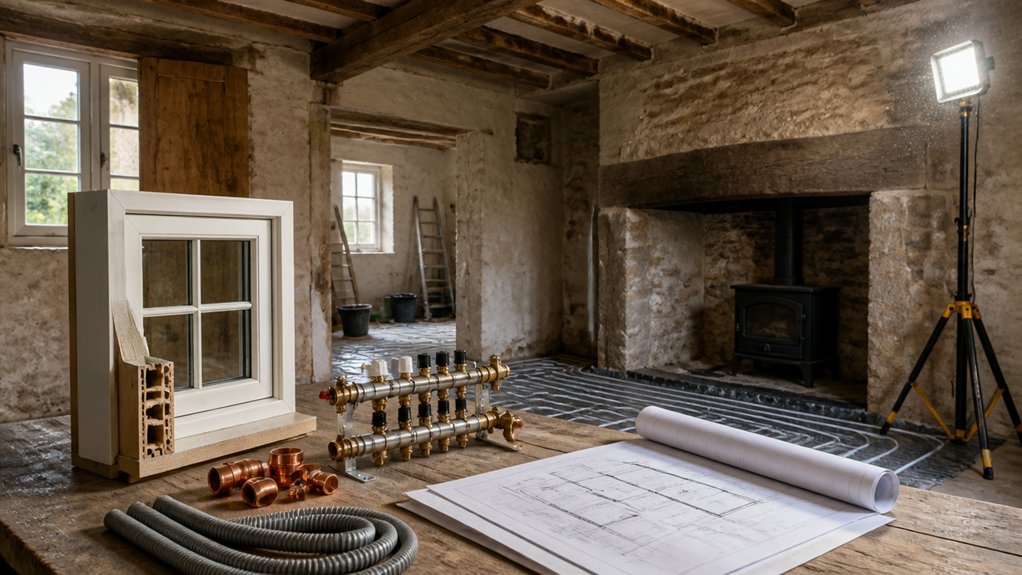
Before you commit to furniture zones and circulation lines, plot every service route—heating flow/return, DHW, ventilation ducts, soil and waste, incoming water, electrics, and data—against the barn’s structural grid and envelope, not the other way round.
You’ll protect primary timbers by avoiding notches, limit penetrations through masonry, and reserve compliant fire-stopped risers.
Set plant, manifold, and MVHR positions to shorten runs and reduce pressure drop; then size chases, joist zones, and floor build-ups around them.
Coordinate drainage gradients early so you don’t end up with raised platforms or boxed-in beams.
Place sockets, AV, and data where your interior decor and furniture arrangement need them, while keeping cable routes within safe zones and away from thermal bridges and air barriers.
Open-Plan Layout Ideas: Light, Zones, Acoustics
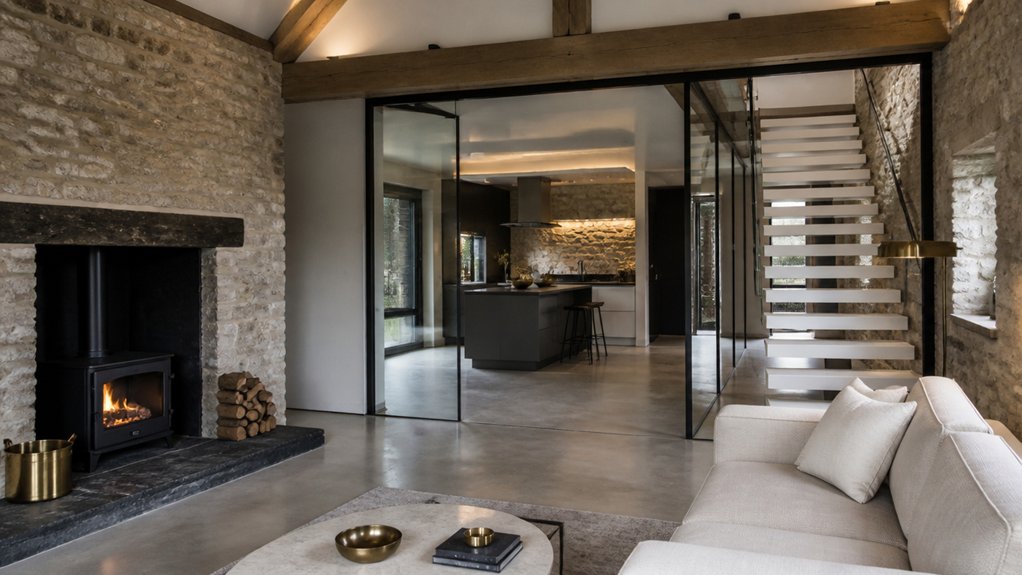
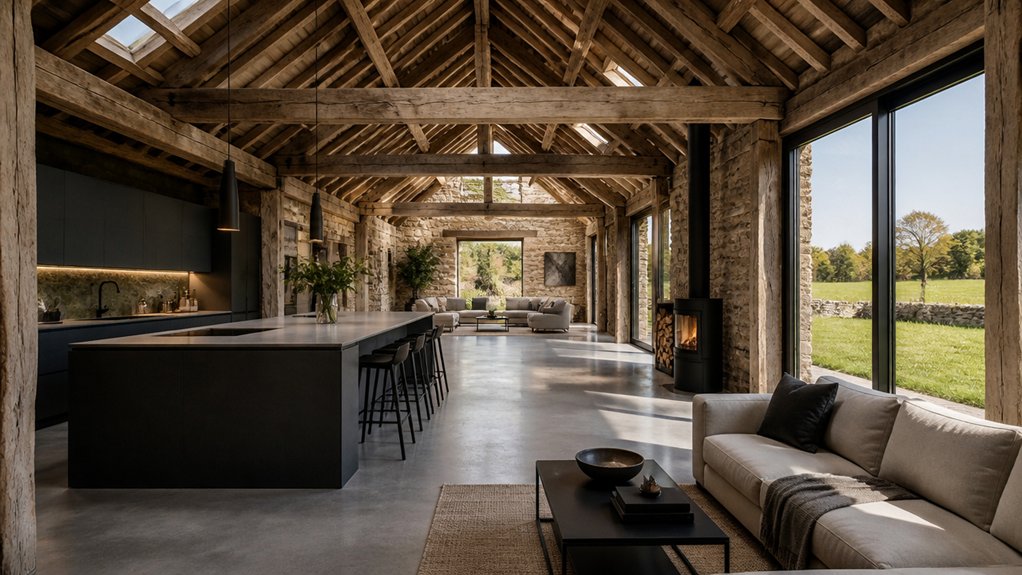
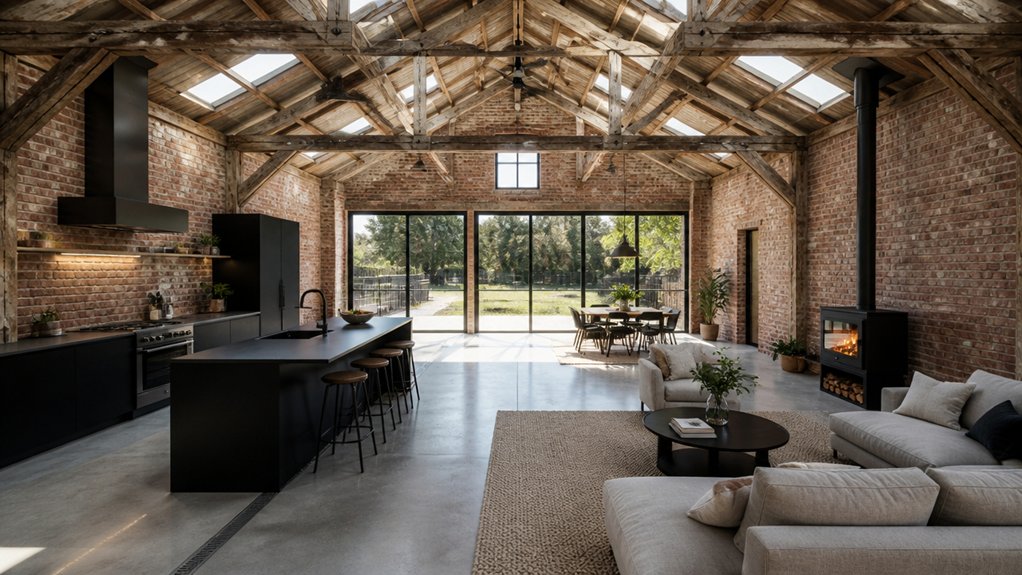
Although a barn’s volume invites one big room, you’ll get a better result if you design the open plan around daylight paths, clearly defined activity zones, and controlled reverberation. Map sun angles to window openings, then align circulation so you don’t block light with tall storage.
Use Lighting design in layers: diffuse ambient from rafters, task light at kitchen/desk, and low-glare wall washing to emphasize stone or timber.
Define zones with furniture placement rather than new walls: a sofa back creates a living “edge,” a long table anchors dining, and a kitchen island sets a service boundary.
Control acoustics with absorption and diffusion: wool rugs, upholstered seating, slatted timber baffles, and acoustic plaster between trusses. Keep hard surfaces broken up to reduce flutter echo.
Frequently Asked Questions
Do I Need Planning Permission for an Open-Plan Barn Conversion?
You’ll likely need planning permission unless your barn conversion qualifies under permitted development; check local planning regulations. Open-plan changes affecting structure, heritage constraints, or barn preservation usually trigger approval, plus building control for structural/fire compliance.
How Can I Insulate Without Losing the Barn’s Character and Ceiling Height?
You’ll preserve ceiling height by insulating between rafters with thin PIR or woodfibre, adding a vapour control layer, and keeping timbers exposed for Historic preservation. Use Acoustic insulation in service voids, not thick linings.
What Flooring Works Best With Underfloor Heating in Large Open Spaces?
Ceramic/porcelain tile works best; it can deliver up to 25% higher heat output than timber. Choose Flooring options with high Underfloor compatibility: stone, polished concrete, thin engineered wood; avoid thick carpet, heavy underlay.
How Do I Meet Fire Safety Rules in a Large Open-Plan Layout?
You’ll meet rules by coordinating fire alarm installation with detectors throughout, creating protected zones, and documenting escape route planning: two independent exits, clear travel distances, fire-rated doors where needed, emergency lighting, signage, and compliant materials.
What Are Typical Costs and Timelines for Creating Open-Plan Barn Interiors?
You’ll typically spend £1,500–£3,500/m² and 4–9 months. Is the “quick, cheap open plan” theory real? It isn’t: open plan design challenges and barn interior aesthetics drive structural steel, services, approvals.

Leave a Reply