

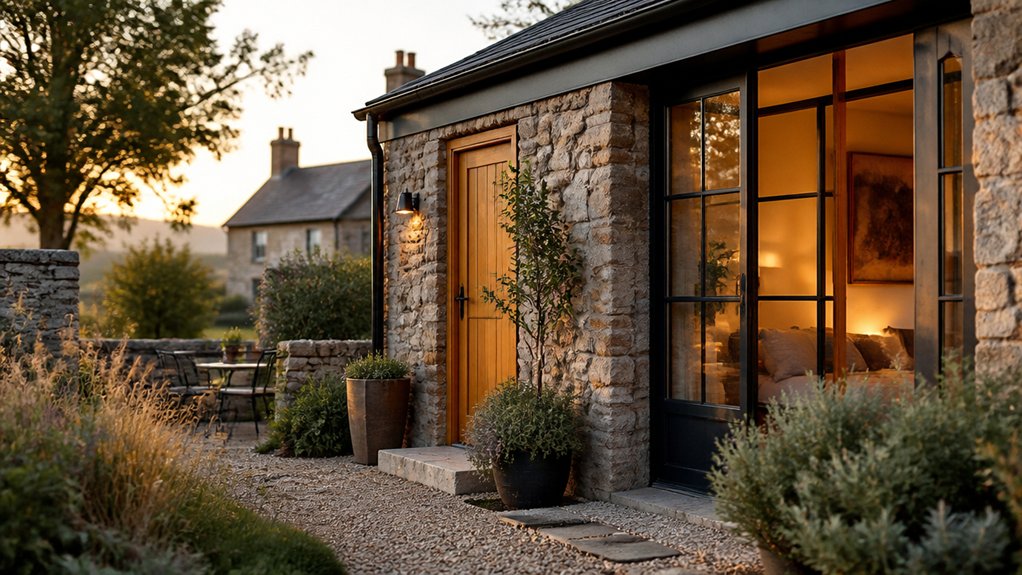
You can’t turn an old barn, garage, or shed into guest space until you’ve audited what you’ve actually got: foundations, roof load paths, damp points, and utility routes. Then you’ll map the conversion like a spec—planning status, Building Regs triggers, insulation targets, ventilation rates, and safe zones for electrics and plumbing. Get the layout wrong and everything downstream gets expensive, but the first decisions are simpler than they look…
Key Takeaways
- Survey the outbuilding’s structure, moisture behavior, and utilities routes to confirm suitability before designing the conversion.
- Check planning permission, zoning, heritage limits, and building regulations for fire safety, insulation, ventilation, drainage, and accessibility.
- Budget realistically: dry shell $15k–$40k, mid-range $45k–$110k, full dwelling $120k–$250k+, plus site works and contingency.
- Optimize layout by grouping wet areas, maintaining clear circulation, and adding daylight via existing openings, rooflights, or glazed doors.
- Prioritize airtight insulation, correct vapor control, and code-compliant plumbing/electrics, including GFCI/AFCI, smoke/CO alarms, and accessible shutoffs.
Check If Your Outbuilding Can Be Converted
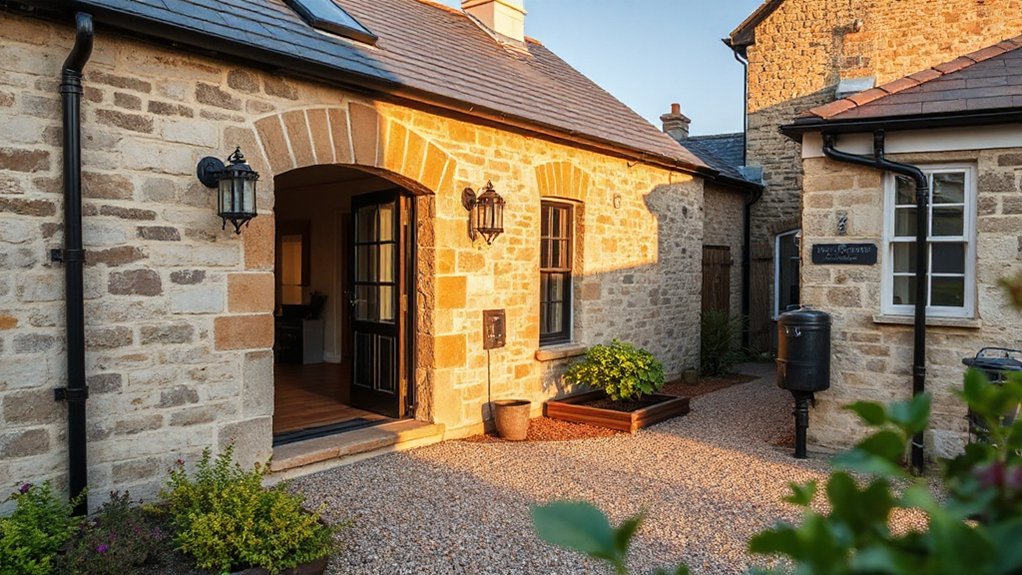
Before you sketch floor plans or price out finishes, confirm your outbuilding can legally and practically handle a change of use to guest accommodation.
Start with a measured survey: footprint, ridge height, openings, and proximity to boundaries. Check access for occupants and emergency egress, and note whether the path, doors, and stairs can be made safe and usable.
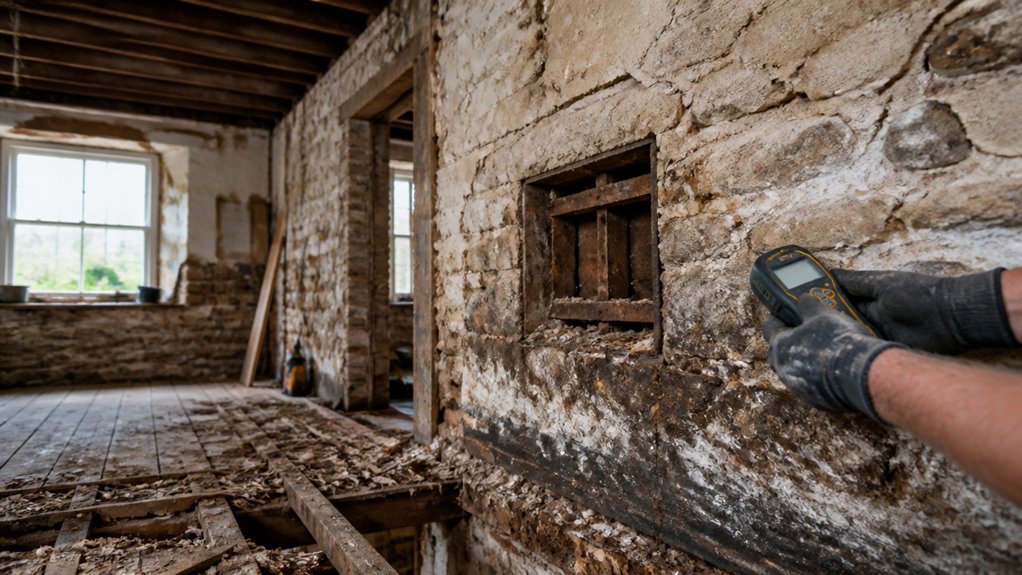
Inspect structural integrity—foundations, wall plumb, roof spread, rot, insect damage, and existing load paths—then budget for reinforcement if spans or timbers are undersized.
Verify moisture behavior: ground levels, drainage, rising damp, and ventilation.
If the building carries historical significance, document original fabric and constraints so repairs stay sympathetic.
Finally, confirm utilities capacity and routes for water, power, and wastewater without destabilizing the shell.
Planning Permission and Building Regs for Conversion
Even if the structure looks sound, you’ll need to pin down whether the conversion counts as a change of use and what consents it triggers. Start by checking local zoning restrictions: some areas limit short-term lets, require minimum parking, or prohibit separate dwelling units on the same plot.
If the outbuilding sits in a conservation area or is listed, heritage considerations can dictate materials, window proportions, rooflines, and even insulation approaches.
Then map the building regs you must meet: structural stability, fire separation and escape windows, ventilation rates, moisture control, and sound insulation between guest space and the main house.
You’ll also need compliant electrics, safe water and drainage connections, and accessible thresholds where required. Document everything with drawings and specs so inspections run smoothly.
Outbuilding Conversion Costs and Budget Ranges
Once you’ve confirmed what planning permission and Building Regs require, you can scope a realistic budget. Many outbuilding-to-guest-suite conversions land in the low five figures for a basic fit-out, rising to mid/high five figures as you add bathrooms, kitchens, and higher-spec finishes.
Your total hinges on key cost drivers like structural repairs, insulation targets, new electrics/plumbing to code, drainage connections, heating/ventilation strategy, and any glazing or fire-safety upgrades.
Price it like a small new-build inside an old shell—measure the floor area, list compliance-critical line items, then add a contingency for unknowns behind walls and slabs.
Typical Conversion Cost Ranges
Because conversion costs swing with structure condition and code scope, you’ll typically see outbuilding-to-guest-suite budgets fall into three broad tiers: a basic “dry shell” refresh, a mid-range insulated and conditioned build-out, and a full-service dwelling-grade conversion.
For a dry-shell refresh, plan roughly $15,000–$40,000 to stabilize framing, patch siding/roofing, upgrade doors/windows, and meet minimum safety items while keeping outdoor aesthetics intact.
A mid-range build-out often lands around $45,000–$110,000, covering insulation, vapor control, HVAC, drywall, code-compliant electrical, and a simple bath.
A dwelling-grade conversion generally runs $120,000–$250,000+ once you add a full kitchen, higher fire separation, egress upgrades, and finishes aligned with historical preservation requirements and inspections.
Key Budget Cost Drivers
While the tiered ranges give you a ballpark, your real number comes down to a handful of cost drivers that building officials and inspectors care about: the existing structure’s integrity (foundation, framing, roof load capacity), the level of code upgrades required for life safety (egress windows/doors, stair geometry, smoke/CO alarms, fire separation), and whether you’re adding “dwelling” systems like plumbing, HVAC, and a kitchen.
Next, you’ll pay for utility reaches: trenching, new panels, GFCI/AFCI protection, and water/sewer tie-ins can rival interior finishes.
Insulation, air-sealing, and window U-values drive comfort and inspection signoff, especially if you’re conditioning the space.
Don’t forget site scope: Landscaping improvements, outdoor lighting options, drainage fixes, and accessible paths often trigger additional permits and labor.
Finally, contingency rises when you open walls and find rot, pests, or undersized joists.
Choose a Layout for Guest Accommodation
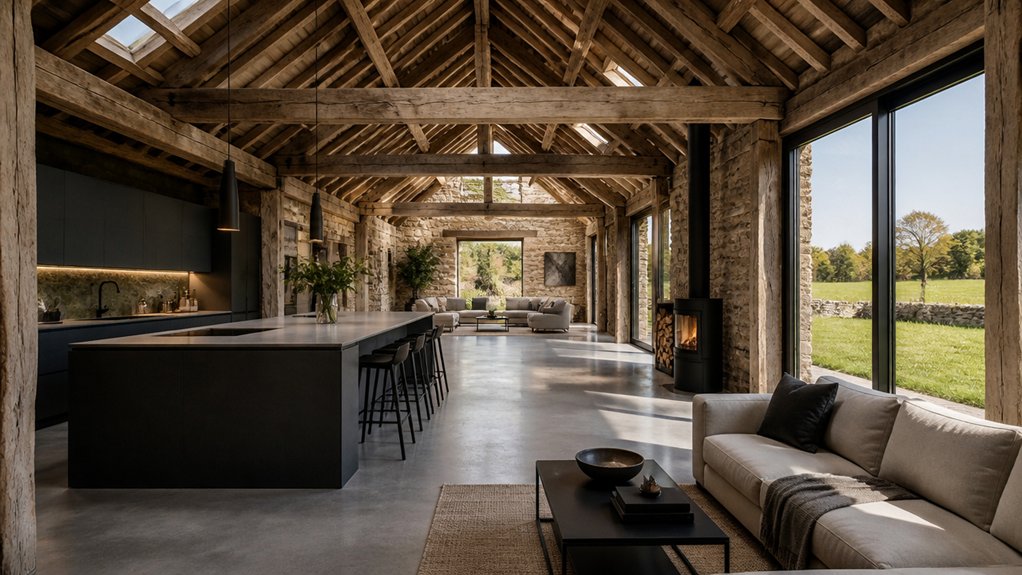
How do you want guests to move through the space—straight from entry to sleep, or through a small “day zone” first? Map circulation before you commit to walls: you’ll cut wasted corridor area and protect clear egress paths.
Put the bed where it doesn’t block the primary route, and keep required clearances around doors and any appliance fronts. Zone “wet” functions together to simplify plumbing runs and reduce penetrations through old masonry.
Use Furniture placement to define thresholds: a compact table can mark the lounge, while a wardrobe buffers the sleeping area.
Let interior decor follow the plan, not fight it—use consistent materials to visually widen tight spans.
Finally, confirm your layout supports ventilation, smoke/CO alarm locations, and accessible switching without creating pinch points.
Add Windows, Doors, and Natural Light Sensitively
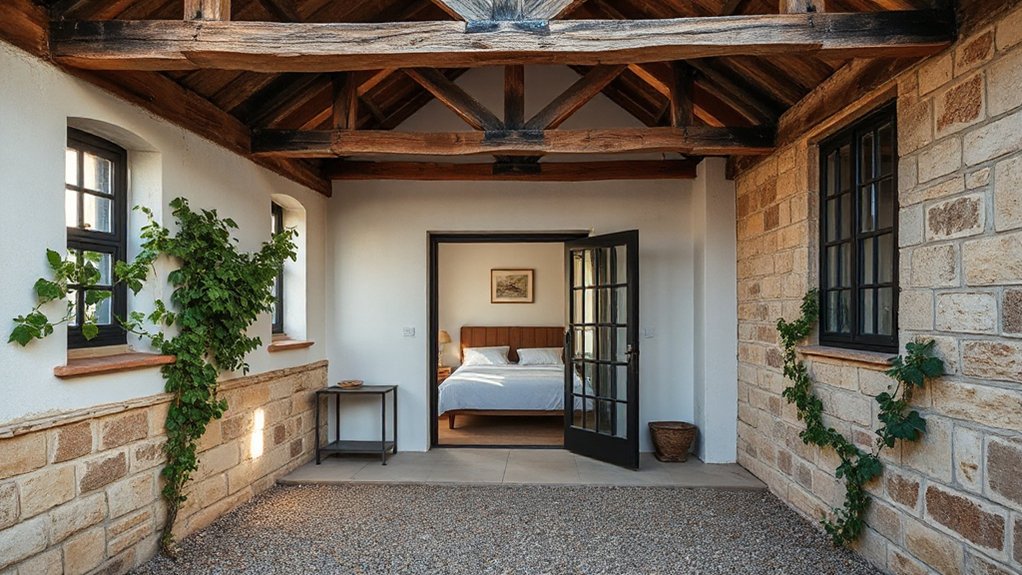
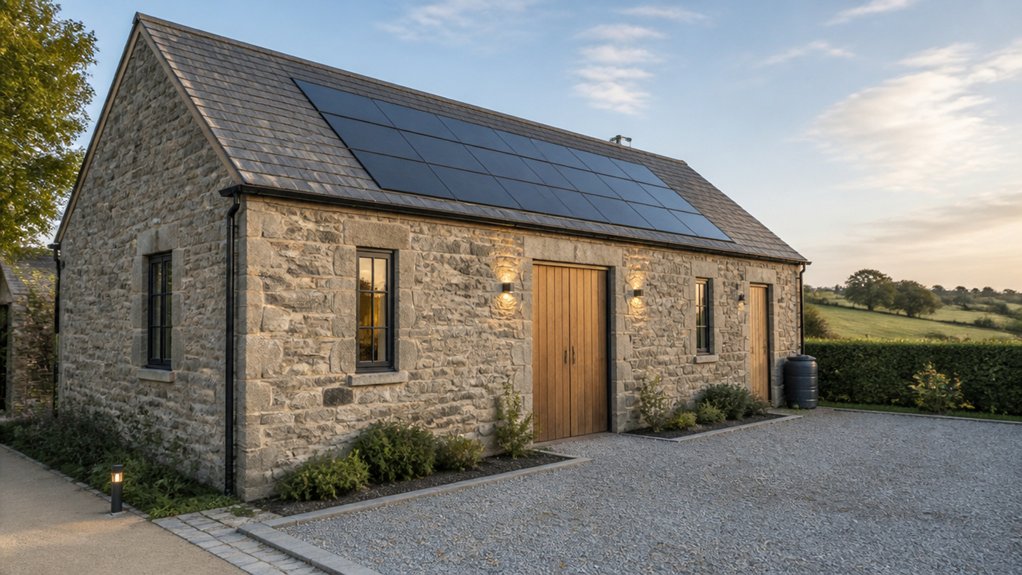
Once you’ve set the layout, you’ll get the best results by keeping new glazing aligned with the outbuilding’s original openings, so the façade stays legible and approvals are simpler.
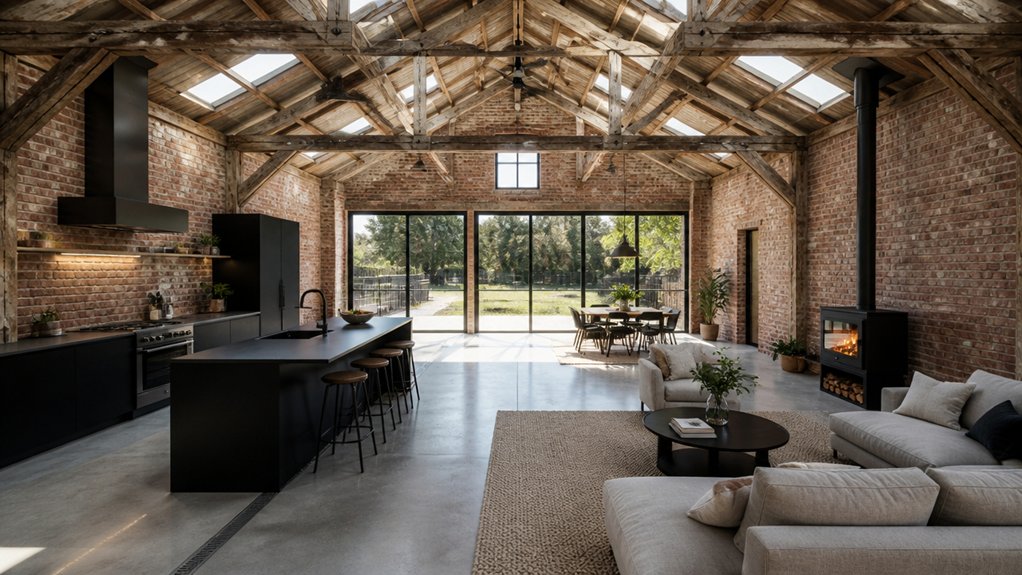
You can still boost daylight by enlarging within existing bays, adding discreet rooflights on less-visible pitches, and using glazed doors where the structure can take the load.
Check Part L and Part K requirements early, and specify lintels, safety glass, and egress dimensions so your added light doesn’t create compliance or weathering issues.
Respect Original Openings
Before you cut new openings for light and access, study the outbuilding’s existing windows, doors, and bays and let them set the rules for your design. Treat each opening as evidence of how the structure sheds water, carries loads, and presents itself to the site.
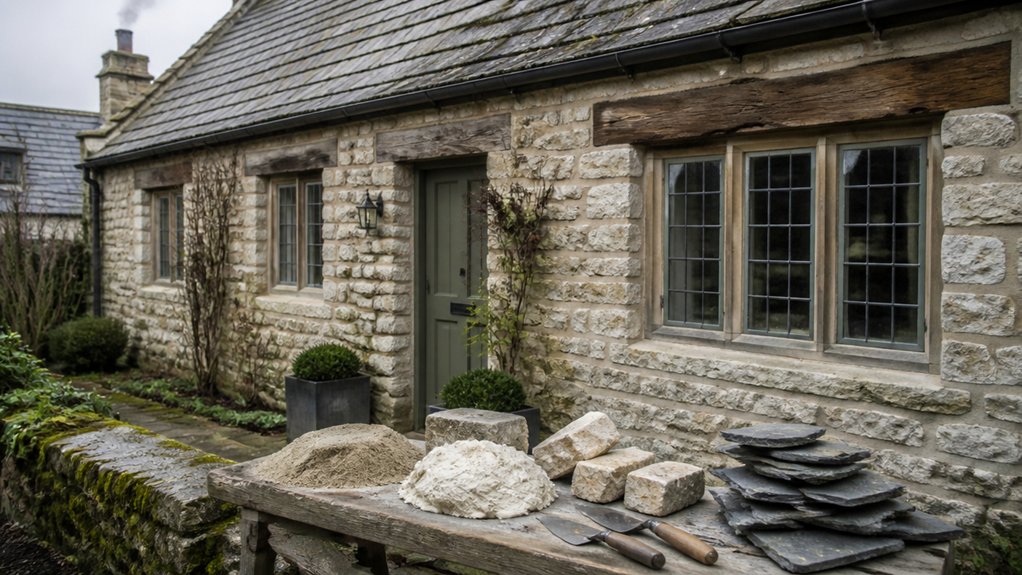
Prioritize historical preservation by repairing frames, lintels, and sills, and keep original proportions, head heights, and reveal depths. When you must alter, align new work to existing rhythms and sightlines for aesthetic integration, and match jamb thicknesses so trim reads authentic.
Verify structural headers, masonry stability, and wind bracing before enlarging anything. Meet egress, safety glazing, and accessibility requirements without forcing mismatched shapes; sometimes a wider door in an existing bay solves compliance quietly.
Maximize Daylight Discreetly
Keeping original openings sets the discipline; now you can improve comfort by bringing in more daylight without advertising the changes. Start by enlarging light only where it reads as maintenance: swap solid doors for glazed stable doors, or add sidelights set back from the facade plane. Match lintel depths and mullion proportions, and keep external frames dark to reduce visual change.
Use Skylight placement to pull sun from above rather than punching new wall holes: tuck rooflights on rear slopes, align them between rafters, and specify low-profile flashings. Check local conservation rules, fire egress, and safety glazing requirements.
For window privacy, choose high-level glazing, obscure glass, or internal shutters, and aim views toward courtyards, not neighbors. Keep reveals deep for shadow lines.
Insulate, Heat, and Ventilate for Year-Round Comfort
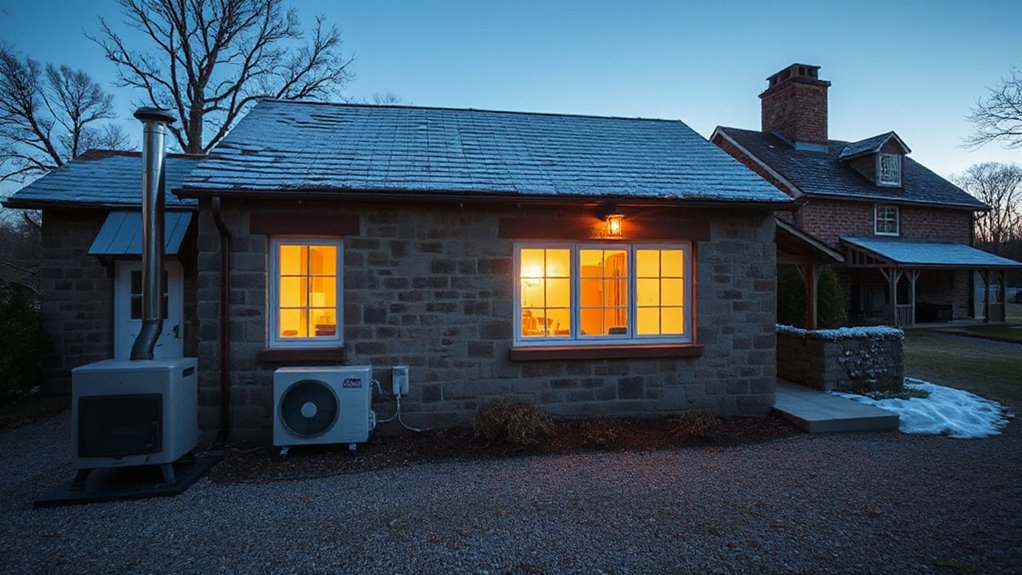
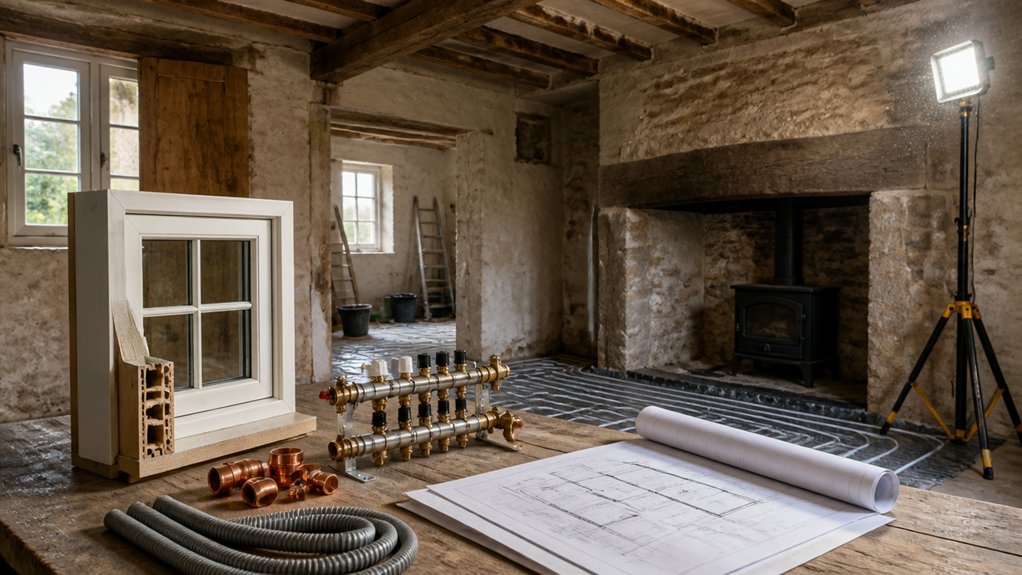
Although the framing and finishes might look complete, your outbuilding won’t feel habitable year-round until you control heat flow and moisture: insulate the envelope to code, add a right-sized heat source, and build a ventilation path that prevents condensation.
Use continuous thermal insulation where you can, then fill cavities to the required R-values, keeping batts snug and avoiding gaps at corners and rim areas. Air-seal first—tape sheathing seams, gasket plates, and foam penetrations—so insulation performs as rated.
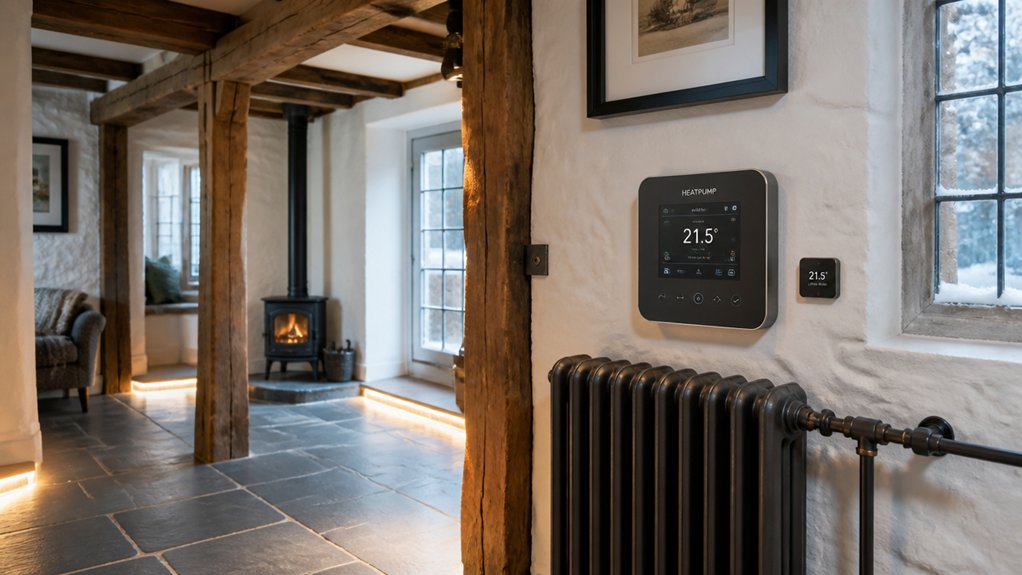
For efficient heating, choose a small, controllable unit matched to your load; oversizing short-cycles and drives humidity problems.
Ventilate with a dedicated, quiet exhaust and make-up air pathway, and include a vapor control layer appropriate to your climate zone and wall assembly.
Plumbing and Electrics for Guest Accommodation
Once you’ve built a tight, well-insulated shell, you need safe, code-compliant plumbing and electrical rough-ins that match how guests will actually use the space. Start by verifying water source, pressure, and shutoff access, then plan plumbing upgrades with freeze protection, proper pipe sizing, venting, and cleanouts.
If you’re tying into an existing system, confirm fixture-unit loads, sewer slope, and backflow requirements, and pull permits before you trench or core-drill.
For power, calculate expected loads, run a dedicated subpanel if needed, and label circuits clearly for future service. Prioritise electrical safety: AFCI/GFCI protection where required, tamper-resistant receptacles, bonding/grounding continuity, and smoke/CO alarms on the right circuits.
Keep all junctions accessible, and document everything for inspection.
Bathroom, Kitchenette, and Storage Essentials
After you’ve confirmed rough-ins and circuit capacity, you can lock in the guest-facing essentials—bathroom fixtures, a compact kitchenette, and storage—by designing them around clearances, wet-area detailing, and cleanability.
Keep the bath on a single “wet wall” to minimize penetrations; slope the shower base, waterproof seams, and include a mechanical exhaust sized per code with a timer.
Choose Bathroom fixtures with serviceable valves, anti-scald protection, and an accessible shutoff.
In the kitchenette, select kitchenette appliances that match your branch circuits, provide GFCI/AFCI protection where required, and maintain required countertop receptacle spacing.
Use durable, wipeable backsplash and a drip edge at sink cutouts.
Add a tall utility cabinet for linens, a lockable owner’s closet, and dedicated space for the water heater or panel access.
Furnish and Finish Your Guest-Ready Space
With the plumbing and electrical backbone set, you can furnish and finish the space by treating comfort items as part of the build—clear egress paths, durable surfaces, and safe, code-aligned lighting—rather than as last-minute décor.
Choose sealed flooring and washable paint to handle wet boots and easy disinfecting. Mount outlets where beds and desks land, keep cords off walking routes, and use tamper-resistant receptacles. Layer lighting: overhead on a switch at the entry, task lamps at bedside, and motion night-lights to reduce trips.
For Guest privacy, add solid-core doors, weatherstripping, and acoustic panels; place window coverings to meet egress rules while blocking sightlines. Finish interior decor with fire-rated textiles, anchored furniture, and labeled storage so guests settle in quickly and safely.
Frequently Asked Questions
Will Converting an Outbuilding Affect My Home Insurance or Premiums?
Yes, converting an outbuilding can change your home insurance and premiums. You’ll need to disclose use changes, update outbuilding safety, meet local code, and expect property valuation shifts that can raise coverage needs.
Do I Need to Notify My Mortgage Lender Before Creating Guest Accommodation?
Yes, you need to notify your mortgage lender first—measure twice, cut once. You’ll likely need Building permits and updated Property valuation; unapproved changes can breach covenants, trigger inspections, or affect terms and insurance.
How Can I Ensure Guests Have Reliable Wi‑Fi in the Converted Space?
You’ll guarantee reliable Wi Fi by planning Wi Fi installation with a mesh router, running Cat6, and adding signal boosters if walls attenuate. You’ll place access points centrally, separate guest VLAN, enforce WPA3, and test throughput.
What Are the Best Soundproofing Options to Reduce Noise Between Buildings?
Of course, silence travels perfectly—until you add Soundproofing materials: dense mineral wool, resilient channels, double drywall with Green Glue, acoustic caulk, sealed doors/windows. Apply noise reduction techniques: decouple frames, mass-load walls, seal flanking paths, verify STC.
Can I Legally Rent the Converted Outbuilding on Short‑Stay Platforms?
You can, but you’ll need to verify local zoning, STR licensing, and tax registration. Secure Building permits, meet fire/egress and ADA codes, and satisfy Historical preservation rules. Don’t list until inspections and occupancy limits clear.

Leave a Reply