

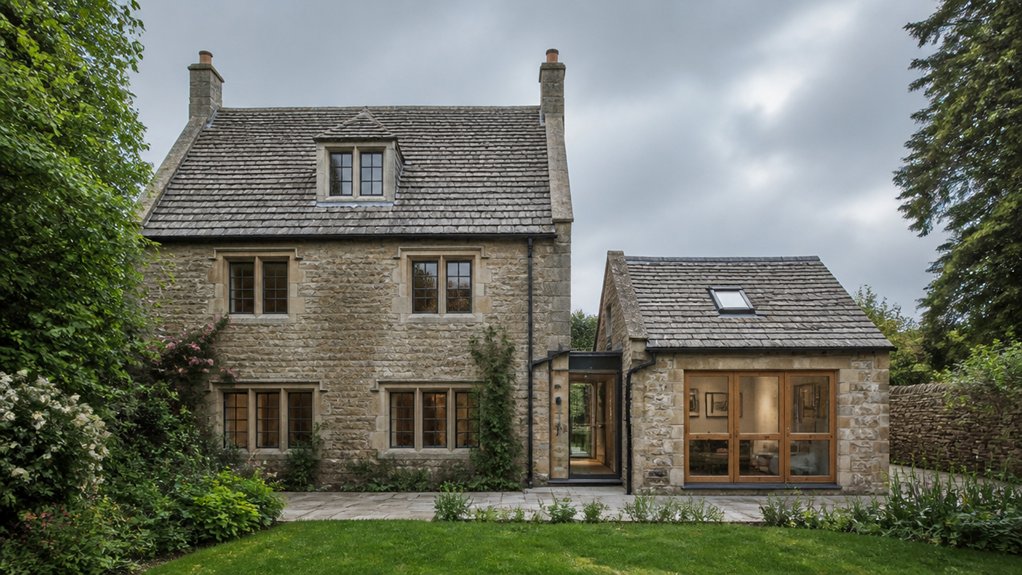
If you’re extending a cottage, you’ve got to treat proportion as the main design tool, not an afterthought. You start by measuring ridge height, eaves lines, and wall widths, then you choose a position—usually rear or side—that keeps the original silhouette dominant. You match roof pitch, opening rhythm, and traditional details, and you avoid crisp modern finishes that jar. But one decision will make or break the whole scheme…
Key Takeaways
- Measure existing ridge, eaves, openings, and overhangs, then keep the extension’s height and roofline subordinate to the original cottage.
- Match window and door proportions by repeating opening sizes, spacing, and aligned head and sill levels across old and new walls.
- Place extensions to protect the main façade; set side additions back and lower, and keep roof forms simple and consistent.
- Use the same material palette and detailing—mortar, brick or stone texture, eaves, verges, and rainwater goods—to avoid visual clashes.
- Keep layouts cottage-scaled by preserving key axes, placing services at the junction, and using consistent trims and floor transitions.
What “In Keeping” Means for Cottage Extensions
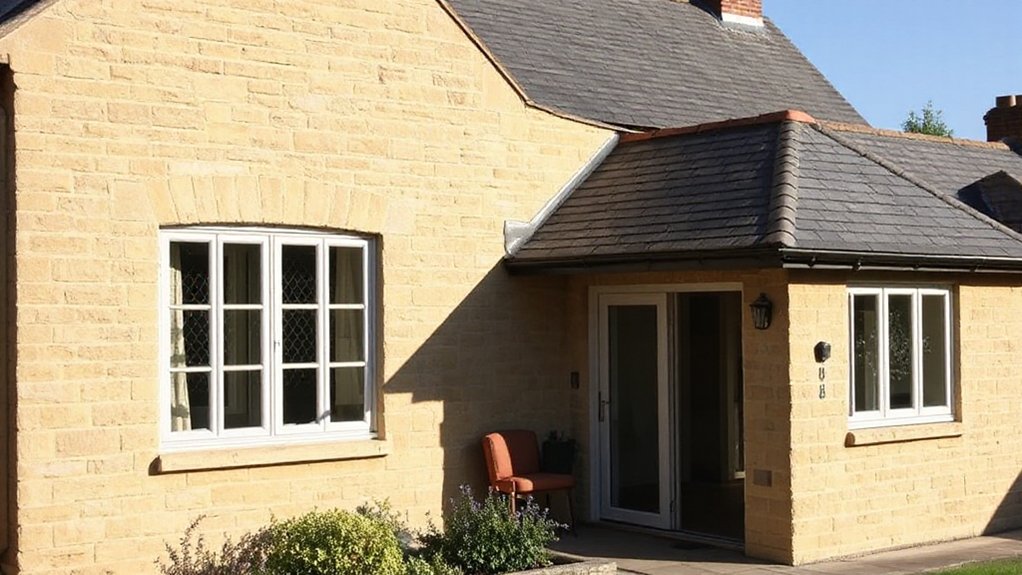
Although “in keeping” can sound like a vague planning phrase, it really means your extension should read as a natural continuation of the cottage’s scale, roofline, and rhythm of openings rather than a modern add‑on pasted to the side.
You achieve Architectural harmony by echoing the cottage’s essential cues: the same wall thickness feel, similar window proportions, and consistent spacing between openings. Match materials in type and texture, not just color; reclaimed brick, local stone, and lime render age differently than modern cement.
Keep junctions honest with properly detailed verge boards, eaves, and flashings that respect traditional build-ups. Historical accuracy doesn’t demand pastiche, but it does require you to understand the cottage’s period details and repeat them with restraint, avoiding alien profiles, shiny finishes, and oversized glazing.
Measure Proportions: Height, Width, and Eaves
Before you sketch anything, measure the cottage’s governing proportions—overall ridge height, wall height to eaves, gable width, and the eaves overhang—because these ratios, not the floor area, control whether an extension feels quietly “right.” Take dimensions from several points; older cottages settle, and a single reading can mislead.
You’ll then translate those numbers into repeatable relationships: keep new ridge lines subordinate, match the eaves line, and echo gable width modules so additions don’t look bulbous. Note fascia thickness, rafter tails, and verge detail; small shifts change shadow and scale.
Check how eaves cast shade on windows, since that affects interior lighting and room comfort. Finally, plot sightlines from paths and garden landscaping: hedges, steps, and terraces will frame the roofline you’re trying to respect.
Pick the Best Spot: Rear, Side, or Wraparound
Once you’ve mapped the cottage’s key ratios, choose an extension position that lets you keep the original gable and eaves line as the visual “lead.” A rear addition usually protects street-facing proportions and preserves the primary roof silhouette.
A side extension can work if you set it back, keep its ridge lower, and respect existing window spacing so the elevation doesn’t feel stretched. For wraparound schemes, treat the corner like a hinge: step the massing, break the roof into subordinate planes, and repeat lintel heights so old and new read as one composition.
Keep openings smaller on the return elevation, and align cills to maintain calm rhythm. Use Landscaping ideas to soften junctions, and let interior decorating follow the new axis without forcing oversized rooms.
Check Planning Limits Before You Design
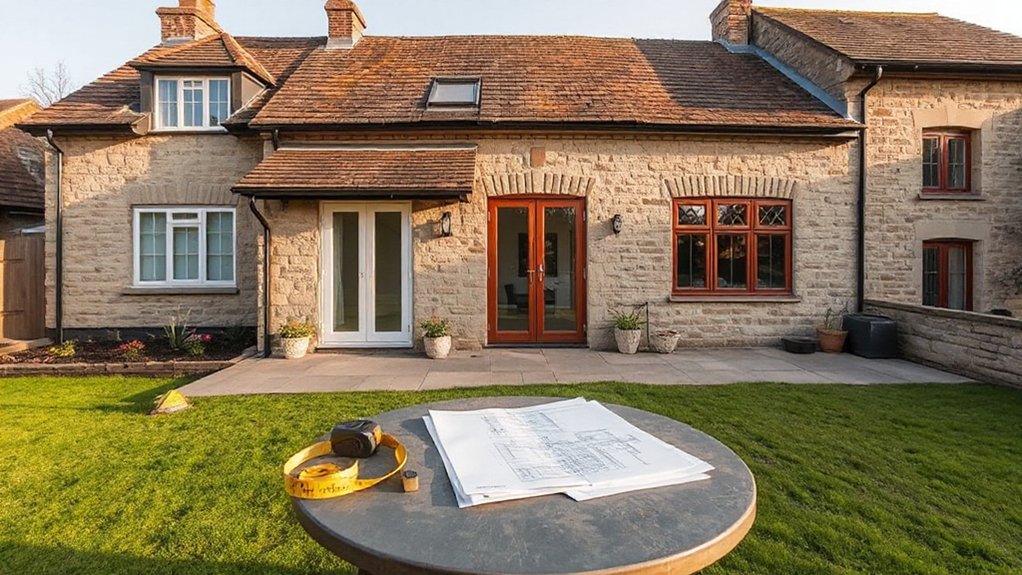
Before you sketch an extension, you need to confirm your Permitted Development rights, because past alterations or special designations can remove them.
You should then review local planning policies so your rooflines, window rhythms, and overall massing stay in step with the cottage’s original proportions.
If you’re in a conservation area, check the specific rules early, since modest details—materials, joinery, boundary treatments—often decide what you can build.
Confirm Permitted Development Rights
A well-proportioned cottage extension starts with confirming what you can build under Permitted Development (PD), because those limits will steer the size, height, and placement long before you refine materials and details. Get your permitted development rights confirmation early, then design within that envelope rather than forcing a scheme to fit later.
Check whether your cottage is listed, in a conservation area, or has an Article 4 Direction, as these can remove PD allowances and change what “minor” means. Measure the original house, note existing rear projections, and map boundaries so you don’t misjudge depth or eaves height.
Verify roof form limits, side extension widths, and the setback rules that keep additions subordinate. If you’re unsure, seek a Lawful Development Certificate to lock in certainty before you commit.
Review Local Planning Policies
Where do local planning policies tighten the screws on cottage extensions? Start with your Local Plan and any supplementary design guidance, because they set the tone on scale, massing, roof form, and setbacks.
You’ll often find explicit limits on ridge height, eaves lines, dormer size, and how far you can project beyond the rear wall.
Check policies on materials and detailing: stone type, brick bond, lime mortar, window proportions, and boundary treatments. These rules protect Cottage charm by keeping additions legible but not dominant.
If you want Modern contrasts, you’ll need to show they’re disciplined—thin junctions, subdued profiles, and glazing that doesn’t overwhelm the original openings.
Read street-scene policies too: they’ll steer you toward balanced elevations, consistent roof pitches, and extensions that respect the cottage’s rhythm.
Check Conservation Area Rules
Even if your extension sits at the rear, conservation area controls can still dictate its roof pitch, ridge height, window rhythm, and materials so the cottage keeps its settled proportions.
Before you sketch, read the area appraisal and management plan, then map what you can’t alter: principal elevations, chimneys, boundary walls, and roofscape.
Check whether permitted development rights are removed, and treat this as Heritage preservation, not a hurdle.
Ask the conservation officer which details matter most—eaves depth, verge treatment, mortar colour, sash glazing bars, and joinery profiles—so new work doesn’t look top-heavy or thin.
Confirm zoning restrictions on footprint, setback, and overlooking, and note any limits on dormers, rooflights, or cladding.
Get pre-application advice and document it early.
Keep Roof Forms Simple and Cottage-Like
Although you might feel tempted to add drama with complex rooflines, cottages read best when the roof form stays simple, low-key, and familiar. Aim for Roof simplicity by echoing the original pitch, ridge height, and gable orientation, so the extension looks like it belongs.
Keep spans modest, avoid oversized dormers, and choose one clear roof type—gable or hipped—rather than a collage of forms.
Match traditional eaves depth, verge detail, and rafter tails where they exist, and keep fascias thin so the roof doesn’t look heavy. Use clay tile or slate that aligns in size, texture, and colour, and set chimneys where they feel structurally honest.
When you respect these quiet rules, you preserve Cottage charm and the cottage’s settled silhouette from every view.
Reduce Bulk With Steps, Set-Backs, and Links
When your extension starts to feel too heavy, you can break it into step-back massing so the cottage keeps its calm, incremental rhythm. You’ll set upper storeys and wider bays back from the original elevation, protecting key sightlines to the ridge, eaves, and gable proportions.
If you still need more footprint, you can add a modest link element—glazed or lean-to—so the new volume reads as secondary and the historic core stays dominant.
Use Step-Back Massing
If your cottage extension starts to read as one big block, step-back massing lets you break it into smaller, heritage-scaled pieces that respect the original proportions. Set the new volume behind the front wall line, then drop the ridge or eaves in stages so the original roof remains the visual anchor.
Keep each step aligned to existing window bays, chimneys, or gable widths, and match coursing lines so brick, stone, or weatherboard reads continuous. Use modest projections rather than deep planes, and keep corners crisp with traditional trim.
For garden integration, let the lower step progression open to planting beds or a terrace so greenery softens the shift. Choose exterior color schemes that keep the stepped elements recessive, preserving the cottage’s primacy and calm street rhythm.
Add Link Elements
Rather than letting a new wing crash straight into the cottage, add a link element—a short, lower connector that steps the scale down and gives the original house breathing room.
Keep the link single-storey where possible, with a slightly lower ridge and narrower plan, so the cottage still reads as the main volume. Set it back from the front elevation, and align eaves lines to existing datums to preserve calm proportions.
Use discreet glazing or a simple boarded wall, and echo original details in a quieter key: slim fascias, modest gutters, and restrained window sizes.
Let the link choreograph movement from old to new, easing changes in floor levels and interior decor.
Outside, fold it into garden landscaping with a clipped hedge, gravel path, or courtyard wall.
Match Materials and Detailing to the Original
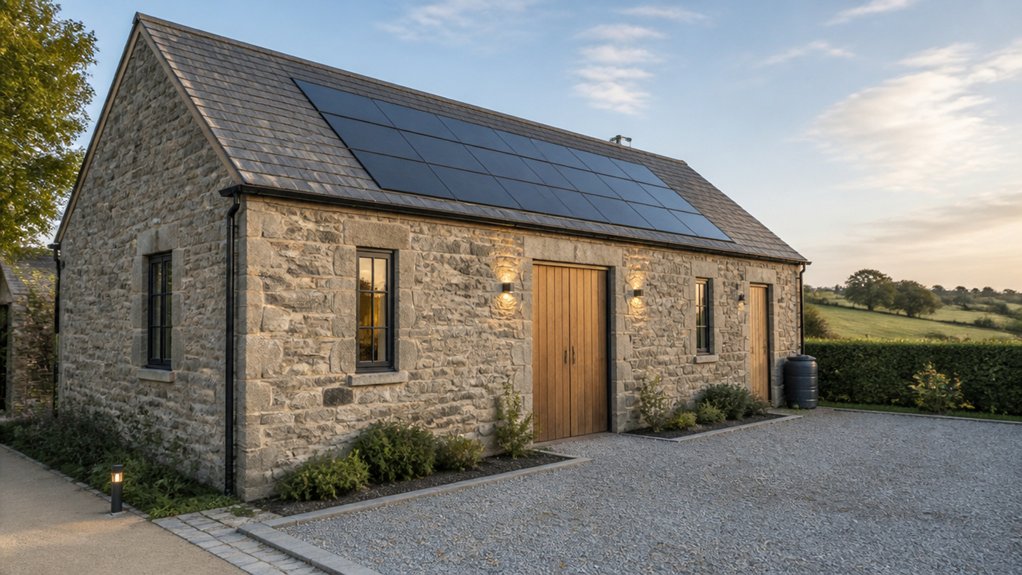
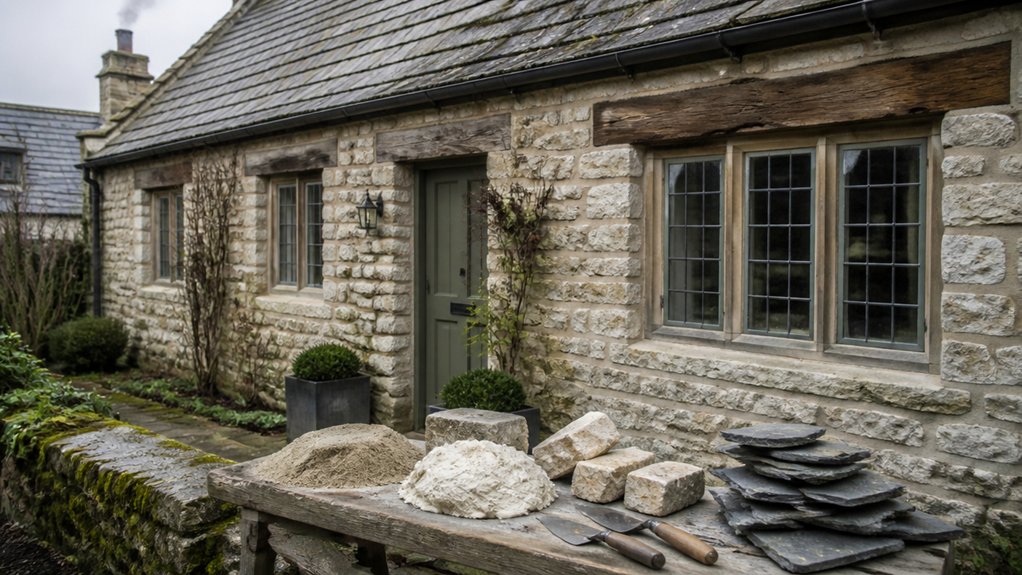
Although you’re adding new space, the cottage still needs to read as one coherent building, and that starts with materials and detailing that echo the original fabric. Begin by mapping your Material palette: stone type, brick bond, lime mortar tone, render texture, roof covering, ridge tiles, and rainwater goods.
Match what you can, and where you can’t, choose a sympathetic alternative that weathers similarly and sits quietly beside the old work. Reuse salvaged units sparingly, and avoid “too new” finishes that jar in sheen or colour.
Keep junctions crisp: align coursing, continue eaves and verge treatments, and replicate bargeboards, copings, and plinths. Add Vintage detailing with restraint—handmade bricks, rough-sawn timber, forged ironmongery—so the extension feels earned, not staged.
Align Window and Door Spacing and Sizes
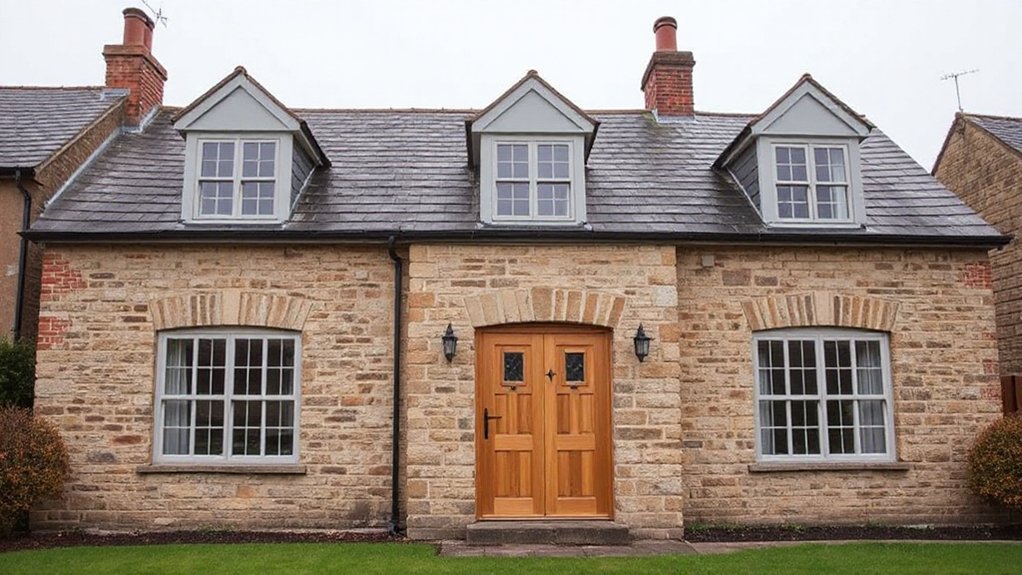
You’ll keep the extension feeling original if you match the cottage’s existing window rhythm, repeating bay spacing and opening widths rather than inventing a new pattern.
Hold doorway proportions steady too, so new entrances keep the same vertical emphasis and trim depth as the old.
Then align head and sill levels across old and new walls, because those horizontal lines quietly set the whole elevation’s balance.
Match Existing Window Rhythm
When you extend a cottage, keep the existing window rhythm as your guide—because the spacing, sizes, and alignments of openings do more to preserve its proportions than almost any new material choice.
Start by measuring bay widths, sill and head heights, and the repeat distance between openings, then carry those modules into the new wall.
For Historic preservation, match the hierarchy: larger principal windows, smaller secondary ones, and consistent vertical emphasis. Don’t “average” sizes; copy the originals’ increments so the facade reads as one composition.
Keep mullion patterns and reveal depths aligned, and set new openings on the same centerlines where possible.
With Landscape integration, place windows to echo garden views and hedgerow breaks, so inside and out feel historically continuous.
Keep Doorway Proportions
Because the front door often anchors a cottage façade more strongly than any single window, keep its proportions and spacing in lockstep with the existing openings as you extend. Measure the original door’s width-to-height ratio, surround depth, and casing thickness, then repeat them so the new work reads as one composition, not an afterthought.
Protect Doorway symmetry by keeping the door aligned to the established bay spacing: don’t squeeze a window tight against the jamb, and don’t let a blank pier become noticeably wider than its neighbors.
Match the visual weight of the opening with proportional framing—lintel, jambs, and architrave should carry the same reveal and shadow line as the old. If you must adjust, do it in inches, not feet, always.
Align Head And Sill Levels
Even if the extension adds new bays, keep every window and door head and sill locked to the original datum lines so the façade reads as one settled, heritage composition.
Measure from finished floor, not ground, and transfer levels with a laser so lintels, transoms, and cills align across old and new.
Match opening heights first, then refine widths so mullion spacing echoes the cottage rhythm rather than modern grid regularity.
Where garden orientation asks for larger glazing, add extra panes within the same head height, or use deeper reveals, not taller frames.
Check foundation stability before you set thresholds; differential settlement will throw cills out of level and crack render.
Finish with consistent architrave depths and shadow lines to preserve calm proportions.
Plan an Interior Layout That Flows Naturally
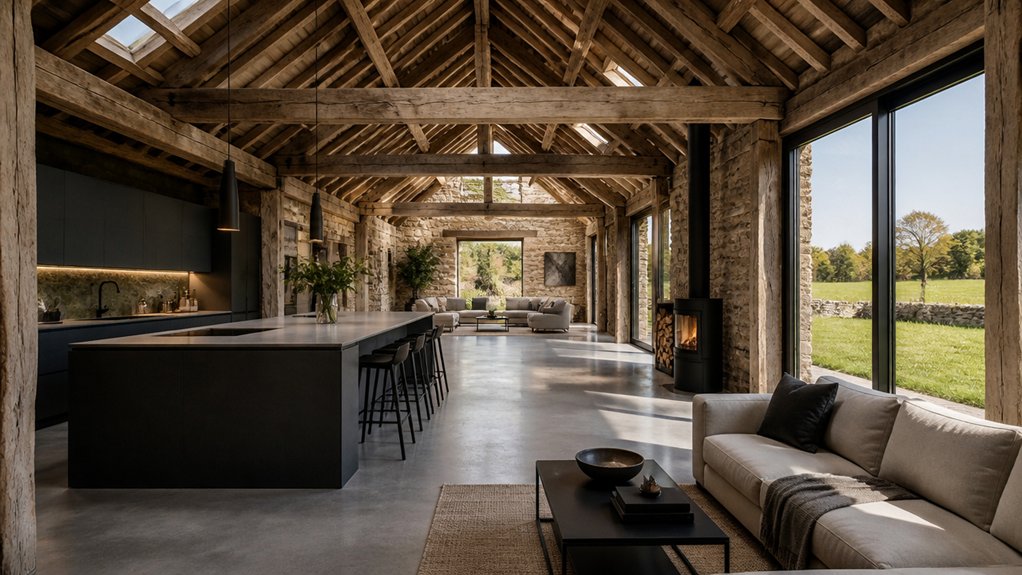
Although an extension can add generous square footage, you’ll keep a cottage’s character intact only if the interior plan reads as a calm, logical sequence of rooms. Let the original front-to-back axis remain legible, so you don’t turn a snug house into a muddled warren.
Start by mapping thresholds: keep doorways where they naturally pause movement, and align new openings with existing sightlines. Step down circulation widths so halls feel cottage-scaled, and avoid abrupt turns that steal daylight.
Place service spaces—utility, cloakroom, pantry—at the seam between old and new to buffer noise and maintain interior harmony. Then test furniture arrangement early: check fireplace focal points, window seats, and table clearances before you fix wall positions.
Finish with consistent skirting, architraves, and floor transitions.
Mistakes to Avoid: and How to Get Approval Faster
If you treat planning and listed-building constraints as part of the design brief from day one, you’ll avoid the missteps that make cottage extensions feel wrong—and you’ll shorten the approval route. Don’t submit a generic contemporary box and hope officers “see the vision”; they’ll judge massing, roof pitch, eaves depth, and window rhythms against the original.
Avoid oversizing openings, flattening gables, or mixing too many materials. Instead, match coursing, mortar tone, and sill details, and prove why any contrast stays subordinate.
Show landscaping integration early: retain key hedges, set out paths, and use planting to soften new junctions.
Speed approval with clear heritage statements, measured surveys, and sample boards for color coordination. Include drainage, biodiversity, and lighting plans so reviewers don’t request revisions.
Frequently Asked Questions
Can I Extend a Listed Cottage, and What Extra Consents Are Required?
Yes, you can, but you’ll need Listed Building Consent plus Planning permissions, and often Heritage restrictions guidance. You must submit detailed drawings, a heritage statement, and sometimes archaeological reports, proving materials, scale, and joinery respect proportions.
How Much Does a Cottage Extension Typically Cost per Square Metre?
You’re looking at £2,500–£4,500 per m² typically, but it’s a piece of cake to underestimate: Historical preservation, Sustainable materials, and proportion-sensitive detailing push costs higher; you’ll need careful surveys, bespoke joinery, and matching finishes.
How Long Does a Cottage Extension Project Usually Take From Design to Completion?
You’ll typically need 6–12 months from design to completion: 8–16 weeks for drawings, Interior layout, consents, and Material selection, then 12–20 weeks on site, depending on heritage detailing and proportion-sensitive craftsmanship.
Will Extending My Cottage Increase Insurance Premiums or Require Policy Changes?
Yes, you’ll likely see premiums rise and you may need changes. Careful, cottage-conscious choices shape Insurance implications. Tell your insurer early; they’ll require Policy adjustments for rebuild value, listed features, materials, and workmanship.
How Can I Keep My Cottage Warm During Extension Works and After Completion?
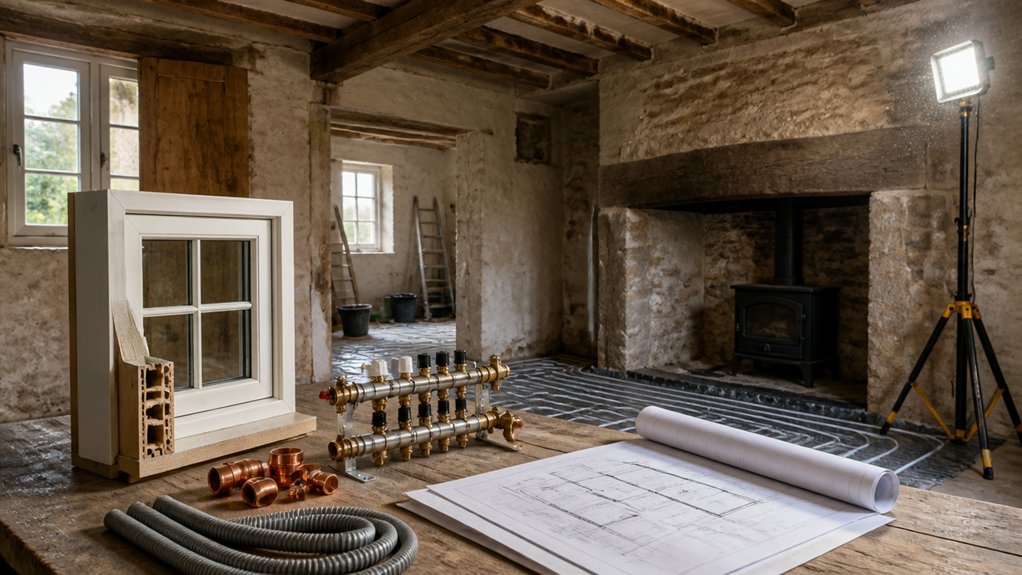
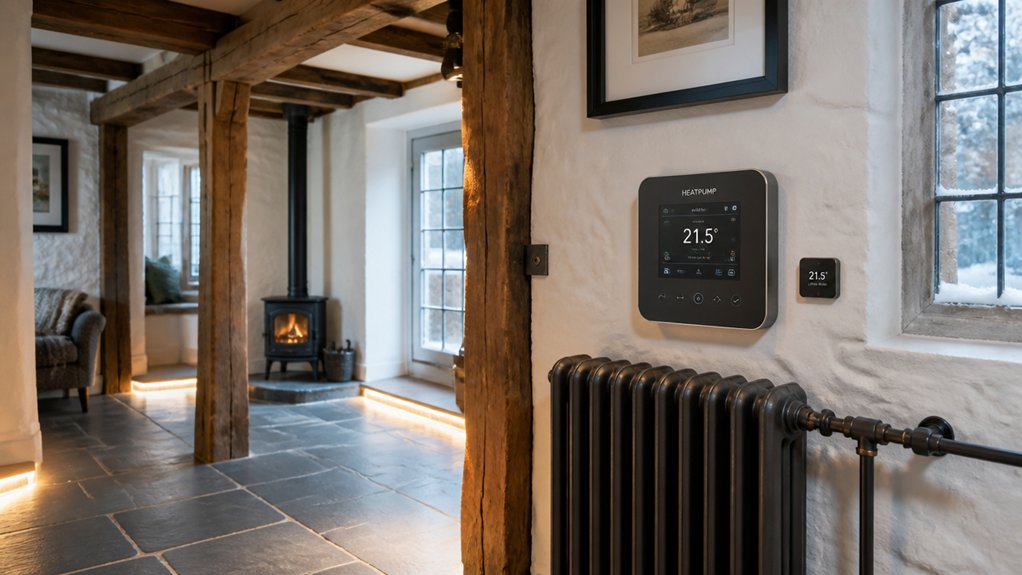
You’ll keep your cottage warm by draught-sealing openings, hanging insulated sheeting, and using zoned temporary heating systems during works. After completion, choose breathable insulation techniques, upgrade boilers or heat pumps, and retain proportionate, heritage-appropriate vents.

Leave a Reply