

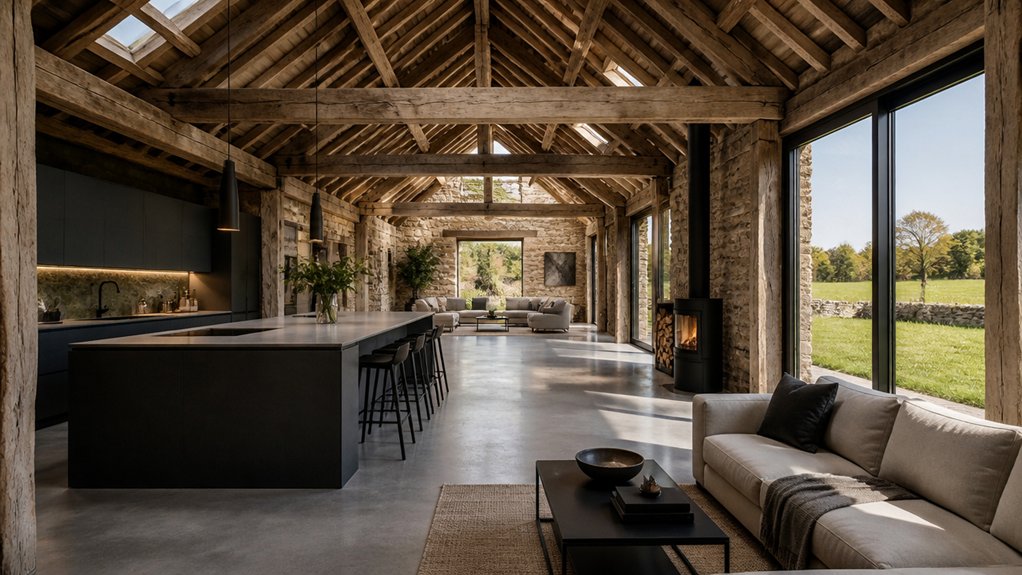
You’re not just converting a barn; you’re negotiating with gravity, moisture, and time. You start with measured surveys, then shore up frames, foundations, and failed lintels before you sketch a single open‑plan line. You check planning and building regs early so you can keep original trusses, openings, and masonry while inserting reversible steel, services zones, and level shifts that define “rooms” without walls. But the real turning point comes when you decide how to insulate and glaze without trapping damp…
Key Takeaways
- Start with a forensic structural survey to identify settlement, timber decay, moisture paths, and required reinforcements before any design decisions.
- Secure planning permission and Building Regulations compliance early, submitting measured drawings, heritage materials, and performance details for structure, fire, and energy.
- Plan the open layout around the structural grid, using level changes, built-in joinery, and a central kitchen “hearth” to zone without walls.
- Specify breathable insulation and moisture control, with vapour-open materials, continuous airtightness, and designed ventilation to prevent condensation on old timbers.
- Choose glazing, materials, and layered lighting that balance thermal performance and barn character, detailing junctions for durability and crisp contemporary finishes.
Survey the Barn Conversion and Shore Up Structure
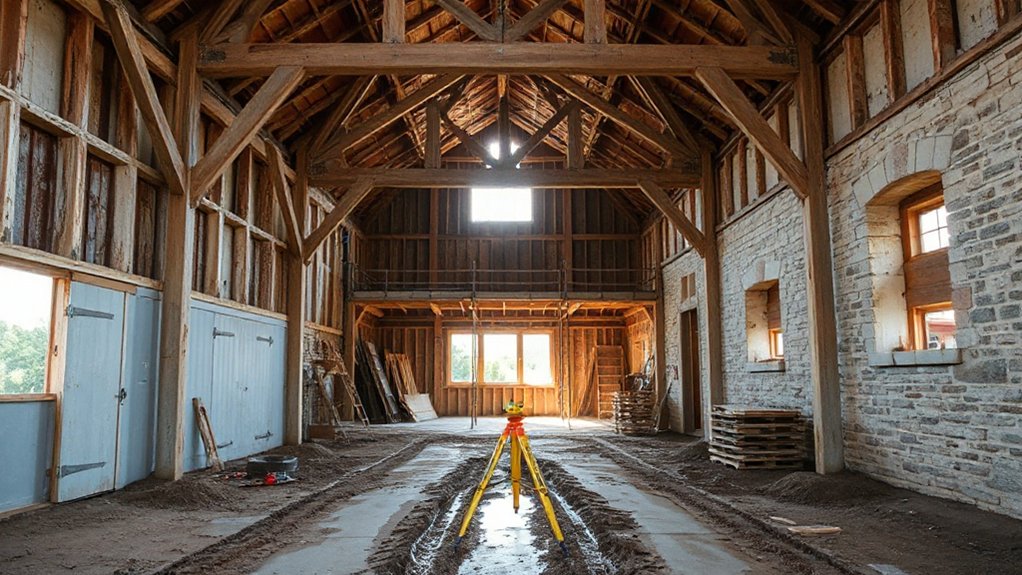
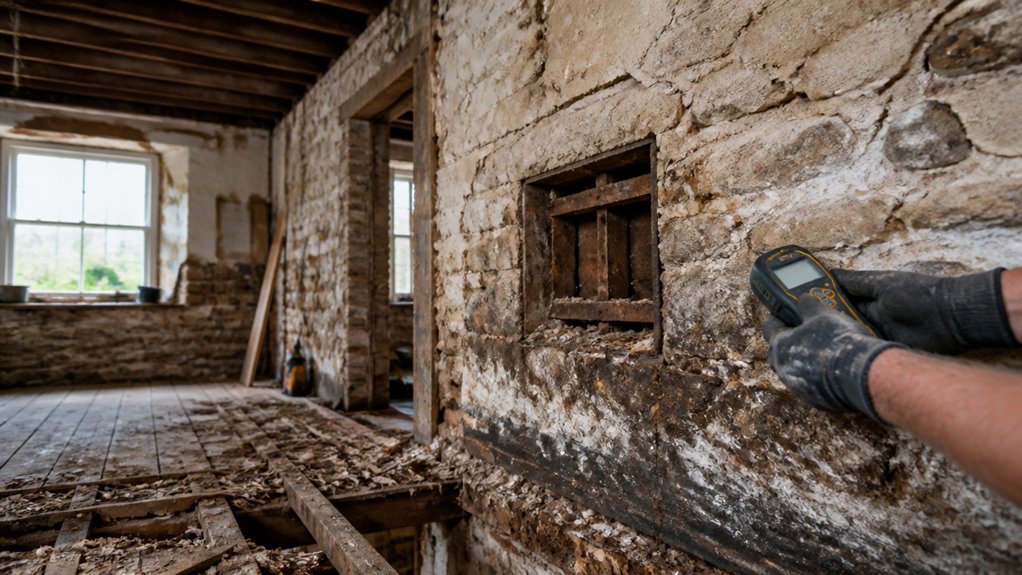
Before you sketch layouts or specify finishes, you need a forensic survey of the barn’s frame, envelope, and foundations so you can separate cosmetic decay from structural risk. Map moisture paths, insect attack, and mortar loss bay by bay, then level-survey the slab or footings to locate settlement lines.
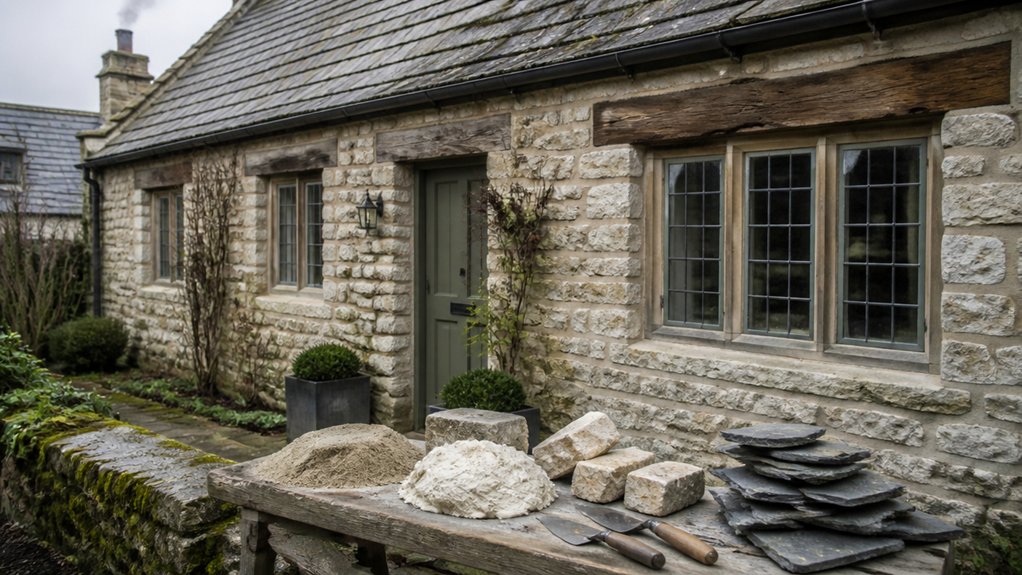
Probe posts and beams for section loss, check joint rotation, and test tie integrity; you’ll know where to splice oak, add steel flitch plates, or introduce discreet portals. Stitch cracked masonry with grout and helical bars, repoint in lime, and stabilize openings with new lintels sized to the load.
Keep Historic preservation central: retain sound timbers, mark replacements, and use reversible fixings. Minimize Environmental impact by salvaging stone, reusing brick, and sequencing props to avoid unnecessary demolition.
Check Planning Permission and Building Regs Early
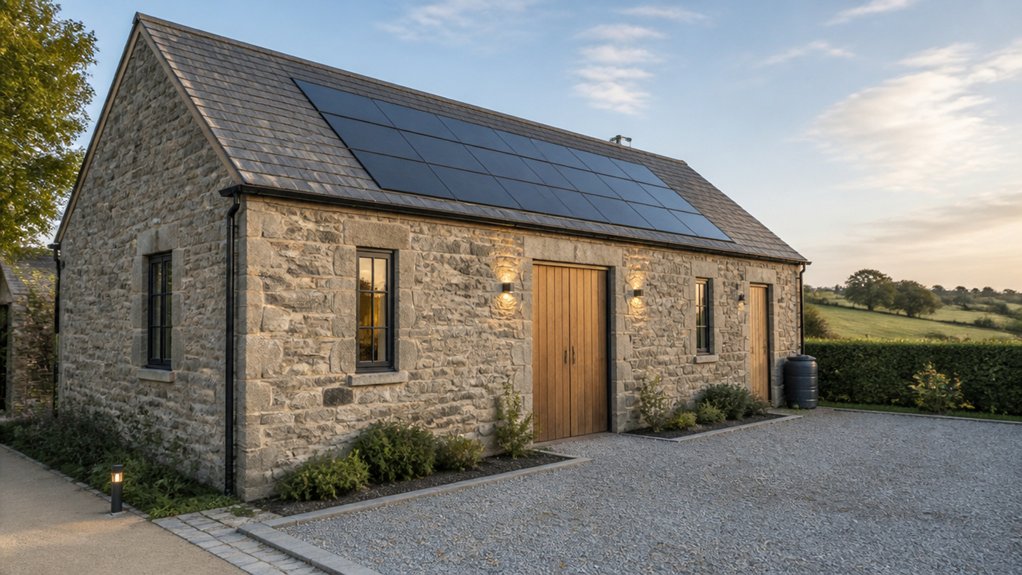
Although the barn feels like a blank shell once you’ve propped and stitched it, you’ll save time and costly redesign by locking down planning permission and Building Regulations early. Confirm whether you’re in curtilage, a conservation area, or near listed fabric, because Historical preservation controls openings, cladding, rooflines, and window proportions. Submit measured elevations, a heritage statement, and a materials schedule that matches existing stone, brick, lime mortar, and timber species.
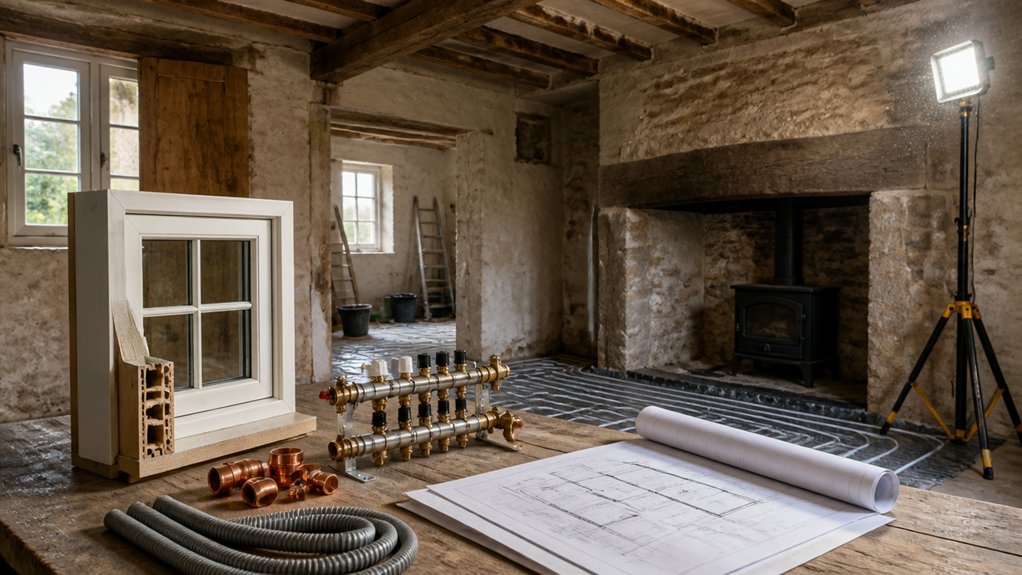
Treat Building Regs as a performance brief: fire separation, escape widths, structural calculations, moisture control, and thermal targets. Specify insulation build-ups that manage vapour, cold bridges, and condensation at junctions, especially where new steel meets old masonry.
Document Environmental impact with drainage strategy, airtightness approach, and low-carbon heating allowances before you order glazing or cut new apertures.
Plan a Cosy Open-Plan Barn Conversion Layout
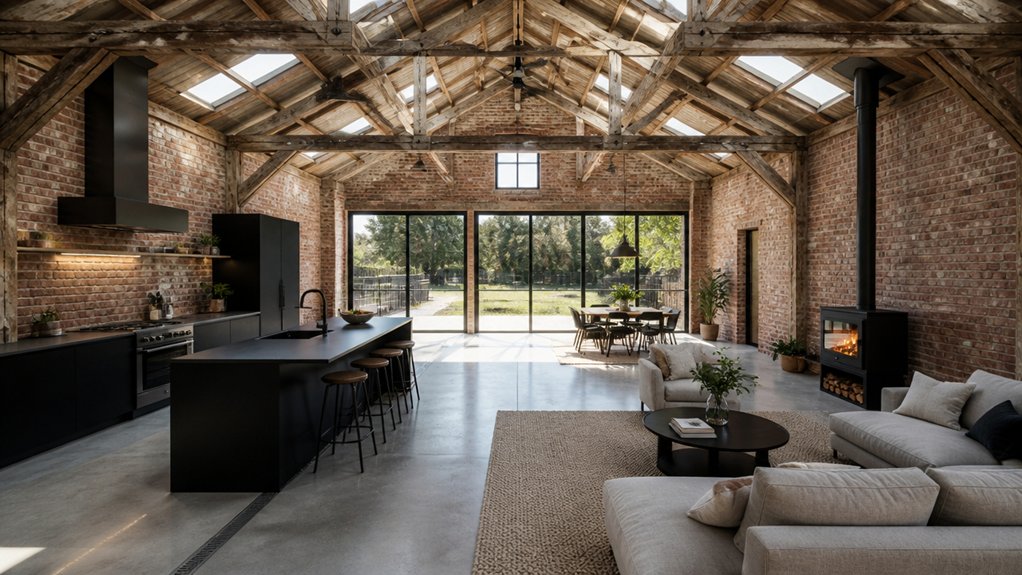
Once you’ve fixed the structural grid and the positions of new openings, you can plan an open‑plan layout that still feels warm by zoning with mass, level changes, and joinery rather than walls.
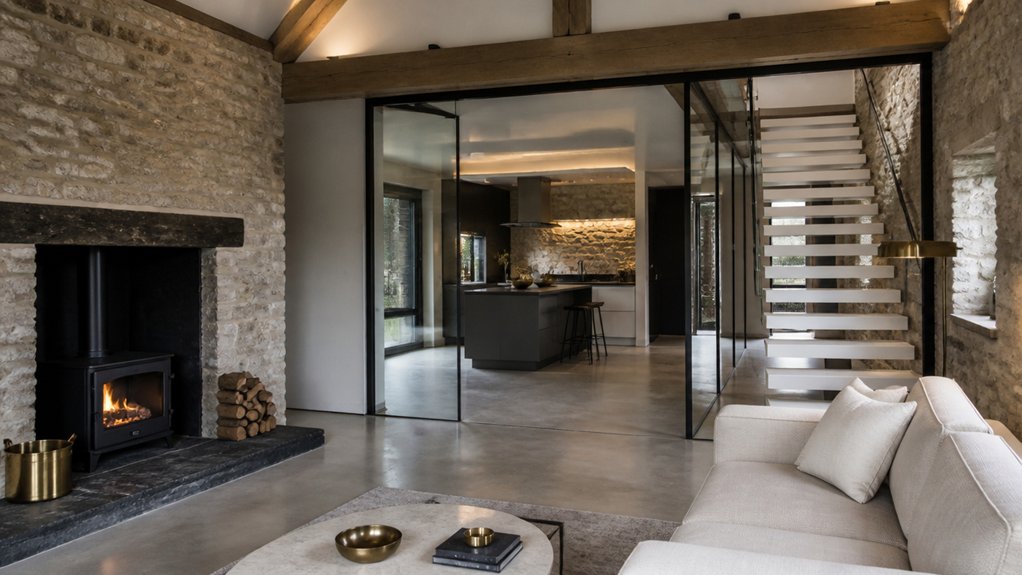
Set the kitchen as a “hearth” core: a masonry island, timber slab worktop, and chunky steel canopy define it without blocking sightlines.
Drop the living area one step to thicken the threshold, then wrap it with built‑in benches and bookcases that act as acoustic and visual buffers.
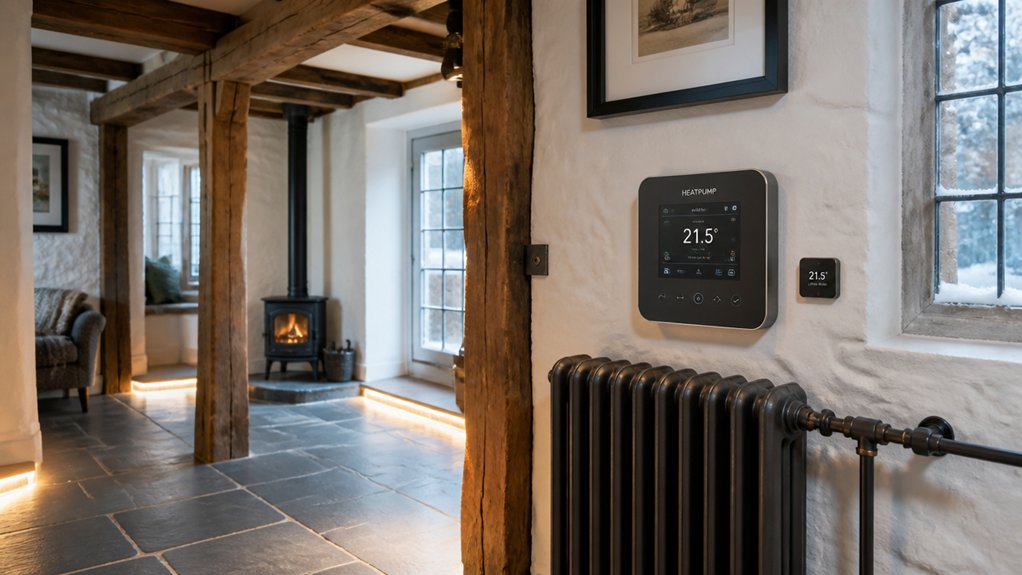
Use a freestanding stove on a stone plinth to anchor circulation between lounge and dining.
Keep Rustic charm by exposing trusses, limewashed boards, and reclaimed brick.
Specify Vintage fixtures—aged brass taps, enamel pendants, and industrial switches—to scale down the volume and add tactile focus.
Insulate and Ventilate Without Trapping Damp
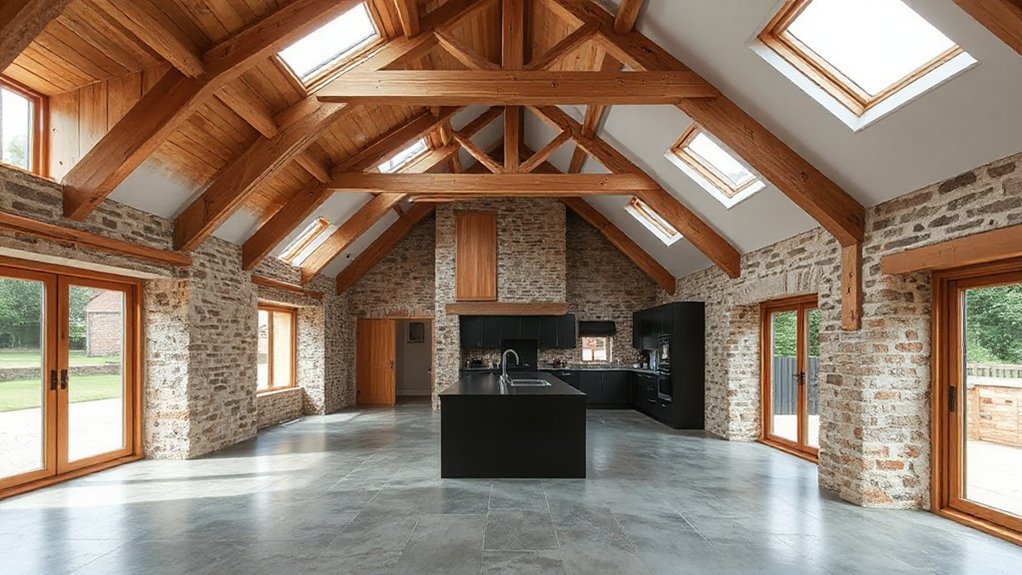
A warm open‑plan layout won’t perform if moisture builds behind your new linings, so treat insulation and ventilation as a single, breathable assembly. Keep existing stone or brick able to dry inward by using lime-based parging, capillary-open boards, and vapour-permeable membranes rather than foil-faced layers.
Create a continuous air barrier on the warm side, then add controlled ventilation paths: ridge and eaves voids, ventilated service cavities, and discreet high-level extract.
Detail junctions at posts, plates, and gables so air doesn’t bypass insulation and condense on cold timbers. Where you add Structural reinforcement—new steels, sistered joists, or strap ties—wrap them in insulation returns and maintain ventilation clearances to prevent cold bridges.
For Historical preservation, avoid cement tanking; manage splashback, gutters, and subfloor airflow instead.
Choose Barn Conversion Glazing for Light and Heat
Because barn apertures often run tall and irregular, you’ll get the best balance of daylight, comfort, and energy use by specifying glazing around orientation, frame depth, and thermal breaks—not just U‑values.
Set larger panes to the south for winter gain, but control glare with low‑g solar coatings; keep north lights high and diffuse with clear low‑e.
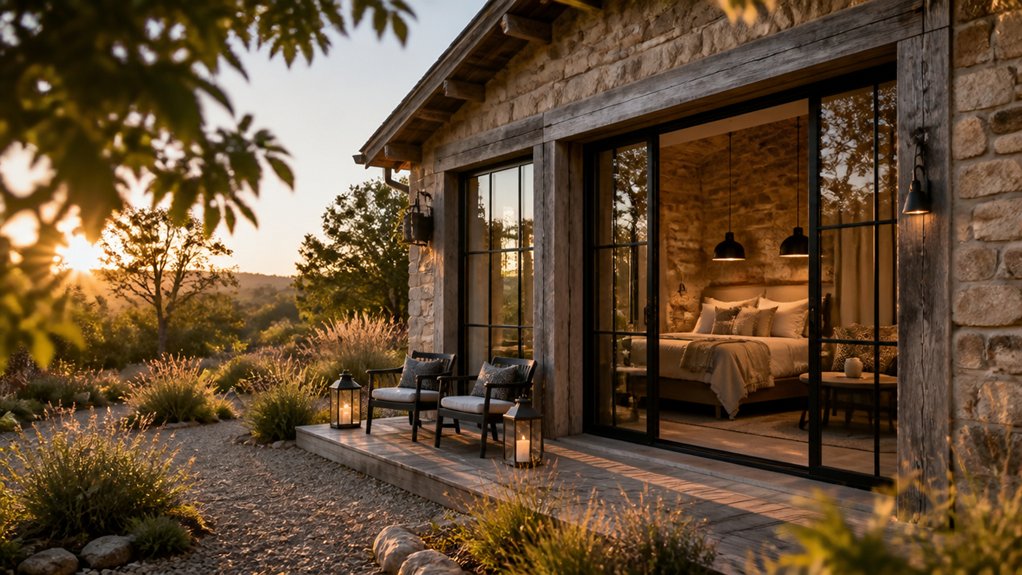
Choose Glazing options that suit structure: slim-profile steel-look frames for narrow reveals, or timber-aluminium composites where you need deeper insulated sections.
Detail Window installation to manage moisture: position the frame within the insulation layer, use insulated cavity closers, and tape airtight to the internal air barrier while allowing external drainage.
Add warm-edge spacers, argon fill, and acoustic laminates where wind exposure or road noise will dominate.
Choose Modern Materials and Lighting That Fit the Barn
You’ll get the cleanest contrast by specifying a contemporary palette—microcement or honed concrete underfoot, blackened steel trims, and warm timber linings—so the barn’s rough envelope stays legible.
Keep junctions crisp and repeat finishes across large planes to control visual noise in the open volume. Then you’ll scale the lighting in layers: high-bay pendants or linear profiles for ambient coverage, track or downlights for task zones, and low-level wall washers to graze stone and frame the structure at night.
Contemporary Material Palette
How do modern finishes sit comfortably inside a weathered timber shell without looking staged? You’ll get there by keeping the structure dominant and letting new insertions read as precise, secondary layers.
Specify limewashed plaster or clay paint to soften light bounce and quiet the boards’ texture. Run a continuous microcement or wide-plank oak floor to unify the open plan, then edge it with slim steel thresholds that tolerate movement.
For joinery, choose flat-front oak, birch ply, or powder-coated steel in muted tones; align reveals to the existing bays so the rhythm stays legible. Keep countertops honed: quartzite, soapstone, or stainless, not glossy.
To preserve Rustic charm, retain selective vintage finishes—patinated ironwork, worn brick, aged hardware—then balance them with clear matte sealers and tight shadow gaps.
Layered Barn-Scale Lighting
Even if the barn reads as one big volume, you should light it in layers so the scale stays legible and the timber stays dominant. Set a dimmable ambient grid with narrow linear LEDs tucked along purlins or behind a blackened steel channel, keeping sources concealed for Historical preservation.
Add mid-level task light with track heads aimed at kitchen and work surfaces, using warm 2700–3000K to keep Rustic aesthetics intact.
Then punch in accent light: small wall grazers washing stone, and uplights at posts to reveal joinery and texture.
Choose matte finishes, low-glare optics, and high CRI to avoid flattening patina.
Control zones independently, so the open plan reads as rooms without new partitions. Use scene presets for day-to-night shifts.
Frequently Asked Questions
What Are the Typical Costs and Financing Options for a Barn Conversion?
You’ll typically spend $200–$400 per sq ft, plus 10–20% contingency for structural steel, insulation, glazing, and services. Finance via construction loans, renovation mortgages, or bridging. Budget for Building regulations, Historic preservation.
How Long Does a Full Barn Conversion Project Usually Take?
You’ll typically need 9–18 months; it’s a chess game. You sequence surveys, Historic preservation approvals, and Structural reinforcements, then frame, insulate, run services through bays, and finish timber, stone, and glazing to tolerances.
Can I Live On-Site While the Barn Conversion Work Is Underway?
You can sometimes live on-site, but only if you’ve got a safe, sealed zone with utilities. Building permits and zoning regulations may require temporary occupancy approval. Dust, insulation fibers, and exposed framing demand strict separation.
How Do Barn Conversions Affect Insurance Premiums and Property Taxes?
Expect premiums to rise: rebuild-cost reassessments can add 15–30% after conversion. You’ll trigger Insurance considerations—timber frame, steel spans, fire separation, glazing. You’ll also face tax implications: higher assessed value, reclassification, local mill rates.
What Ongoing Maintenance Does a Converted Barn Typically Require?
You’ll routinely inspect the roof, gutters, and cladding, reseal junctions, manage moisture at slab edges, and service HVAC. Maintain Historic preservation finishes, monitor Structural reinforcement connections, treat exposed timber/steel, and control pests.

Leave a Reply