

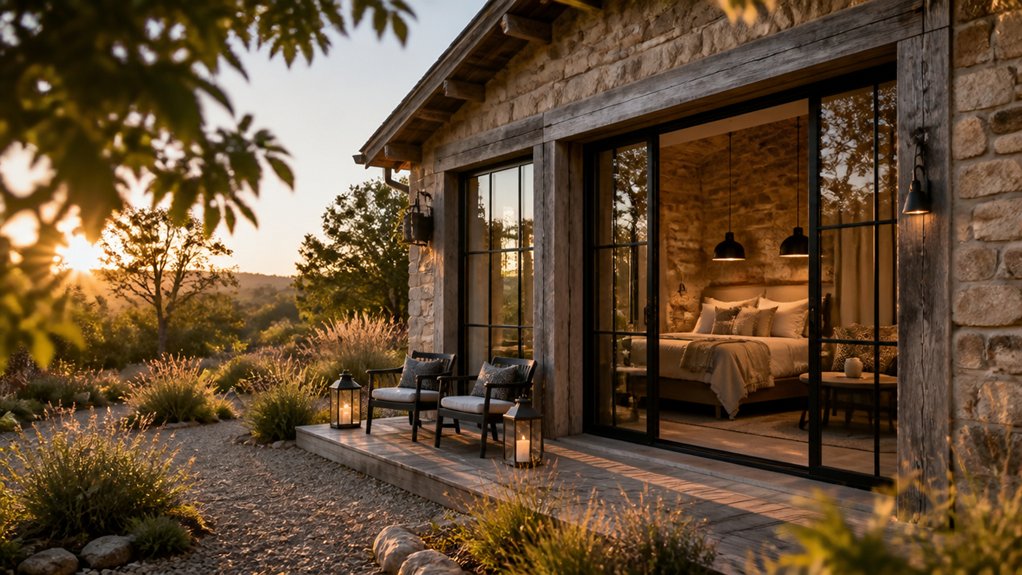
You’re not just fitting beds into a barn-like shell; you’re negotiating with timber, brick, and decades of moisture. Start by asking what the building will tolerate before you change a thing, because a granary’s charm depends on its breathability and repairability. If you rush to seal, tank, or over-insulate, you’ll trap damp and lose the fabric you came for. Next, you’ll need to test one assumption that can make or break the whole scheme…
Key Takeaways
- Start with a conservation-grade structural survey to identify movement, insect damage, damp routes, and original materials worth preserving.
- Design the layout around the existing timber bays, keeping kitchens and bathrooms in service zones to minimise new cuts and penetrations.
- Manage moisture first: fix rainwater goods, unblock ventilation, and use lime-based repointing and finishes to keep the building breathable.
- Secure planning and building approvals by retaining original openings, making reversible changes, and integrating fire escape routes discreetly along existing thresholds.
- Upgrade guest comfort with breathable insulation, soft acoustics, warm lighting, and low-impact landscaping that respects the granary’s historic character.
Check If Your Granary Can Become Guest Accommodation
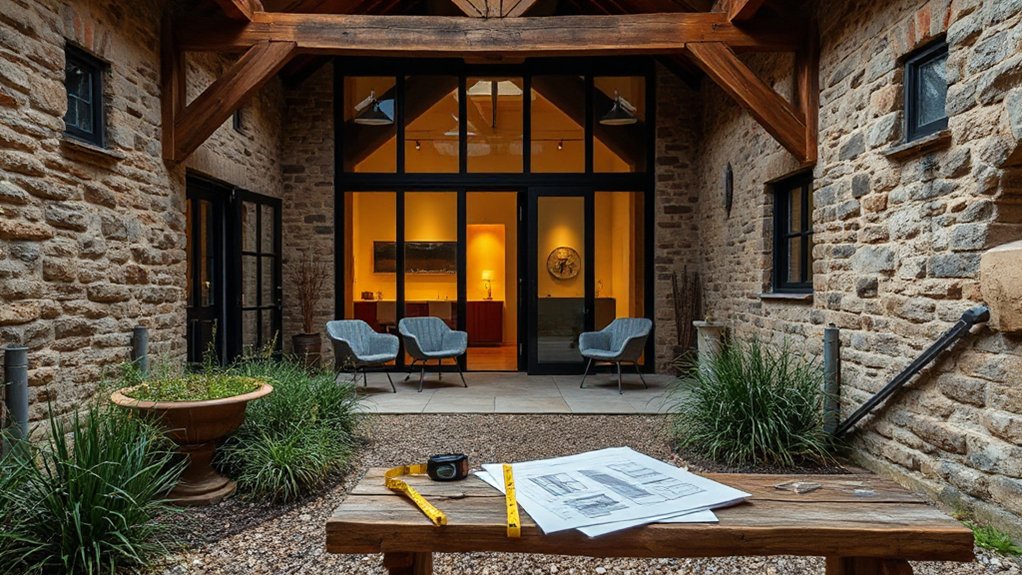
Before you sketch floor plans or price out glazing, you’ll want to confirm that your granary can legally and physically take the change of use without sacrificing its historic fabric. Start by recording what you’ve got: a measured survey, sharp photos, and notes on joinery, floor loading, ventilation slots, and any grain bins or machinery scars that speak to Agricultural heritage.
Check the frame for insect damage, distortion, and failing pegged joints, and probe sills and posts for damp. Identify original materials—softwood boards, limewash, handmade brick plinths—so you don’t trap moisture with cement or impermeable membranes.
Assess access, headroom, and escape routes without cutting new openings that erode Historical significance. If the structure can’t take services discreetly, rethink your brief early.
Planning Permission for a Granary Conversion (What to Expect)
Although a granary can look like a simple shell, planning permission often turns on the details—its lawful use, its setting, and how gently you can adapt it without erasing agricultural character.
You’ll start by checking Local zoning regulations, any rural exceptions, and whether change-of-use applies. If the building sits in a conservation area or is listed, expect tighter scrutiny and a stronger case for Historical preservation.
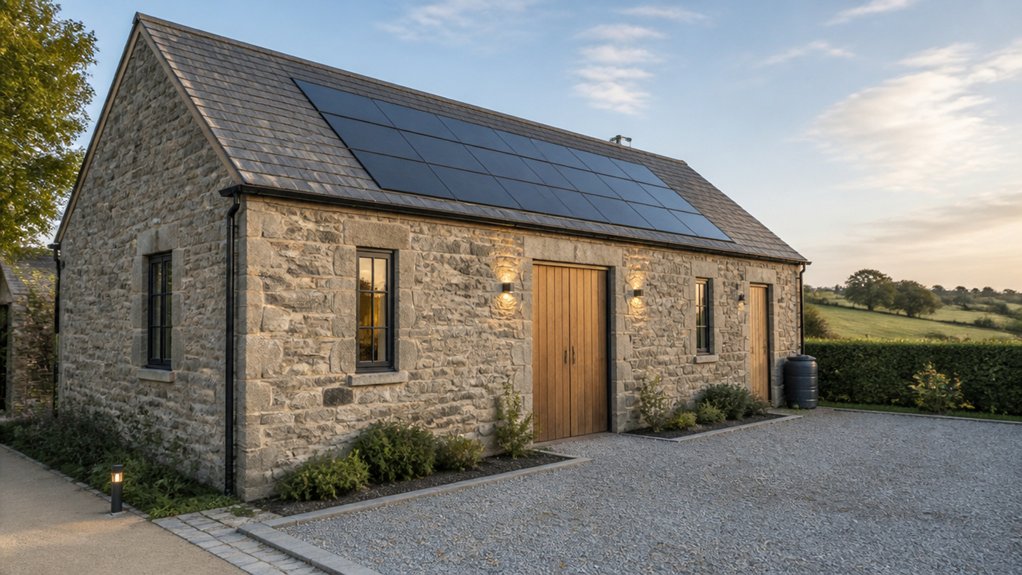
You should submit drawings that respect the original form: keep openings modest, retain timber framing, and match brick, stone, lime mortar, and roof coverings to what’s already there.
You can propose discreet services and insulation, but you’ll need to show they won’t trap moisture or jar with historic fabric.
Planners will weigh access, parking, and landscape impact too.
Survey, Damp, and Structural Risks to Flag Early
Planning may set the outer limits of what you can change, but a careful survey tells you what the granary will actually tolerate. Commission a conservation-minded surveyor who’ll read the granary history in its timbers, brick, and stone, and map earlier alterations that may have weakened joints or trapped moisture.
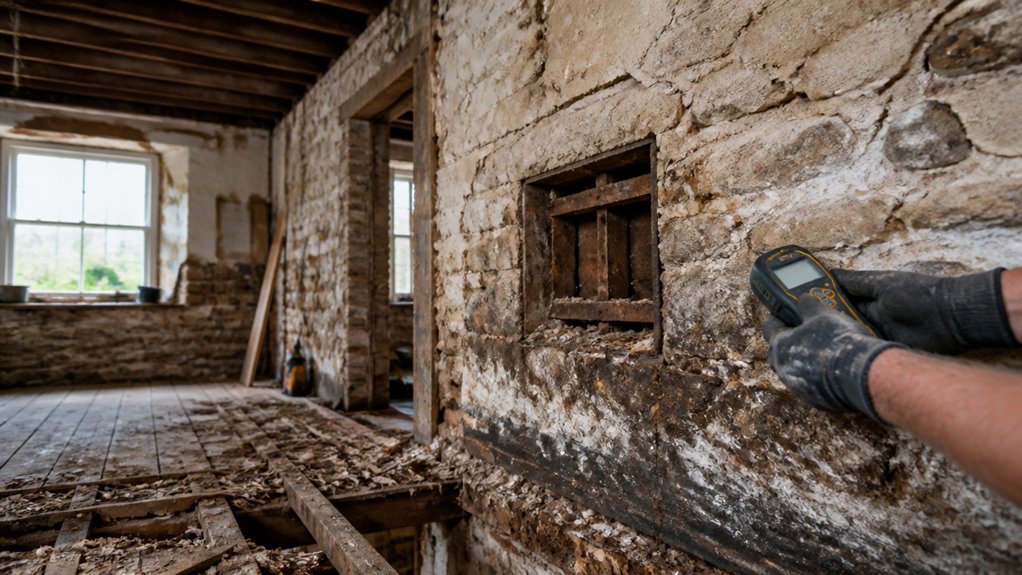
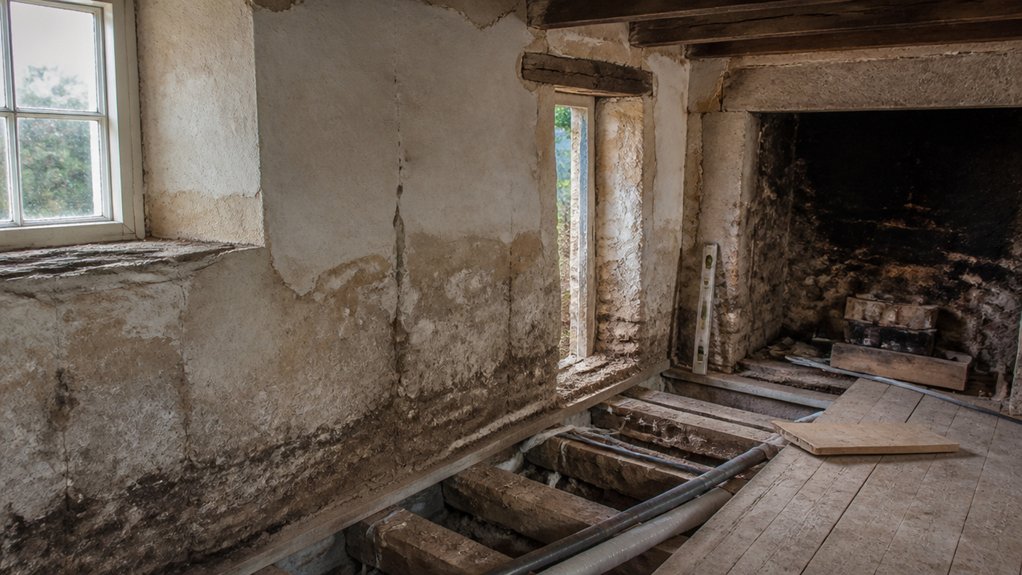
Flag damp routes early: failed rainwater goods, cement pointing, bridged thresholds, and blocked subfloor vents. Check for beetle flight holes, fungal mycelium, and salts on masonry, then trace causes rather than sealing symptoms.
Assess structural movement at posts, sill beams, and bearing pockets; look for spread at roof feet and racking from lost bracing. Verify any underpinning or steelwork complies with local regulations and won’t damage breathable fabric.
Budget a Granary Conversion (Avoid Cost Surprises)
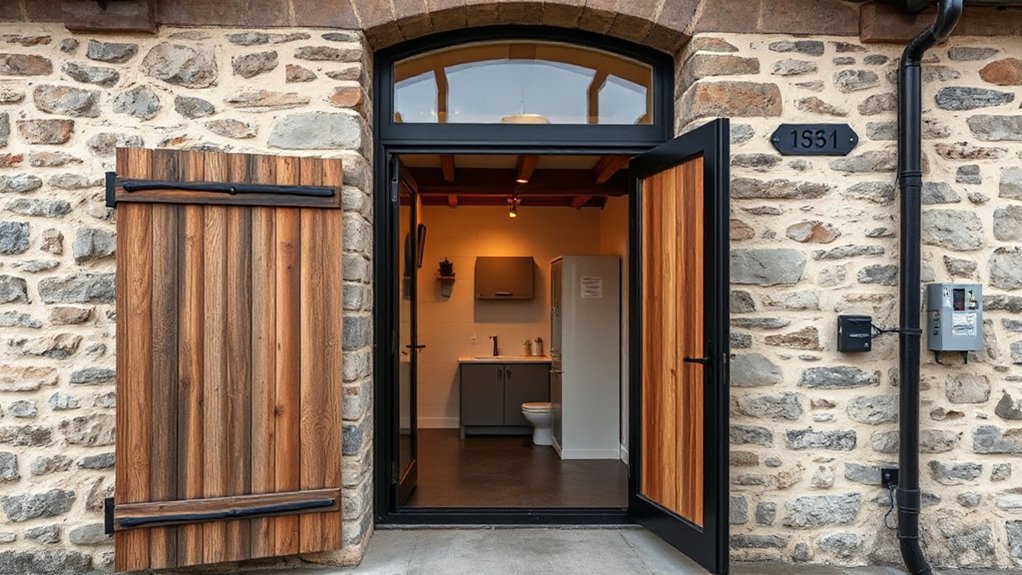
If you cost a granary conversion like a straightforward fit‑out, you’ll miss the hidden spend that comes with conserving old fabric. Build your budget around investigation, approvals, and careful methods, not just finishes. Allow for measured surveys, heritage statements, and samples that prove what you’ll retain; they save money by preventing rework.
Granary history matters: pegged joints, lime residues, tarred boards, and insect scars can dictate specialist cleaning, repairs, and compatible materials. Price in skilled labour, slower drying times, and protection during works so you don’t damage patina you’re trying to keep.
Set a contingency of 15–25% for discoveries once you open up. Confirm local regulations early—consents, fire strategy, access, and drainage can shift costs fast.
Make the Shell Sound: Roof, Walls, Floors, Openings
Before you dress an old granary as guest accommodation, you’ve got to make its shell sound, starting with the roof structure and insulation so it sheds water yet still breathes.
You’ll repair walls with like-for-like timbers, lime-based mortars, and discreet weatherproofing that respects the building’s original movement and moisture paths.
Then you’ll stabilise floors and upgrade openings—sills, thresholds, doors, and windows—so they’re secure, draught-tight, and faithful to the granary’s proportions.
Roof Structure And Insulation
Once you’ve committed to a granary conversion, the roof becomes your first line of defence—and your biggest opportunity to keep the building honest.
In granary renovation, treat the trusses, purlins, and pegged joints as primary fabric: survey for sag, insect damage, and failed bearings, then splice like-for-like timber rather than over-plating in steel. Keep repairs readable and reversible for historic preservation.
For insulation, you’ll get the best performance by working from the inside: fit a vapour-open build-up that respects old timbers, such as woodfibre between rafters with an airtight but breathable membrane. Maintain a continuous ventilation path above insulation, and retain original slates or tiles where sound, matching salvage for replacements.
Add discreet eaves access panels for inspection.
Wall Repairs And Weatherproofing
Where do you start with granary walls—cosmetics or structure? You begin by reading the fabric: bulges, failed pointing, and wall discoloration often trace water paths, salts, or incompatible cement.
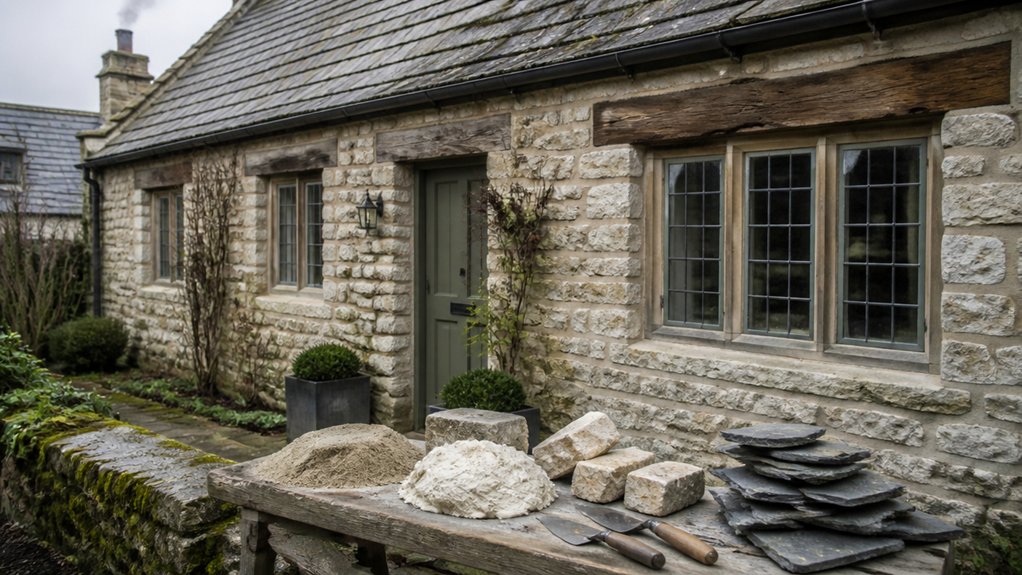
You’ll rake out hard mortar by hand, then repoint with lime that matches the original aggregate and permeability, keeping joints proud, not smeared. You’ll stitch cracks only where movement has stopped, and you’ll retain sound timber framing rather than over-cladding.
For weatherproofing, you’ll focus on shedding and breathing. You’ll repair gutters, downpipes, and drips, then reinstate limewash to soften wind-driven rain while allowing evaporation.
Avoid impermeable coatings and internal moisture barriers that trap damp; instead, use vapour-open repairs and discreet, reversible detailing throughout.
Floors And Opening Upgrades
Although the walls often grab your attention first, you’ll make faster progress by getting the floors and openings right, because they control moisture, movement, and heat loss. Start by lifting later concrete or vinyl and letting the structure breathe. Repair joists with spliced, like-for-like timber, and keep ventilation gaps so rising damp can dissipate.
Where you need insulation, choose wood fibre or sheep’s wool and a vapour-open deck, not plastic membranes that trap salts.
Treat thresholds, doors, and window bays as part of the original granary art. You’ll retain boards, ledges, and ironmongery where safe, then add discreet draught seals and secondary glazing.
For historical preservation, fit new frames only when failure demands it, and match profiles, putty lines, and reveal depths.
Insulate and Heat a Granary Conversion for Year-Round Comfort
If you want your granary conversion to feel welcoming in January as well as July, you’ll need to balance comfort with conservation from the start. Begin by studying granary history and local architecture, then choose breathable insulation that won’t trap moisture in old timber and masonry. Use wood fibre, hemp, or sheep’s wool between studs, and lime plaster or clay finishes to keep vapour moving.
Seal drafts with discreet gaskets and repair gaps with traditional mortar, not hard cement.
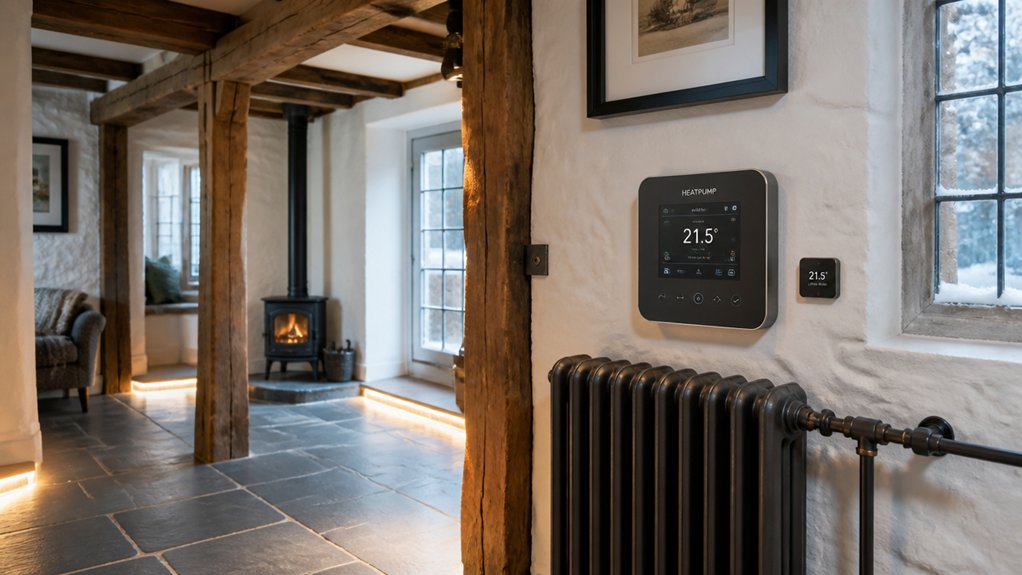
For heat, you’ll get steady comfort from a small air-source heat pump feeding low-temperature radiators, or underfloor where structure allows. Add a period-appropriate stove for peak cold, and fit smart controls to avoid overheating.
Ventilate gently with trickle vents or MVHR tuned for heritage.
Plan the Granary Layout: Kitchen, Bedrooms, Exits, Access
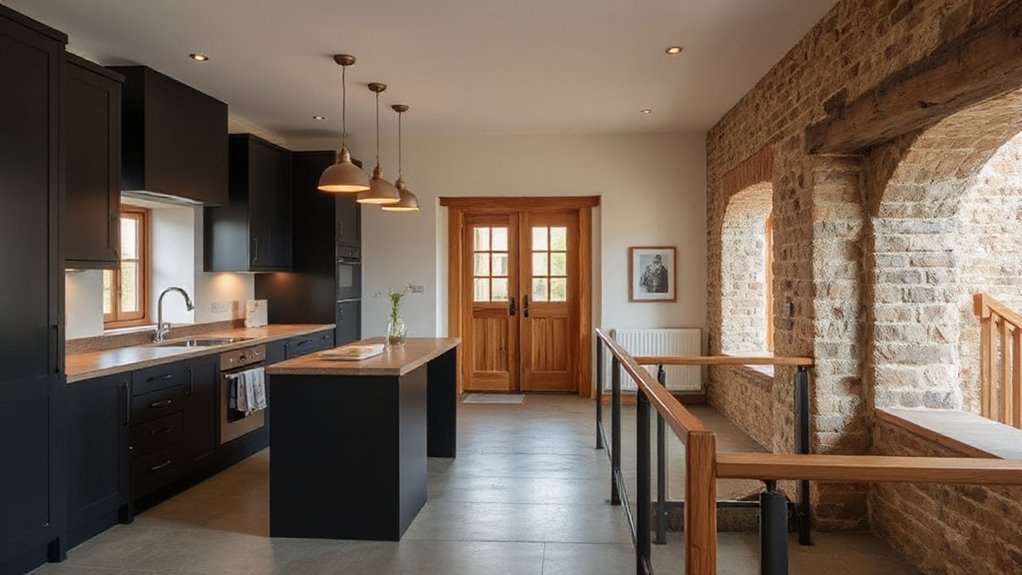
You’ll set the kitchen and bedrooms in clear zones that respect the granary’s original bays and keep heavy services close to existing penetrations.
You’ll route exits and access along established thresholds and circulation lines, so you don’t weaken posts, floor beams, or weathered cladding.
You’ll plan door widths, stair pitches, and escape paths early, fitting them to the historic frame with minimal cuts and reversible details.
Kitchen And Bedroom Zoning
Because a granary’s timber frame and airy volume already dictate how sound, light, and heat move through the building, start zoning the kitchen and bedrooms to work with those inherited patterns rather than forcing a modern plan into old fabric.
Put the kitchen where existing service bays or later lean-tos suggest activity, so you respect granary history and keep heavy plumbing away from primary posts and sills.
Group wet uses along one discreet run, and vent through existing openings rather than cutting fresh holes in weatherboarding.
Place bedrooms upwind and uphill from cooking smells, using the tall volume for calm, darker zones behind retained boarding or lath.
You’ll soften sound with reversible linings and rugs, not hard gypsum.
Check local regulations early, then detail joinery to match the period.
Exits And Access Routes
While the timber frame sets out natural bays and thresholds, map exits and access routes to those lines so guests move safely without hacking new openings into historic boarding. Reuse the cart door or hoist hatch where you can, and keep new penetrations to secondary elevations.
Set clear Emergency exits with short, legible travel distances, then mark them discreetly so signage doesn’t jar with aged oak and limewash. If you need a second escape, consider an internal protected stair or a slim external stair in galvanised steel, fixed through mortar joints rather than stone.
Shape Access pathways with compacted gravel or brick-on-edge, falling away from the sill to protect timbers. Add low lighting, handrails, and non-slip thresholds without masking original wear.
Add Plumbing and Bathrooms Without Ruining the Building
If you plan the wet rooms before you touch a single timber, you can bring modern plumbing into a granary without slicing through historic fabric or flattening its character.
Start by stacking kitchens and bathrooms on one service wall, ideally against later infill, so runs stay short and reversible. For Plumbing integration, route pipes through existing voids, redundant chutes, or boxed skirtings you can remove later, and avoid chasing masonry.
Specify lime-compatible detailing where you penetrate walls, and use breathable insulation around cold lines to prevent condensation in old boards.
In Bathroom design, choose compact layouts that suit the bay spacing, set floors on independent trays, and detail falls without cutting primary joists. Ventilate discreetly, and drain to upgraded, accessible inspection points outside.
Keep Granary Character With Hard-Wearing Modern Finishes
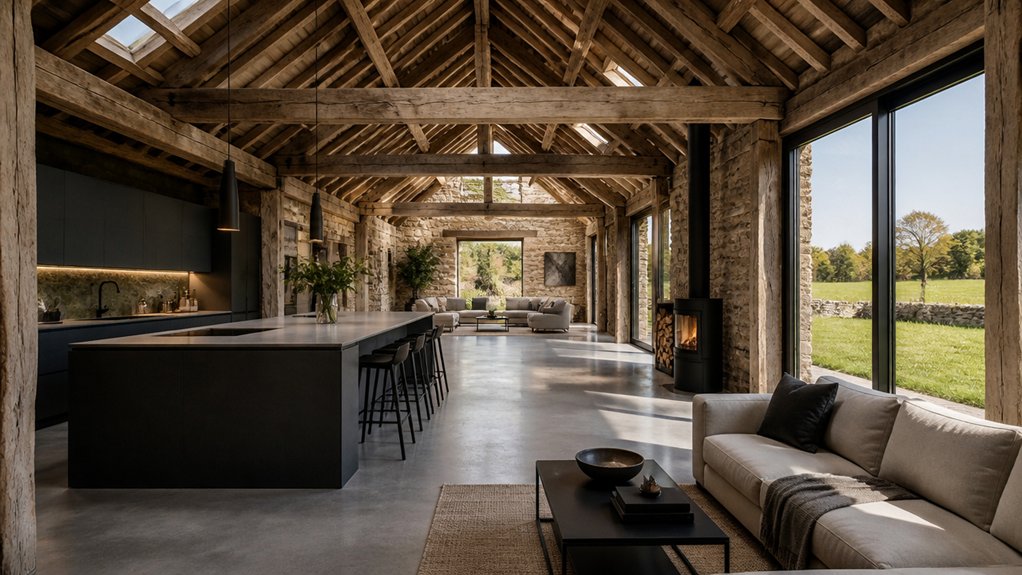
You’ll keep the granary’s character by retaining the original timber beams, cleaning and repairing them with breathable, reversible methods rather than boxing them in.
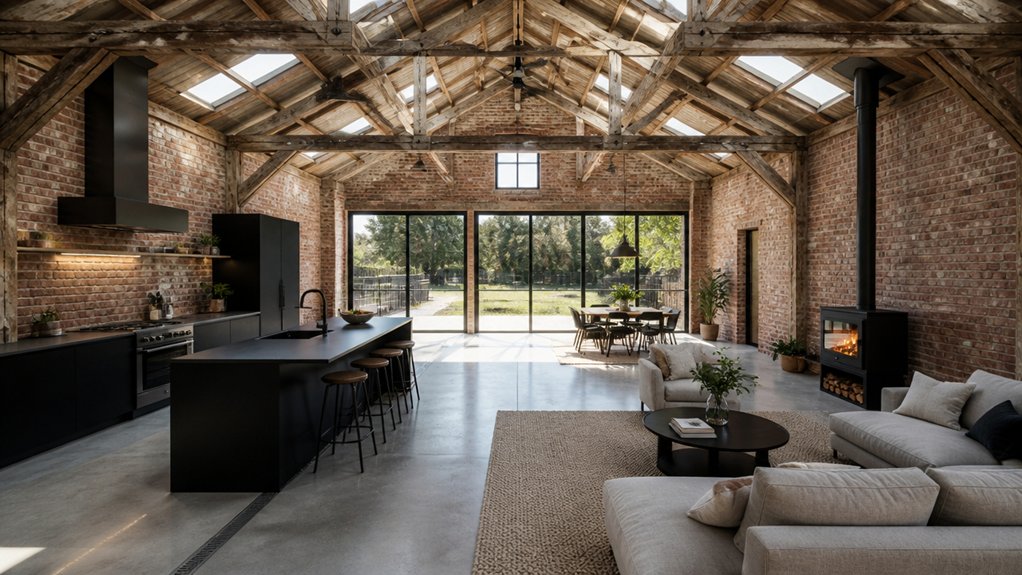
Then you’ll specify hard-wearing contemporary finishes—like limecrete, oiled timber, or stone—that respect historic moisture movement and take guest wear without looking out of place.
You’ll let old and new sit side by side, so the structure stays legible while the surfaces stay practical.
Preserve Timber Beams
Because the timber frame gives a granary its unmistakable rhythm and age, preserve the original beams as primary features rather than disguising them behind new linings. Begin with a careful survey: note carpenter’s marks, scarf joints, and any beetle flight holes, then record what you find before you touch anything.
Prioritise timber preservation with gentle, reversible methods. You’ll stop decay by improving ventilation and managing moisture at sources, not by over-coating. Retain sound patina, tool scars, and smoke staining; they’re evidence that supports historic authenticity.
Where repairs are unavoidable, splice like-for-like seasoned timber, match grain and orientation, and keep interventions legible on close inspection. Avoid aggressive sanding, wire-brushing, or blasting that erases the surface and opens fibres.
Use discreet supports so the structure remains readable, and leave joints visible for future monitoring.
Durable Contemporary Surfaces
While the frame and boards should remain the stars, your new floors, worktops, and wall linings need to take daily wear without competing with the granary’s age. Choose limewashed plaster, clay paint, or timber lining that can breathe, so you don’t trap moisture against old oak.
Underfoot, use limecrete with a muted stone or brick slip, or reclaimed boards sealed with hardwax oil for repairable protection.
For kitchens, specify honed local stone or stainless steel set back from original posts, keeping junctions shadow-gapped and reversible.
In washrooms, use tadelakt or microcement sparingly, avoiding aggressive tanking on historic walls.
Let lighting skim textures like granary art, and keep fixtures quiet, so the building’s historical significance stays legible.
Lighting and Guest Touches That Drive 5-Star Reviews
After you’ve stabilised the timbers and made the shell weather-tight, lighting becomes the detail that quietly honours the granary’s age while delivering modern comfort. You’ll get the best results with warm, dimmable LEDs set in blackened iron or aged brass, keeping fixings reversible and cables discreet. Wash original boards with grazers, not harsh downlights, and keep beam spots tight to avoid glare on limewash.
Add guest touches that feel honest: linen bedding, wool throws, and simple Farmhouse decor that won’t compete with hand-hewn texture. Provide a boot tray, drying rail, and a mapped basket for local walks.
Outside, choose low-impact landscaping ideas—gravel paths, native hedging, and shielded bollard lights—so bats, owls, and night skies stay undisturbed. Finish with clear instructions for heating and hot water, plus spare hooks and charging points.
Frequently Asked Questions
Can I List My Converted Granary on Airbnb Legally in My Area?
You can list it legally only if you’ve met local permits—ironically, “just posting” invites scrutiny. Check Historical preservation rules, Building regulations, zoning, safety codes, and licenses; document materials, guarantee compliant egress, fire alarms.
What Insurance Do I Need for Guest Stays in a Converted Granary?
You’ll need specialist holiday-let/building insurance covering public liability, guest contents, and loss of income; add employer’s liability if you hire help. Check Insurance requirements and Legal considerations, protecting historic timber, lime plaster, and thatch.
How Do I Meet Fire Safety Rules for Short-Term Holiday Lets?
You’ll meet rules by fitting discreet fire alarm installation, maintaining clear emergency escape routes, adding sympathetic fire doors and signage, and using reversible fixings. You’ll document checks, provide instructions, test alarms, and consult local fire officers.
Do I Need to Register for Business Rates or Pay Council Tax?
You’ll usually register for business rates if you let it furnished; otherwise you’ll pay council tax. Check your property valuation with the VOA, seek tax exemption where eligible, and keep changes reversible, lime-friendly.
How Can I Soundproof the Granary to Reduce Noise Between Rooms?
Use soundproofing techniques: add dense, reversible linings, lay cork or wool underlay, and fit soft seals to doors. Choose breathable noise reduction materials like sheep’s wool, woodfibre, and lime-plaster layers to respect historic fabric.

Leave a Reply