

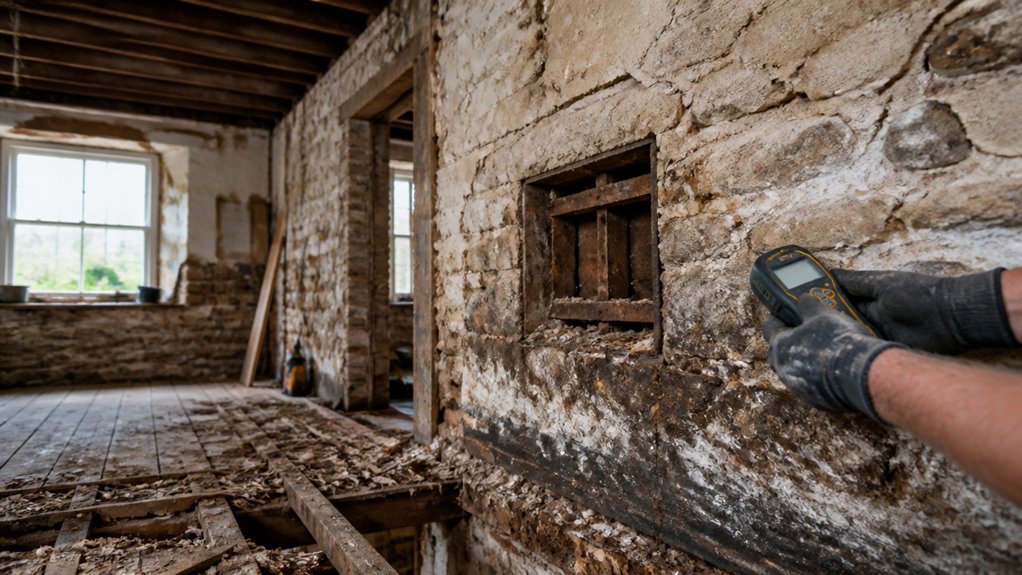
Renovating a rural UK property is like lifting a stone in a wet field—you won’t know what’s thriving underneath until you look. You start with moisture mapping, external levels, rainwater goods, and drainage continuity, because most “rising damp” diagnoses fail basic source checks. You verify ventilation routes and avoid cementitious barriers that trap moisture in solid walls. You probe timbers and measure moisture content to separate active decay from historic damage—but the first hidden risk usually isn’t where you expect it…
Key Takeaways
- Diagnose damp with external and internal surveys, moisture profiling, salts tests, and photo documentation to pinpoint sources and prioritise repairs.
- Distinguish rising damp, leaks, and condensation by patterns like tide marks, localized stains, mould on cold bridges, and sustained RH above 70%.
- Fix rainwater ingress first: repair roofs, flashings, chimneys, gutters, and downpipes; confirm drainage discharges correctly and doesn’t saturate walls.
- Prevent damp bridging by keeping ground levels 150 mm below DPC, improving drainage falls, and clearing weep paths and splash zones.
- Reduce timber decay risk by improving ventilation in subfloors and roof voids, and using breathable lime-based finishes instead of impermeable sealers.
Rural Damp Survey: What to Check First
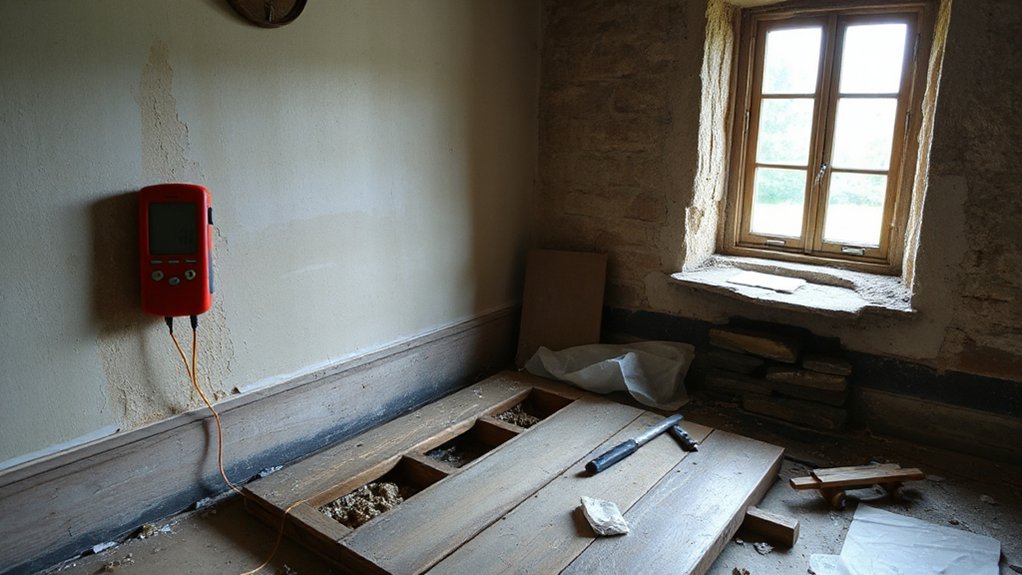
Before you plan any remedial work, start your rural damp survey by separating moisture sources into three high-risk buckets: rainwater ingress, ground moisture, and internal condensation.
Begin outside: check roof coverings, flashings, chimneys, valleys, and gutter falls for defects; confirm downpipes discharge clear of foundations.
Inspect walls for cracked render, failed pointing, open joints, blocked weep paths, and saturated masonry at splash zones.
At ground level, measure external ground against internal floors and identify bridged damp-proof courses, buried plinths, and blocked airbricks.
Inside, log moisture profiles with a capacitance meter and salts tests where appropriate, and map staining versus construction details.
Photograph, sketch, and date findings to protect Historic craftsmanship and prioritise Rural property preservation decisions.
Flag timber-bearing ends, hearths, and concealed voids for closer inspection.
Is It Rising Damp, Leaks, or Condensation?
You need to separate rising damp from leaks and condensation because each demands a different fix and the wrong diagnosis can trap moisture and accelerate decay.
You can suspect rising damp when you see a consistent low-level “tide mark,” salt efflorescence, and crumbling skirtings.
Leaks usually show as irregular, localised staining that tracks from pipework, gutters, flashings, or valleys.
You should treat condensation as likely when mould clusters on cold bridges, humidity stays high, and ventilation is weak or intermittent, especially in kitchens, bathrooms, and tightly sealed rooms.
Rising Damp Warning Signs
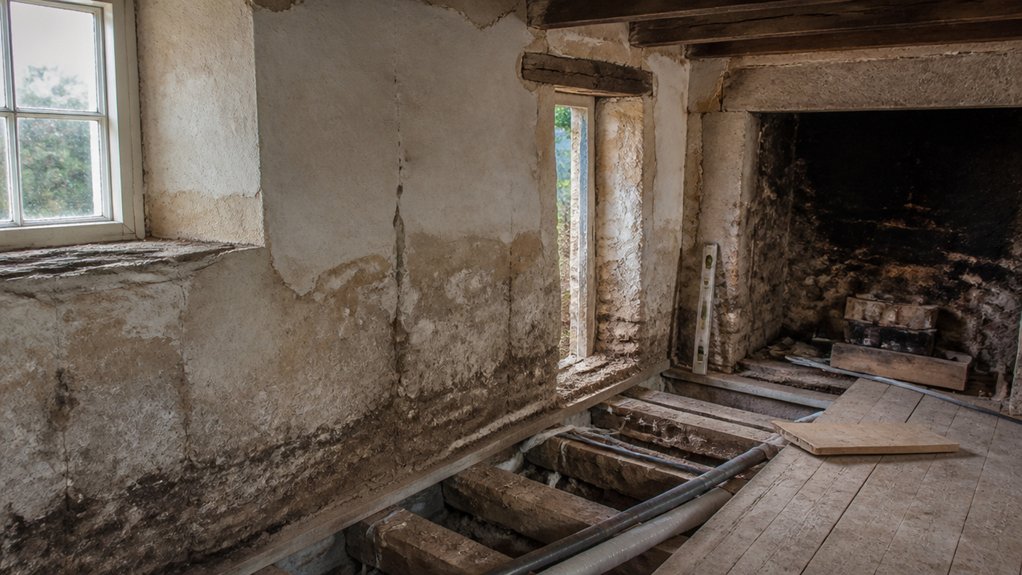
Although rural UK homes often feel “damp” year-round, true rising damp leaves a distinct pattern: persistent moisture starting at floor level and travelling upward in a narrow band, typically up to about 1 metre, with tide marks, crumbling plaster, and salt deposits (efflorescence) as water evaporates.
You’ll often find skirting boards soft, stained, or friable, and timber at the wall base may show early decay where moisture content stays elevated.
Check whether the affected zone is uniform along an external wall and continues through internal partitions that sit on solid floors.
Rising damp causes usually involve a bridged, missing, or failed damp-proof course and hygroscopic salts locking in moisture.
Prioritise moisture profiling before choosing Damp treatment options, because misdiagnosis drives unnecessary replastering and recurring damage.
Leak Detection Clues
When moisture shows up indoors, its shape and timing usually separate rising damp from plumbing leaks or condensation. You’ll usually see leaks as irregular, localised patches that darken after water use or rain, then fade as materials dry. Track the pattern: stains below bathrooms, around radiators, or under valleys and chimneys point to supply, heating, or roof failures.
Check for “tide marks” that don’t align with floor level; rising damp typically forms a horizontal band, while leaks spread downhill with gravity. Use a moisture meter in a grid: a leak gives sharp peaks; capillary rise gives a consistent gradient.
Don’t mask symptoms with moisture barriers or interior dehumidifiers before you’ve pressure-tested pipes and inspected gutters.
Condensation And Ventilation Issues
Because rural houses often run cooler and tighter after upgrades, condensation can mimic rising damp or a small leak while still demanding a different fix. You’ll typically see it on cold bridges: window reveals, external corners, behind wardrobes, and on uninsulated pipework.
Check timing: moisture peaks after showers, cooking, or drying clothes, then clears with heat and ventilation; leaks persist regardless of occupancy. Use a hygrometer and aim for 40–60% RH; sustained >70% raises Indoor mold risk and accelerates timber decay.
You reduce risk by improving air circulation: keep trickle vents open, fit humidity-controlled extract fans, and ensure cooker hoods vent outside. Don’t block chimneys without alternative ventilation.
Insulate cold surfaces and address thermal bridges before you chase “rising damp” treatments.
Fast Damp Clues in Rural UK Homes
If you spot damp early in a rural UK home, you can often prevent timber decay, mould growth, and costly fabric repairs by acting on a few fast, high-signal clues. Start with your senses: a persistent musty odour, cold “clammy” plaster, and salt crystals or tide marks on internal walls signal chronic moisture, not a one-off spill.
Use a moisture meter as a screening tool, but confirm by checking patterns: damp localised at skirtings, embedded joist ends, or behind impermeable finishes raises rot risk. In a Historic building, probe gently for friable plaster, softened skirting, and corroded fixings.
Look for mould on cold bridges, especially after new insulation techniques or tighter windows. Track humidity with a data logger; sustained RH above ~70% predicts mould. Act before you replaster or box in services.
Outdoor Causes of Rural Damp: Roofs to Ground
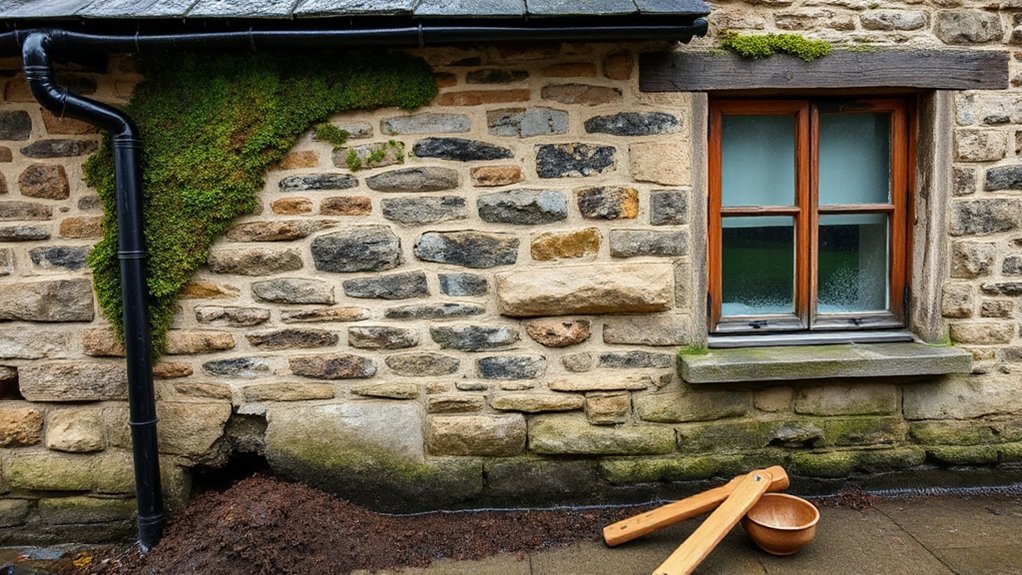
Start outside and work top-down: if roof coverings or flashings are cracked, slipped, or poorly lapped, you’ll drive wind‑blown rain into the fabric and saturate timbers and masonry.
If gutters, downpipes, gullies, or drains are blocked, undersized, or leaking, you’ll concentrate runoff at walls and footings and raise the risk of persistent moisture and salt movement.
If external ground levels sit too high or hard surfaces bounce water onto the wall, you’ll increase splashback and bridging at the base, so check falls and clearances before you treat internal symptoms.
Roof Coverings And Flashings
Although damp in rural homes often gets blamed on “old walls,” roof coverings and flashings usually fail first, letting wind‑driven rain track into rafters, insulation, and cavity tops long before you see a stain indoors.
Check for slipped or fractured slates/tiles, failed nail fixings, degraded underlay, and open laps at ridges, hips, and verges; these defects can wet battens and drive fungal decay in hidden timbers.
Inspect leadwork at chimneys, abutments, and valleys for splitting, inadequate laps, or poor detailing that bridges damp into masonry.
Keep roof ventilation paths clear so wet roof insulation can dry, and don’t overpack eaves.
Prioritise routine flashing maintenance and pressure‑test suspect junctions during surveys.
Rainwater Goods And Drainage
Even with sound slates and tidy leadwork, failed rainwater goods can still dump hundreds of litres against your walls and footings in a single storm, driving damp from the roofline down.
Check gutters for sags, broken unions, and undersized outlets; overflow at eaves soaks masonry and can track behind render. Clear debris routinely and confirm falls run to each outlet.
Inspect downpipes for cracks, missing shoes, and poor offsets that spray walls; add leaf guards where trees overhang.
Test connections into gullies with a hose: slow take-up or backing indicates blockage or collapsed runs.
Prioritise rainwater management by separating clean roof water from foul systems and keeping routes visible for inspection.
Choose drainage solutions such as new traps, rodding points, or repaired carrier drains to reduce saturation.
Ground Levels And Splashback
When external ground levels sit too high against a wall, rain can bridge the damp-proof course (or base of solid masonry) and keep the footings and lower fabric persistently wet. You’ll then see elevated moisture readings, salt contamination, crumbling mortar, and vulnerable skirtings, especially in lime-built rural walls that need to breathe.
Check every elevation for raised paths, flowerbeds, piled soil, or tarmac. Keep finished ground level at least 150 mm below DPC, or create a gravel-filled French drain where lowering isn’t feasible.
Manage splashback: hard surfaces and drip lines rebound rain onto porous masonry, overwhelming evaporation. Add drip edges, widen eaves, and install gravel margins to dissipate impact.
Don’t seal with impermeable render; you’ll trap moisture and accelerate decay.
Gutters, Gullies, and Drains: Unblock and Repair
Because rural roofs shed moss, leaf litter, and grit faster than urban ones, you should treat gutters, gullies, and drains as a high-priority defect list item rather than routine maintenance.
Blocked gutters overflow onto walls, saturate masonry, and prolong wetting cycles that accelerate timber decay at eaves and joist ends.
For Gutter maintenance, clear debris, flush with water, and confirm consistent falls to outlets; replace failed brackets and seal leaking joints before water tracks behind fascia.
Check gullies for trapped silt and rodding access, and verify downpipes discharge freely.
If you see slow drawdown, backing-up, or foul odours, schedule Drain repair: rod, jet, or CCTV survey to locate roots, collapses, or displaced joints, then patch-line or replace to restore hydraulic capacity.
High Ground Levels and Damp Bridging Fixes
You need to confirm whether damp is bridging the DPC by checking external ground levels, internal floor build-ups, and hard standings that sit above the DPC line.
If levels are too high, you should lower external ground to reinstate the required clearance and prevent capillary transfer into masonry.
Where lowering isn’t feasible, you must reduce risk by improving local drainage falls and maintaining effective sub-floor ventilation to keep moisture loads down.
Identifying Damp Bridging Sources
Although rising damp often gets the blame, high external ground levels and other forms of damp bridging usually explain persistent low-level moisture in rural UK walls. You should confirm bridging before specifying repairs: check whether soil, paths, render, or internal screeds sit above the original damp-proof course (or expected 150mm clearance) and whether they connect directly to porous masonry.
Look for tell-tale patterns: a continuous damp band matching external levels, salts concentrated just above skirtings, and wetting after rainfall indicating water ingress rather than capillary rise. Use a moisture meter only as a screening tool; validate with carbide (CM) tests or gravimetric sampling where decisions carry cost.
Inspect air bricks, cavities, and weep holes for blockage, and trace downpipes, splashback zones, and hardstanding falls that drive saturation.
Lowering External Ground Levels
Where external ground or hardstanding has crept up to (or above) the damp-proof course, lowering levels usually delivers the most reliable damp-bridging fix because it restores the intended drainage and evaporation zone at the wall base.
You’ll typically aim for at least 150mm clearance below the DPC, or below internal floor level where no DPC exists, while keeping finishes sloped away from the wall.
You must check for buried services and avoid undermining shallow rural footings; excavate in short sections if needed.
If soils are loose or made-ground, specify Soil stabilization to prevent edge collapse and future settlement.
Where excavation exposes weak masonry or threatens bearing capacity, you may need Foundation reinforcement (e.g., local underpinning) before regrading.
Document levels for consistency.
Improving Drainage And Ventilation
Once external levels can’t be reduced enough to re-establish a safe margin below the DPC, drainage and ventilation become the main controls that stop moisture from pooling and bridging into the wall base. You’ll need a positive fall away from walls, clear gullies, and functioning rainwater goods; even minor leaks can saturate footings and raise internal RH.
Install a perimeter French drain only where discharge is lawful and doesn’t undermine shallow foundations; line it to prevent fines migration and maintain flow.
You should also protect sub-floor voids: clear airbricks, add telescopic vents, and keep cross-ventilation unobstructed. If you insulate or draught-proof, re-check Indoor air quality and use measured Moisture control (hygrometers, targeted extraction) to avoid condensation-driven rot.
Solid Walls in Old Cottages: Keep Them Breathable
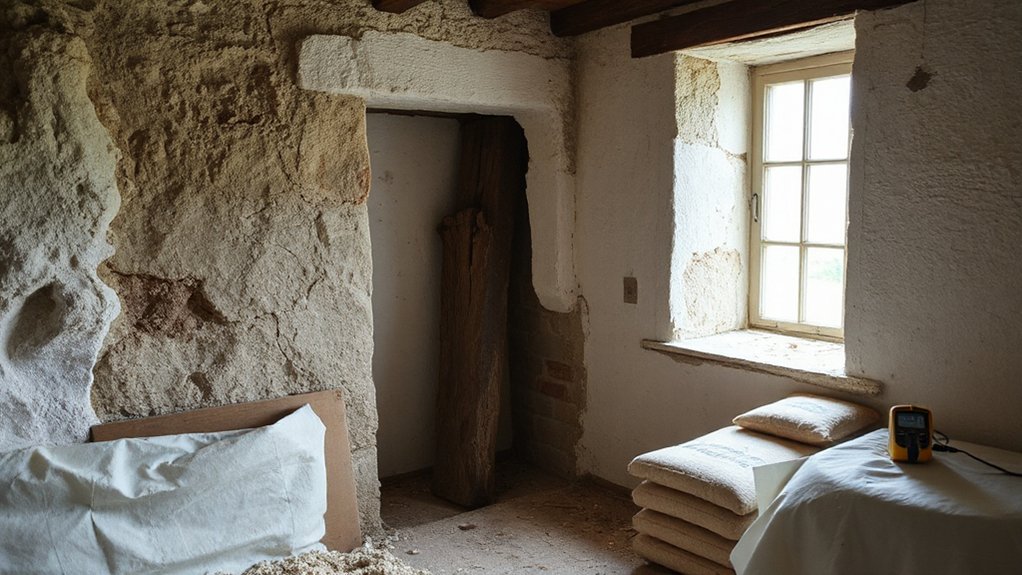
Because most old rural cottages were built with solid stone or brick walls and lime-based mortar, they manage moisture by absorbing and releasing it rather than blocking it.
In an Old cottage, you keep Breathable walls working by avoiding impervious barriers that trap water within the masonry. Don’t apply external cement render, tanking, or waterproof sealers to solid walls unless you’ve proved they’re needed; they often raise internal moisture, increase salt crystallisation, and accelerate frost spalling.
Check for hard cement pointing and replace it with compatible lime pointing where feasible so joints, not stones, take the weathering.
Internally, stop bridging at the wall base: keep floors, skirtings, and debris from packing against masonry.
If you insulate, choose systems designed for vapour permeability and confirm interstitial condensation risk with hygrothermal modelling.
Breathable Finishes: Lime Plaster and Paints
Breathable walls only work as intended if the finishes you put on them also pass vapour and tolerate salt and moisture movement, so surface materials matter as much as the masonry. Choose breathable finishes that maintain capillary drying rather than trapping moisture behind an impervious film.
Use lime plaster where you need a sacrificial, salt-tolerant layer: it accommodates slight movement, buffers humidity, and allows evaporation, reducing blistering and spalling risk at the masonry face. Match the mix to exposure and substrate; overly strong or cement-rich renders can concentrate salts and drive decay.
For paint, pick vapour-open systems (limewash, silicate, or clay) and avoid vinyl emulsions, waterproof sealers, and dense gypsum skim that can block drying. Prepare surfaces properly, and expect maintenance cycles.
Timber Decay and Woodworm: Spot What’s Active
Where do you start when every beam seems to show “a bit of history”? You distinguish old damage from active decay. Probe timber with an awl: sound wood resists; active rot crushes to fibres and often shows a damp, musty margin.
Check moisture content with a meter: sustained readings above ~20% support fungal growth, and above ~28% raises high risk. For woodworm, look for fresh, pale frass and clean-edged flight holes; historic attack leaves dark holes, no dust, and hard galleries.
Identify species if possible: common furniture beetle differs from deathwatch beetle risk. Don’t default to blanket timber treatment; target only confirmed activity, and design woodworm prevention around removing the enabling moisture source.
Ventilate Roof Voids and Suspended Floors
Even if the roof looks sound, you should treat roof voids and suspended timber floors as moisture-control systems, not empty spaces. Maintain continuous Attic airflow from eaves to ridge; blocked soffit vents, stored insulation, or felt draped onto rafters traps humid air and drives interstitial condensation, mould, and rafter-end rot.
You’ll reduce risk by keeping ventilation paths clear, using baffles where insulation meets eaves, and checking for wet staining after cold spells.
Under floors, keep airbricks open and cross-ventilated; don’t bury them with soil, paving, or foam. When you add floor insulation, use vapour-open materials and fit a tight air barrier above the joists, not below.
Confirm moisture with readings before you close up.
Frequently Asked Questions
Do I Need Listed Building Consent Before Tackling Damp or Timber Repairs?
Yes—you’ll likely need listed building consent if repairs alter fabric, materials, or appearance; like-for-like maintenance may not. You must also meet Building regulations. Check with conservation officers to protect architectural heritage and avoid enforcement.
How Much Does a Full Rural Damp and Timber Survey Typically Cost?
You’ll typically pay £400–£1,200 for a full rural damp and timber survey. For example, a 3‑bed stone cottage needs wider survey scope, so cost comparison favours £850. You’ll reduce risk by insisting on intrusive moisture/timber tests.
Which Insurance Policies Cover Hidden Water Damage or Timber Decay in Old Homes?
You’ll usually need buildings insurance with escape-of-water cover; sometimes add accidental-damage or trace-and-access extensions. Insurance claims often fail due to policy exclusions for gradual decay, rising damp, poor maintenance, or pre-existing defects.
Should I Use a General Builder or a Conservation Specialist for Repairs?
You should use a conservation specialist for significant fabric repairs; hire a general builder only for straightforward works. You’ll reduce risk by matching historic craftsmanship and restoration expertise, preventing incompatible materials, moisture trapping, and structural weakening.
What Renovation Timetable Minimises Disruption While Rooms Dry Out Properly?
Use a phased timetable: isolate wet rooms first, then move sequentially. Apply timing strategies—ventilation, gentle heat, dehumidifiers, moisture monitoring—and drying techniques before finishes. Don’t close up until timber reads stable moisture levels, preventing rot.






Leave a Reply