

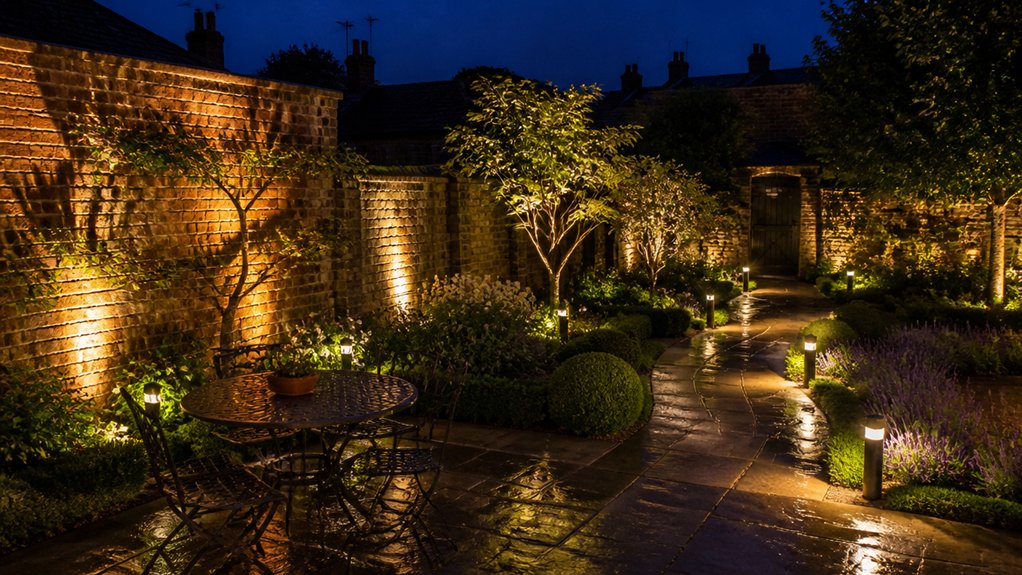
You can’t plan effective UK garden lighting by picking fittings first; you need to map zones for access, seating, planting, and boundaries, then set performance targets for each. You’ll specify beam angles to control spill, choose lumen levels that keep steps safe without flattening texture, and keep colour temperature consistent to avoid harsh contrasts. You’ll also factor IP ratings, low-voltage runs, and smart controls—because one misstep changes everything…
Key Takeaways
- Zone your garden (paths, seating, planting, water, storage) and map hazards, sightlines, and switching needs on a scaled plan.
- Select fixtures and beam patterns per zone to hit target lux levels while avoiding glare, hotspots, and spill beyond boundaries.
- Use appropriate brightness, beam angles, warm 2700K lighting, and high CRI to enhance colour, mood, and wildlife friendliness.
- Plan power and controls: 12V or 230V, correct IP ratings, transformer capacity, voltage drop, and zoned timers/PIR/smart scenes.
- Test after dark with lux measurements, adjust tilt/shields/baffles, document changes, and re-check performance after rain or garden growth.
Zone Your Garden Before Choosing Lights
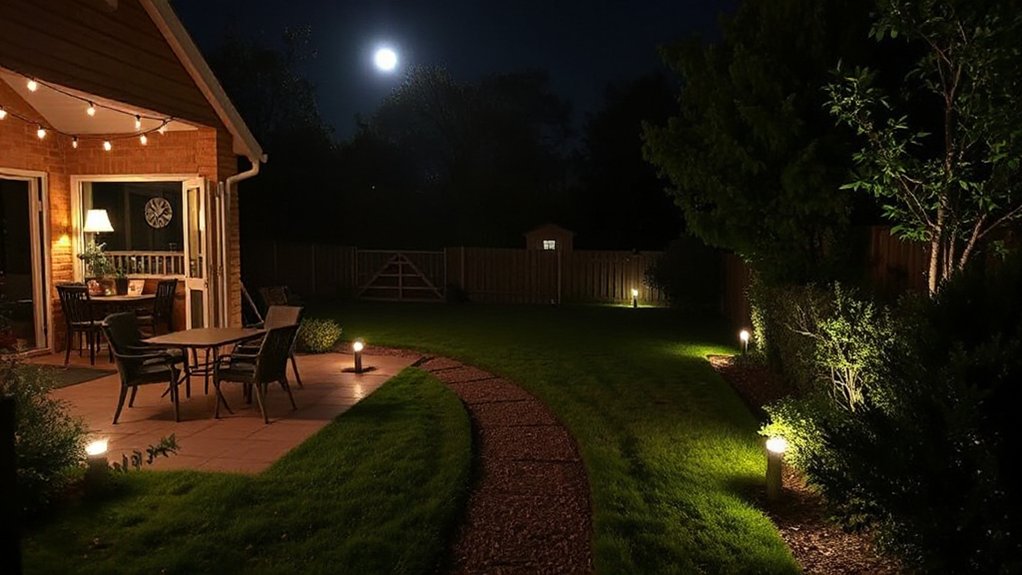
Before you pick fixtures or bulb types, you’ll get a better result if you divide your garden into functional zones—paths, entries, seating areas, planting beds, water features, and service/storage corners—because each space needs a different light level, beam spread, and control strategy.
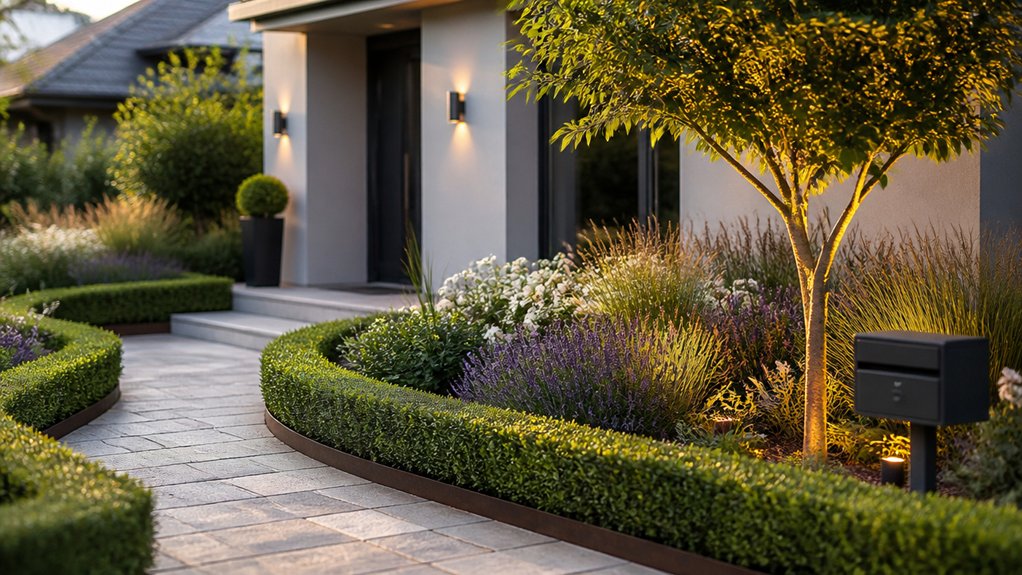
Start by sketching a scaled plan and mark circulation routes, sightlines from key windows, and hazards such as steps or changes in surface. Note reflective materials (gravel, pale paving, water) that raise perceived brightness and affect garden aesthetics.
Record planting height, density, and seasonal change so you don’t block beams or overlight foliage; excessive night lighting can disrupt plant growth cues and maintenance routines.
Assign each zone a target illuminance range and switching requirement, then size cabling routes and transformer capacity accordingly.
Choose Garden Lighting for Each Zone (Examples)
Once you’ve set your garden zones and targets, match each area to a fixture type and distribution pattern that delivers the right lux without glare or spill into соседей’ windows.
For paths, you’ll use low-level bollards or recessed step lights with asymmetric forward throw to hit 5–10 lux uniformly.
For patios and dining, specify dimmable warm-white downlights or wall lights, targeting 50–100 lux on the table while preserving garden aesthetics.
For planting borders, choose narrow-beam spikes or in-ground uplights to model structure at 10–30 lux; use RGBW only if you’ll control colour temperature tightly.
For water features, select IP68 submersibles with a soft beam for 5–20 lux.
Apply wildlife considerations by favouring 2200–2700K LEDs and timed circuits.
Place Garden Lights to Cut Glare and Shadows
Although you can hit the target lux with almost any fixture, you’ll only get a comfortable garden scene if you place luminaires to keep bright sources out of normal sightlines and to control where shadows fall.
Mount path lights so the emitter sits below eye level from doors, seating, and neighbours, and aim them across the route rather than straight along it.
Offset fixtures from steps and thresholds to avoid hard-edged tread shadows that compromise outdoor safety.
Use shielding, cowls, or house-side baffles on boundary fittings to cut spill and reduce wildlife impact.
Keep uplights close to trunks or walls so you graze surfaces, not faces, and stagger them to prevent “venetian blind” banding through foliage.
Finally, check views from indoors at night, then adjust tilt to remove hotspots.
Pick Brightness, Beam Angle, and Colour Temperature
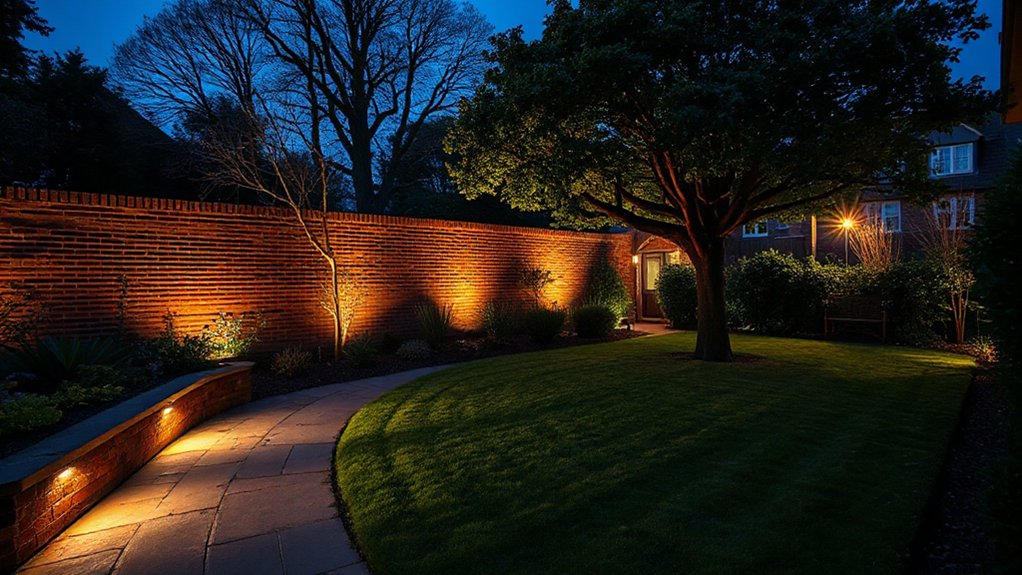
Next, you’ll specify lumen targets per zone so paths read clearly, steps stay safe, and feature lighting doesn’t overpower the scene.
You’ll choose beam angles to control spread—narrow beams for focal points, wider beams for wash lighting—while keeping spill light off windows and seating.
You’ll also set colour temperature to match materials and mood, typically warmer for relaxation and slightly cooler where task visibility matters.
Choosing Lumens Levels
To get garden lighting that looks intentional rather than overlit, you’ll need to match lumen output, beam angle, and colour temperature to each task and surface.
Start with a lumens comparison across zones, then set brightness levels by function: 50–150 lm for subtle edging and planting definition, 150–300 lm for steps and gentle path guidance, 300–700 lm for feature shrubs or small trees, and 700–1,500 lm for specimen trees or tall façades.
Increase output on dark brick, wet stone, or dense foliage, and reduce it on pale paving or rendered walls to avoid glare and hotspots.
When you layer fittings, lower each unit’s lumen output so the combined illuminance stays comfortable and compliant.
Always verify with on-site night testing.
Beam Angle Selection
Because beam angle controls where your lumens actually land, you should choose it alongside brightness and colour temperature so the lit area reads deliberate, not washed out or spotty.
For accents (statues, specimen plants, door numbers), specify narrow optics around 10–25° to concentrate intensity and keep spill off glazing and neighbour boundaries.
For paths and steps, use medium beams around 30–45° and aim fixtures low to maintain uniformity and reduce glare at eye level.
For walls, hedges, and seating zones, choose wide beams 60–120° to smooth light dispersion and avoid hot spots.
Check setback and mounting height: the wider the beam angle, the faster brightness drops with distance, so you’ll often need closer spacing rather than higher output.
Document aiming angles on plan drawings.
Colour Temperature Choices
How warm or cool should your garden lighting look once it hits foliage, brick, and paving? Start by choosing Color temperature in Kelvin. For most UK gardens, 2700K–3000K gives a welcoming lighting ambiance and flatters brickwork and timber.
Use 4000K only where you need crisp task light on steps, bins, and side returns; it can make planting look grey. Keep one temperature across connected zones to avoid patchiness.
Match brightness to surface reflectance: pale paving needs fewer lumens, while dark stone and dense hedges need more.
If you’re uplighting trees, pair a narrow beam angle with warmer light to avoid harsh hotspots; for paths, use wider beams at lower output to prevent glare. Specify fixtures with high CRI for true leaf and flower colour.
Plan UK Power: Low Voltage vs Mains + IP Ratings
Before you choose fittings or cable runs, you’ll need to decide whether your garden lighting will run on low-voltage (typically 12V SELV via a transformer) or mains (230V), then match every component to the correct IP rating for its location.
Your power source drives design: 12V SELV suits DIY-friendly spike lights and reduces shock risk, but you must size the transformer for total wattage plus voltage drop over distance.
Mains 230V gives longer runs and higher loads, yet it requires correct burial depth, RCD protection, and compliance with UK safety regulations; use a qualified electrician where required.
Specify IP ratings by exposure: IP44 minimum for sheltered walls, IP65 for jets and heavy rain, and IP67/IP68 for in-ground or submerged luminaires.
Verify connectors match, too.
Add Timers, PIR Sensors, and Smart Controls
Once you’ve locked in your 12V SELV or 230V supply and matched fittings to the right IP ratings, set the control strategy that determines when each circuit actually runs. Use separate switched zones for paths, features, and security so you’re not powering everything at once.
Add timers automation via a photocell plus timeclock to bring lights on at dusk, then step down after a set period. Specify a manual override for entertaining, ideally at the house entry point.
Fit PIR sensors to perimeter floods and side access routes, with adjustable lux threshold, hold time, and detection angle to prevent false triggers from pets or passing traffic.
If you’re using smart controls, choose IP-rated hubs and ensure the relay load matches LED driver inrush. Keep controls serviceable and labelled clearly.
Test Your Garden Lighting Plan After Dark
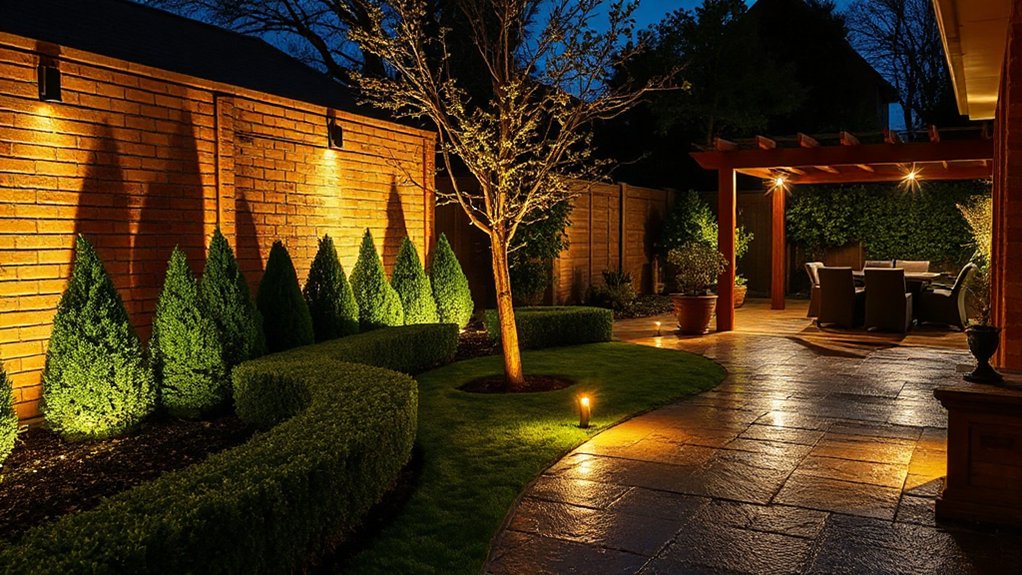
Although the layout can look perfect on paper, you’ll only confirm beam spread, glare control, and real-world lux levels by walking the site after dark with the system energised and controls set to their normal schedule. Start at key viewpoints: patio, kitchen window, path entries.
Check for hotspotting, scalloping on walls, and shadow gaps on steps. Measure horizontal illuminance on paths (target consistent, not peak-heavy) and verify vertical light on door hardware for wayfinding.
Adjust tilt, shrouds, and louvre angles to cut glare and spill beyond boundaries. Confirm dimming scenes still preserve Garden aesthetics while meeting safety levels.
For wildlife safety, audit light trespass near hedges, ponds, and nesting areas, and reduce blue-rich output or switch to warmer CCT where needed. Re-test after rain.
Frequently Asked Questions
Do I Need Planning Permission for Garden Lighting in UK Conservation Areas?
You usually don’t need planning permission, but in UK conservation areas you must check if fixtures affect listed structures, trees, or neighbours—why risk enforcement? Your garden lighting design should use energy efficient fixtures and minimise glare, height.
How Can I Reduce Light Pollution and Protect Nocturnal Wildlife?
You’ll cut light pollution reduction by using wildlife friendly lighting: shielded, downward-facing fixtures, warm ≤2700K LEDs, and low lumens. Add PIR/motion sensors, timers, and curfews. Avoid blue light, uplighting, and continuous perimeter illumination.
What Are the Typical Costs for Installing Garden Lighting in the UK?
You’ll typically pay £300–£1,500 for basic DIY/solar setups, or £1,500–£6,000+ for professionally installed mains systems. Costs depend on Garden design complexity, lighting technology, cabling, transformer capacity, fixtures, and labour.
How Often Should Outdoor Lights Be Cleaned and Maintained Year-Round?
You should clean outdoor lights every 4–6 weeks, inspect quarterly, and service annually. Wipe lenses, clear debris, check seals, tighten fittings, and test timers, solar power panels, and motion sensors for reliable year-round performance.
What Warranties and Lifespans Should I Expect From LED Garden Fixtures?
Expect 3–7-year warranties; quality LEDs typically last 25,000–50,000 hours. Since ~70% of failures come from drivers, choose sealed IP-rated fixtures, guarantee solar energy systems match loads, and specify smart controls for diagnostics.


Leave a Reply