

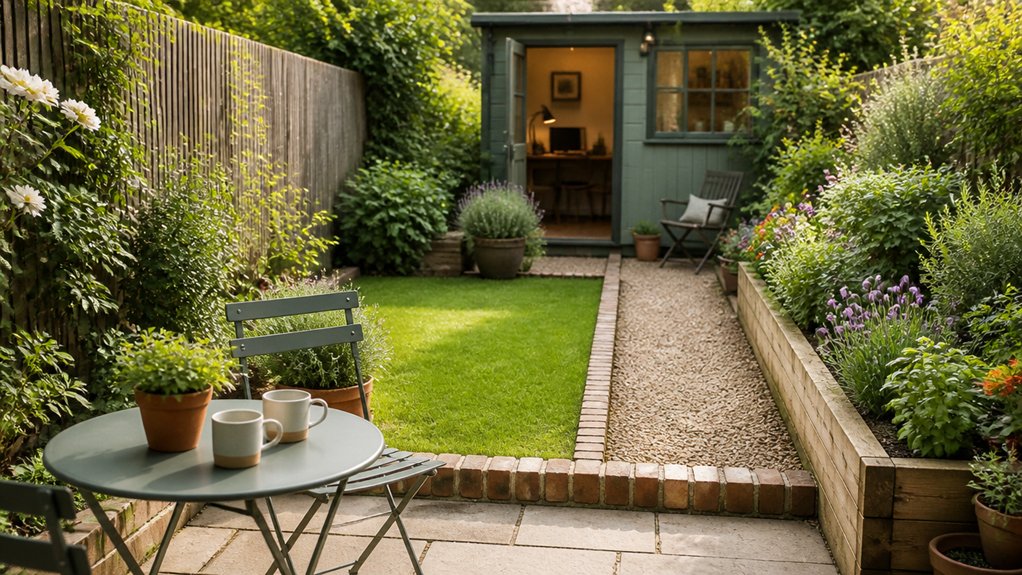
You probably don’t know that in most small UK gardens, the biggest space gain comes from zoning geometry, not new furniture or planting. If you pick just 2–4 zones you’ll actually use, then place them by sun, wind, and privacy, the garden starts working like a compact floorplan. You’ll use diagonals, curves, and vertical layers to stretch sightlines and control boundaries. The critical step is where you put the first threshold, because it determines everything that follows…
Key Takeaways
- Limit the design to 2–4 zones (seating/dining, service, planting) so each area is used weekly and no space is wasted.
- Map sun, shade, and wind first, then place seating where it’s reliably warm and utility zones where quick drying matters most.
- Use diagonals, shallow curves, and hidden corners to make small gardens feel deeper and reduce the “box” effect.
- Connect zones with clear desire-line paths (900–1200mm wide), consistent materials, and strong edging to define boundaries and prevent muddiness.
- Build layered privacy using evergreens, mid-storey shrubs, trellis or panels, and climbers to create sheltered, multi-use spaces without bulk.
Choose the 2–4 Zones You Actually Need
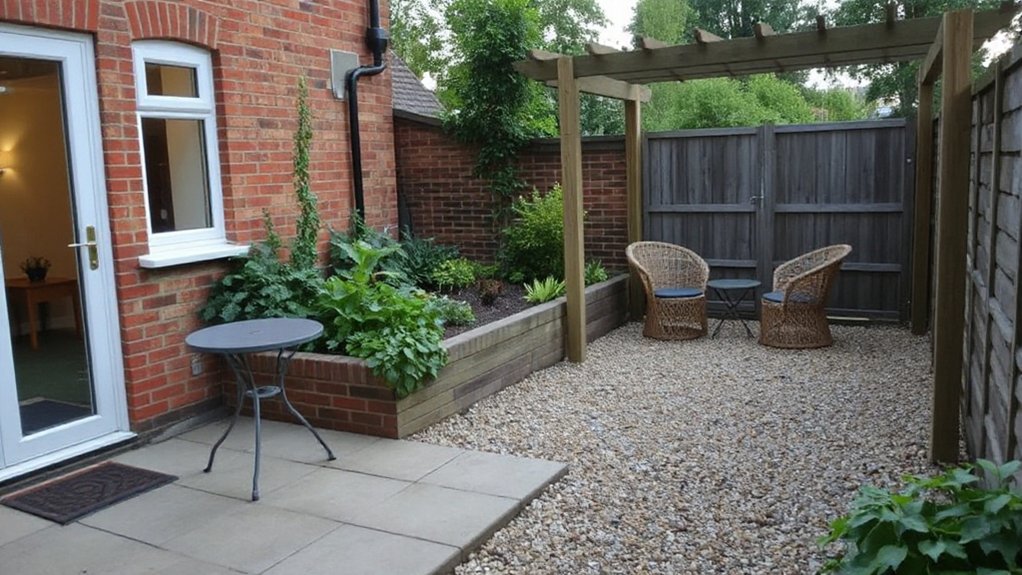
If you try to squeeze every possible function into a small UK garden, you’ll dilute usability and end up with awkward, underused corners. Instead, define 2–4 zones that match how you live, then allocate space accordingly.
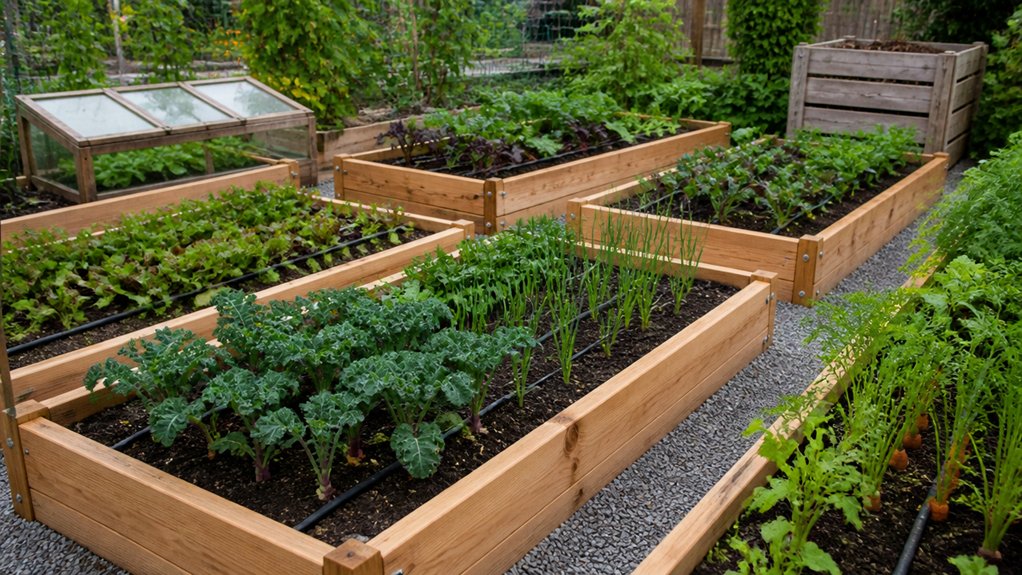
For most clients, the core set is: a seating/dining zone, a service zone (bins, storage, access), and a planting zone. Add a play or productive zone only if it gets weekly use.
Treat each zone as a performance brief with dimensions, circulation width, privacy needs, and maintenance level.
Garden zoning works best when zones don’t compete for the same footprint. Use plant diversity strategically: concentrate higher diversity in the planting zone, and keep progression areas simple for legibility and easier upkeep.
Sketch a Zoning Plan in 30 Minutes
Although you don’t need design software to zone a small UK garden, you do need a timed, methodical sketch that locks in footprints and circulation before you think about materials or planting. Set a 30‑minute timer and work in three passes.
Minute 0–10: Measure boundaries, doors, drains, existing trees, and immovable services; draw to scale on graph paper.
Minute 10–20: Block in each chosen zone as simple rectangles or arcs, then add a primary route (min 900mm) plus turning space at doors.
Minute 20–30: Assign clear edges, note storage access, bin lines, and hose reach to support garden maintenance. Finally, annotate heights and sightlines, and reserve planting beds as flexible envelopes for later plant selection.
Place Zones by Sun, Shade, and Shelter
Before you fix any zone on the plan, map where sun, shade, and wind actually fall across your garden so each area works when you’ll use it. Check solar orientation at 9am, noon, and 6pm in spring and summer, then note winter shade from fences, neighbours, and your house.
Place dining or seating where you’ll get reliable warmth without glare; allow afternoon shade if you entertain later. Put play or utility zones where surfaces dry quickly and sightlines aren’t critical.
Track prevailing winds and create wind protection with trellis, permeable screens, shrubs, or a shed wall, keeping gaps for airflow. Site bins, compost, and washing lines downwind of doors.
Keep frost pockets low and reserve them for storage or hardscape.
Steal Space With Sightlines, Diagonals, and Curves
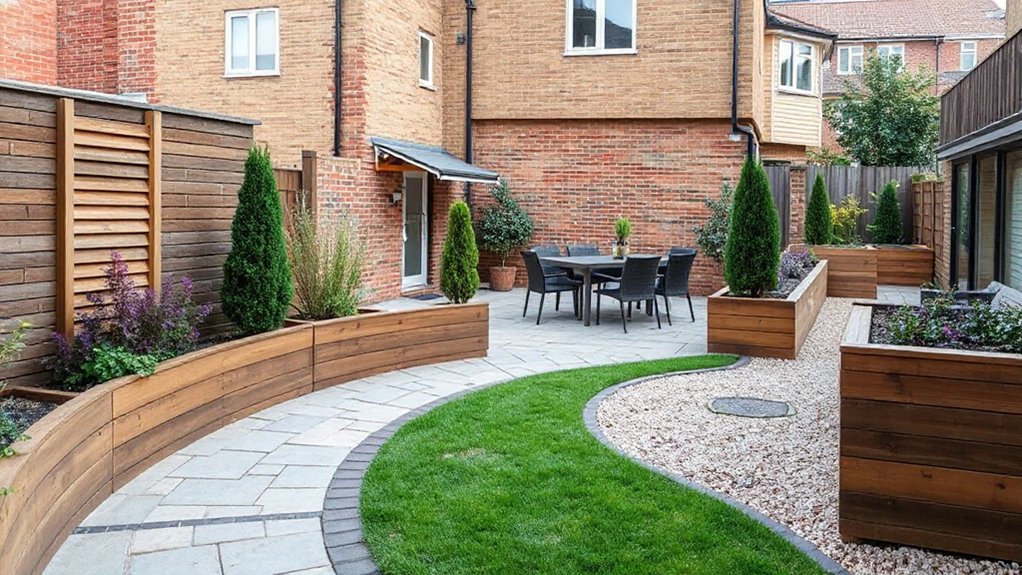
Once you’ve marked where sun, shade, and wind land, use geometry to make the same footprint read larger and work harder. Set a primary sightline from key viewing points (kitchen door, patio seat, upstairs window) to a focal element, then keep intervening planting lower to protect visual flow.
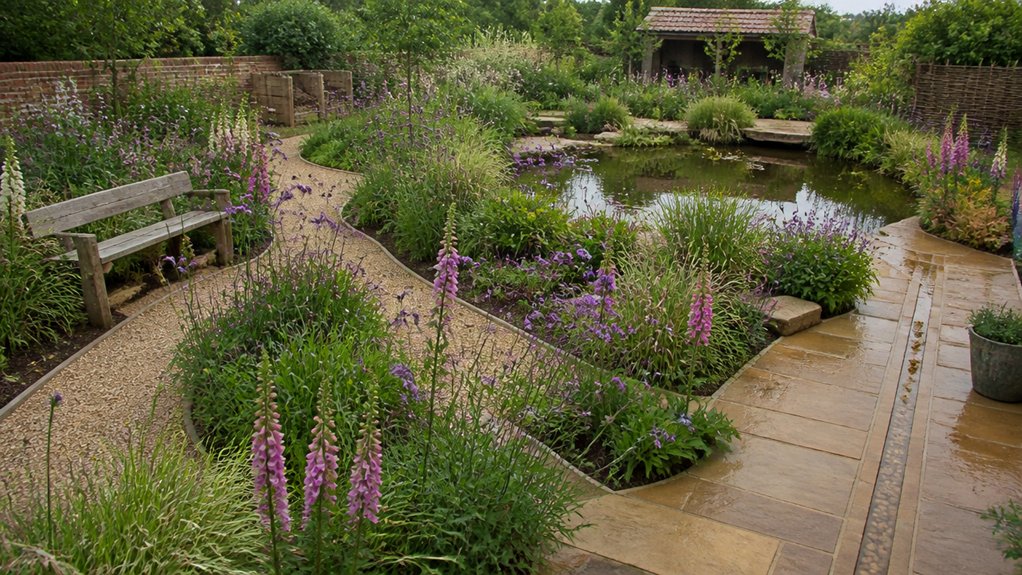
Run beds and lawn edges on a diagonal to lengthen apparent depth and break the “box” effect that compresses spatial perception. Use broad, shallow curves rather than tight wiggles; you’ll gain smoother maintenance lines and a calmer, more premium read.
Stagger vertical elements—small tree, pergola post, obelisk—so they overlap slightly in plan, creating layered distance cues. Finally, hide boundary corners with shrubs or screens to remove hard stops and make the garden feel continued beyond its limits.
Connect Zones With Paths, Thresholds, and Edging
When you connect your zones with clear routes and defined thresholds, you turn separate “areas” into a single, legible layout that feels bigger and functions better. Start by mapping desire lines between doors, seating, storage, and bins, then keep the route width consistent (900–1200mm works well).
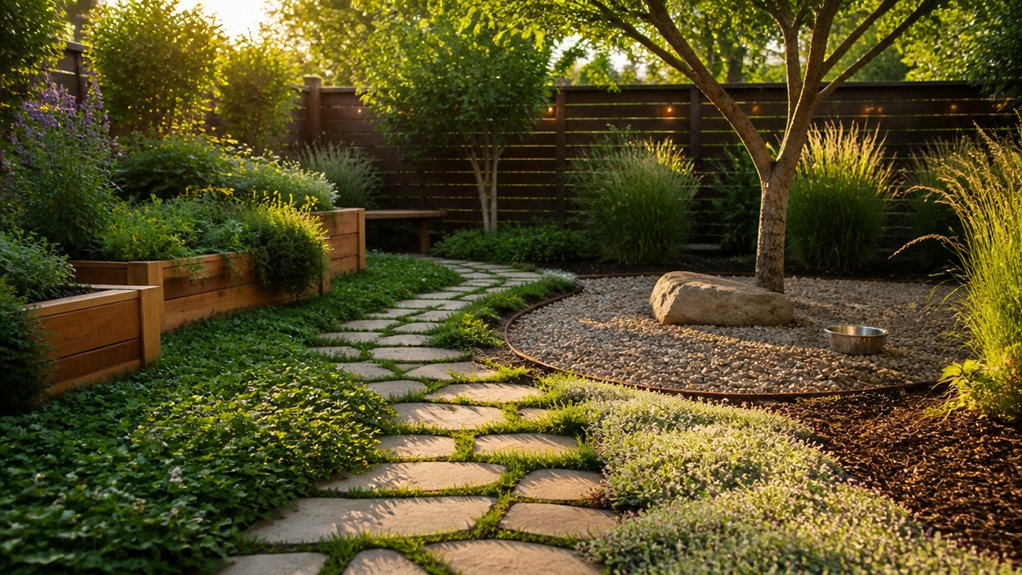
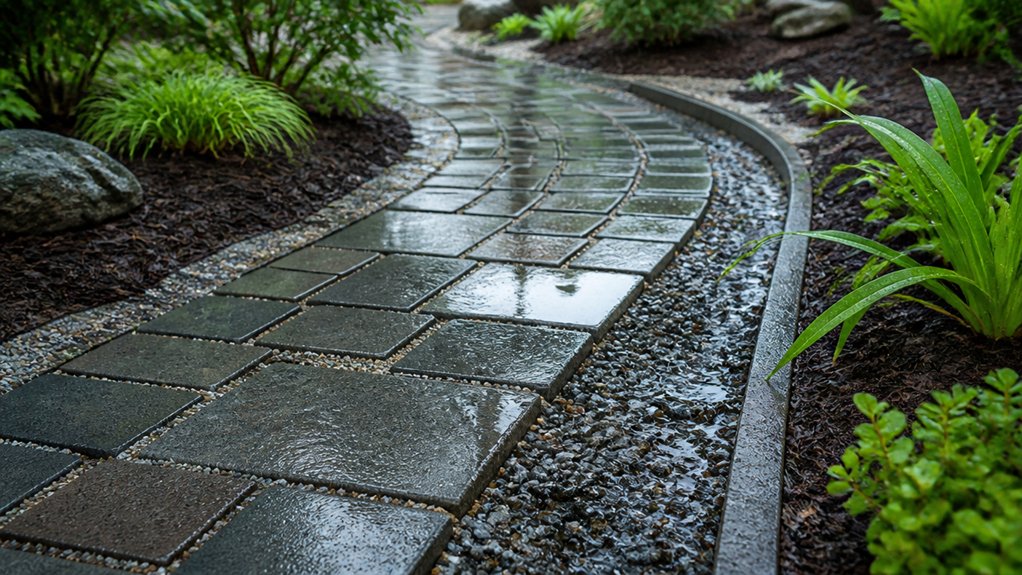
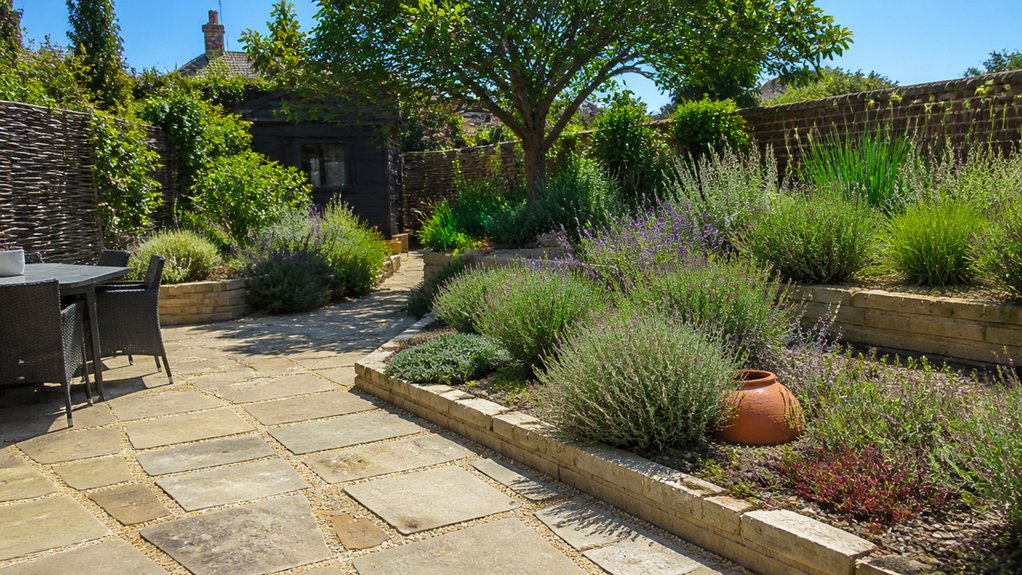
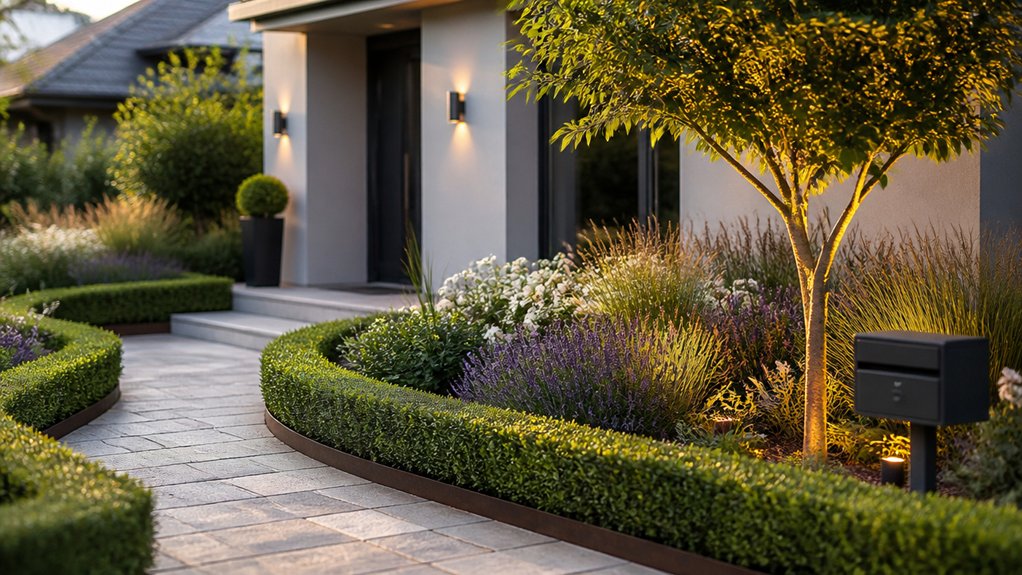
Select path materials to match load and drainage: bound gravel for permeability, clay pavers for tight curves, or sawn sandstone where you need clean edges. Use edging to lock everything in: steel for crisp lines, kerb stones for mower-proof borders, or timber for quick level changes.
Finish with threshold designs that signal crossings without clutter—step-up pads, contrasting soldier courses, or a change in joint pattern—so every zone reads clearly and stays accessible.
Add Privacy With Screens, Layers, and Height
To zone a small UK garden effectively, you’ll add privacy by combining layered planting with deliberate height changes. You can stagger evergreen structure, mid-storey shrubs, and softer perennials to screen sightlines without closing the space in.
Where planting alone won’t meet your target, you’ll specify slimline panels or trellis to extend height and define boundaries cleanly.
Layered Planting For Screening
Although small UK gardens can feel exposed, you can build privacy quickly by using layered planting as a living screen. Start at boundary lines with narrow, evergreen structure (yew, holly, osmanthus) for year‑round density. Then add mid‑storey shrubs (viburnum, choisya) to block sightlines at seated height. Finish with a front band of grasses and perennials to soften edges without stealing floor space.
Use companion planting to keep screens healthy: pair shrubs with pest‑confusing aromatics (lavender, nepeta) and nitrogen‑fixers where suitable. Plan seasonal layering so coverage doesn’t collapse in winter—mix early bulbs, summer flowering perennials, and autumn seedheads.
Keep gaps under 50 mm by planting in staggered triangles at measured spacings. Mulch and irrigate during establishment.
Height Changes And Panels
Because flat ground gives sightlines a clear run, you’ll get faster, more reliable privacy in a small UK garden by introducing deliberate height changes and a few well-placed panels.
Start with height variations: raise a seating zone on a 150–300mm sleeper edge, or drop a utility strip with a shallow step to break eye level. Add a pergola beam or overhead trellis to block upper-storey views without closing the space.
Then specify panel designs that suit wind and light: use 1.8m slatted screens at 20–30mm gaps for airflow, or solid composite where you need acoustic control.
Angle panels 10–15° to intercept neighbour windows, and anchor posts in concrete to meet UK wind loads.
Combine panels with planters to soften edges and keep access clear.
Go Vertical With Trellis, Climbers, and Wall Planters
When ground space runs out, vertical structures let you increase planting capacity without changing your garden’s footprint. Use vertical gardening to add screening, soften boundaries, and define zones while keeping circulation clear.
Start with trellis design: set a 40–50mm air gap from fences for airflow, specify stainless fixings, and anchor posts to resist wind load.
Choose climbers by exposure—honeysuckle for part shade, jasmine for sun, ivy for rapid coverage—and train stems with soft ties on horizontal wires.
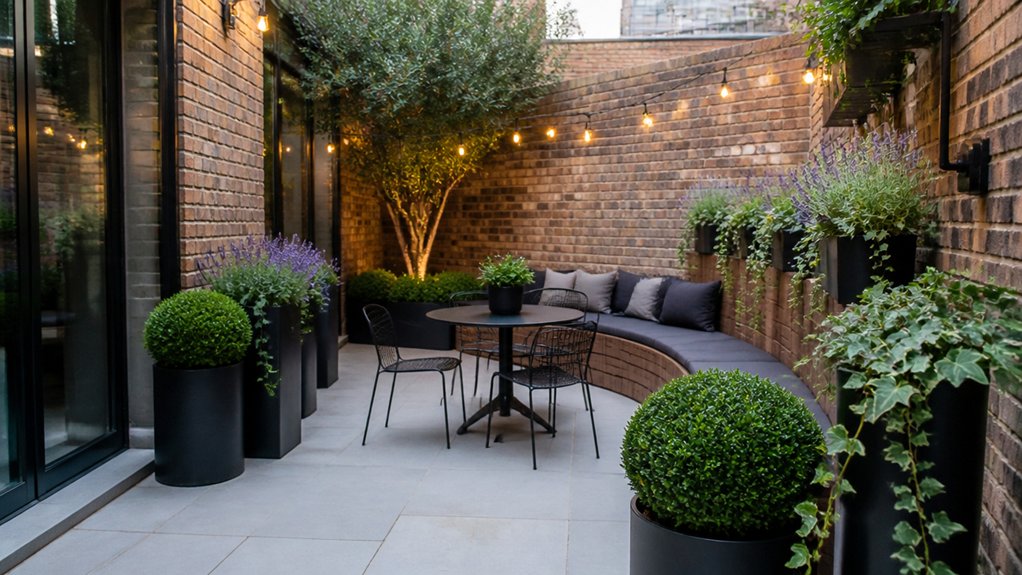
Add wall planters where soil is limited; select lightweight modules with capillary mats and overflow control.
Keep irrigation efficient with micro-drip lines and a timer, and group plants by water demand.
Fix Common Small-Garden Zoning Mistakes
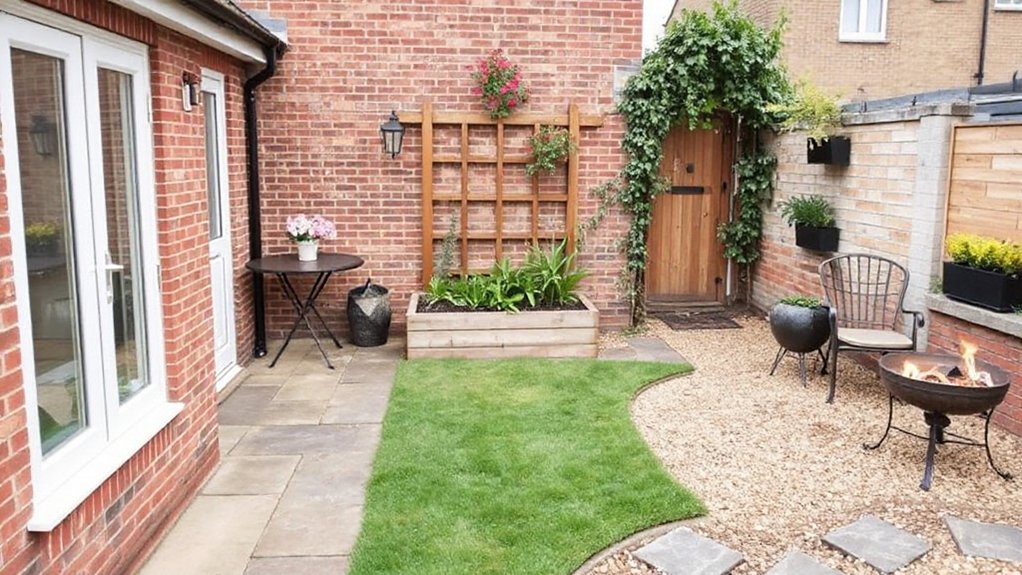
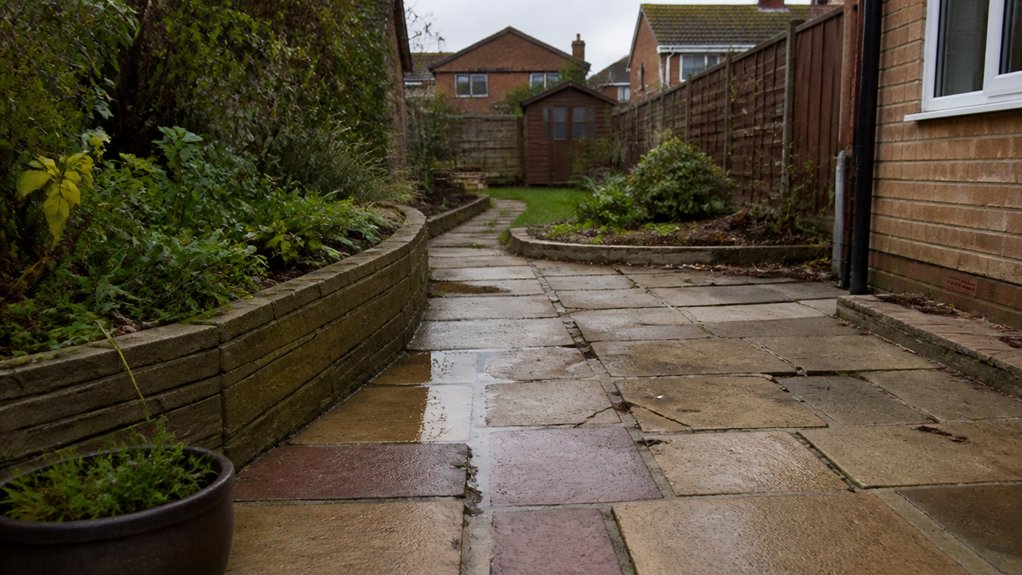
If your small garden feels cramped despite decent planting, zoning errors usually cause the bottleneck. Start by auditing your garden layout: map circulation first, then place “stay” zones. You’ll fix most issues by widening pinch points to 900mm, aligning paths with doors, and keeping changes in level minimal.
Next, stop over-fragmenting. Too many tiny beds and edging lines create visual noise; merge borders and repeat materials to unify zones.
Then correct scale: choose one primary seating area and size it to furniture plus 600mm clearance.
Finally, tighten Plant selection. Avoid bulky shrubs in sightlines and gateways; use columnar or trained forms, and limit your palette to reduce clutter. Add a focal point per zone to anchor it and improve wayfinding.
Frequently Asked Questions
How Much Does Garden Zoning Typically Cost in the UK?
You’ll typically spend £2,000–£10,000 for garden zoning in the UK, depending on hardscaping and utilities. You’ll budget for outdoor furniture and ongoing garden maintenance. Get itemised quotes, and phase works to control cost.
Do I Need Planning Permission for Screens, Pergolas, or Raised Decking?
You usually don’t need planning permission, but check PD limits: over 90% of UK home applications get approved. Keep screens under 2m, pergolas low, decking under 0.3m, safeguarding garden privacy and outdoor furniture placement.
Which Plants Are Safest for Gardens With Children or Pets?
Choose child proof plants and pet safe greenery like rosemary, thyme, basil, marigold, snapdragon, and fuchsia. You’ll reduce poisoning risk and scratches. You should still confirm toxicity via the ASPCA list and supervise access.
How Can I Zone a Rented Garden Without Permanent Changes?
Like arranging furniture on a stage, you’ll zone your rented garden with movable screens, pots, and outdoor rugs. Define your garden layout using lightweight edging, and refine plant selection in containers for flexible, damage-free shifts.
What’s the Best Way to Manage Drainage When Adding Paths or Patios?
Manage drainage by keeping a 1:60 fall away from buildings, using permeable paving and sub-base channels. Apply drainage solutions like French drains, and prioritise garden slope management with edging, soakaways, and geotextiles to prevent ponding.


Leave a Reply