

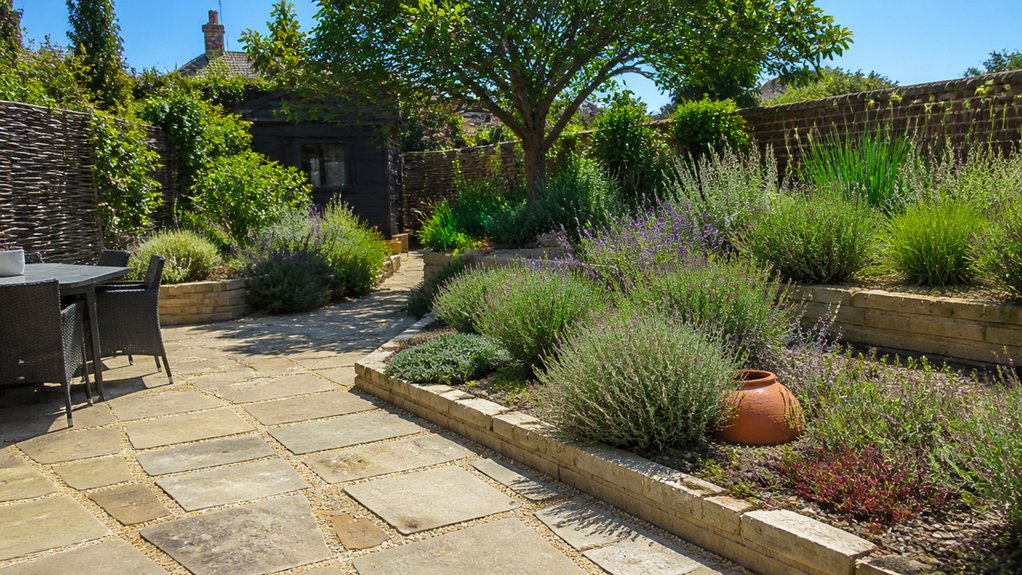
You’ll get the best low‑water results by starting with a quick site map: track sun, shade, wind, and where rain runs or pools. Then you’ll set hydrozones so thirsty plants stay near the house and tough ones sit out in the heat. You’ll amend soil for moisture retention, shape beds to capture runoff, and mulch to cut evaporation. The key decisions come next: plant palette, irrigation layout, and lawn replacements.
Key Takeaways
- Map sun, shade, wind, and runoff to identify microclimates, then match plant choices and irrigation to each area.
- Improve soil with annual compost and a 5–8 cm coarse mulch layer to boost moisture retention and reduce evaporation.
- Hydrozoned planting: group by water needs, keep lawns separate, and use dedicated drip lines or valve schedules per zone.
- Harvest and slow rainwater using water‑butts, shallow basins, and contour swales so rainfall infiltrates instead of running off.
- Choose drought-tolerant, deep-rooting plants (lavender, rosemary, cistus, sedum, natives) and water deeply but infrequently during establishment.
Map Sun, Shade and Wind in Your Garden
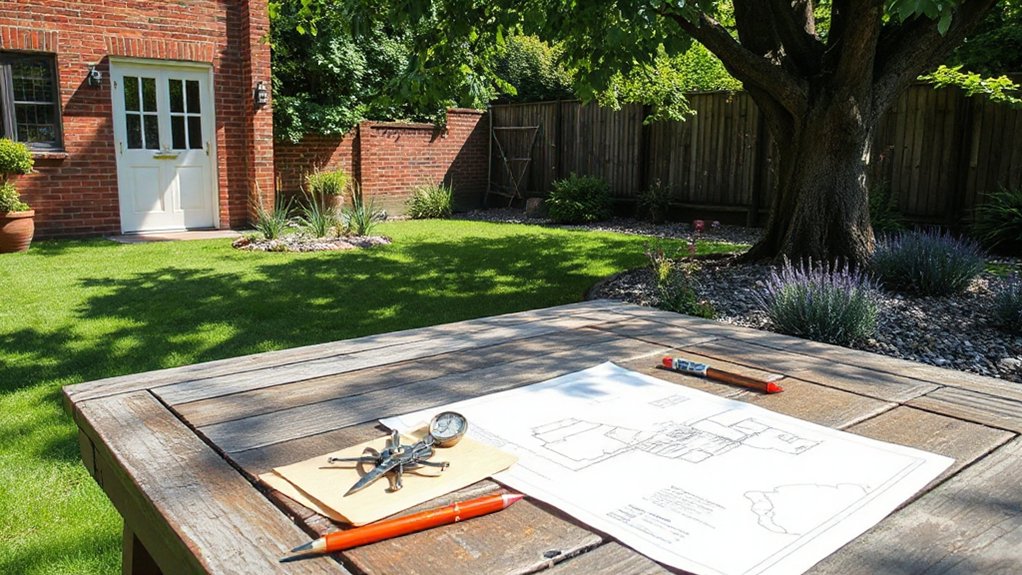
Before you choose plants or lay out irrigation, map your site’s sun, shade, and wind so you can match water needs to microclimates instead of fighting them. Do Sun mapping over a clear day and again in midsummer: note sunrise-to-sunset exposure, reflected heat from walls, and dusk cooling pockets.
Run a quick shade analysis by marking where trees, fences, and sheds cast shadows at 9am, noon, and 5pm; photograph from fixed points to compare.
Track wind by observing leaf movement and soil drying after breezy days; flag funnel zones between buildings and exposed corners.
Record slopes and hard surfaces that accelerate runoff or heat. Use a simple sketch with hour-by-hour notes to guide subsequent low-water decisions.
Set Water‑Wise Zones (Hydrozoning) First
Once you’ve mapped sun, shade, wind, and runoff, set your hydrozones by grouping areas with similar moisture demand and exposure so you can irrigate each zone to its actual need.
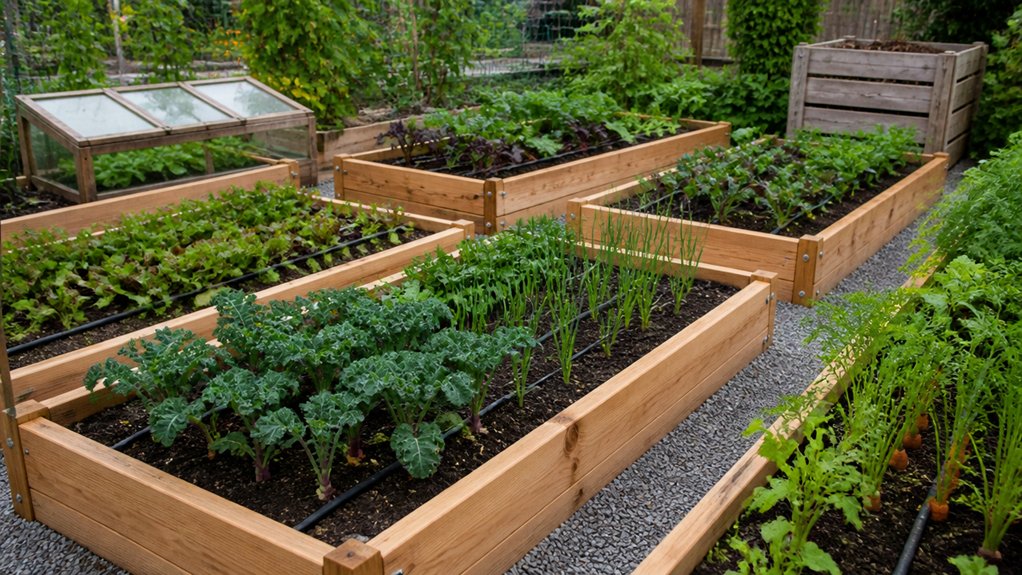
Put the driest, hottest spots (south-facing borders, gravel strips, windy corners) into a “low” zone for drought-tolerant plants and minimal supplemental watering. Assign “moderate” zones to partial shade and sheltered beds, and reserve “high” zones for containers, new plantings, and edible beds where yield matters.
Hydro zoning lets you run separate drip lines or valve schedules, preventing overwatering in lean areas and under-watering in thirsty ones. Keep lawn, if any, in its own zone; turf drives irrigation demand.
This zoning-first layout is the backbone of Water conservation and resilient summer performance.
Improve Soil to Hold Moisture for Longer
Although plant choice and hydrozoning cut demand, your soil ultimately determines how long each irrigation event lasts, so build water-holding capacity where it counts: increase organic matter in planting beds (compost, leaf mold) to improve aggregation and infiltration, and topdress with a coarse organic mulch to slow evaporation and buffer soil temperature.
Start with a simple jar test so you know if you’re improving sand, silt, or clay.
Use targeted Soil amendments: add compost annually on sands for higher cation exchange and moisture retention; on clays, use compost plus fine bark to open structure, not grit that can cement.
Keep amendments in the root zone, then mulch 5–8 cm deep, topping up before heatwaves.
Avoid over-tilling; it collapses pores and burns carbon.
Shape Beds to Catch Rain, Not Shed It
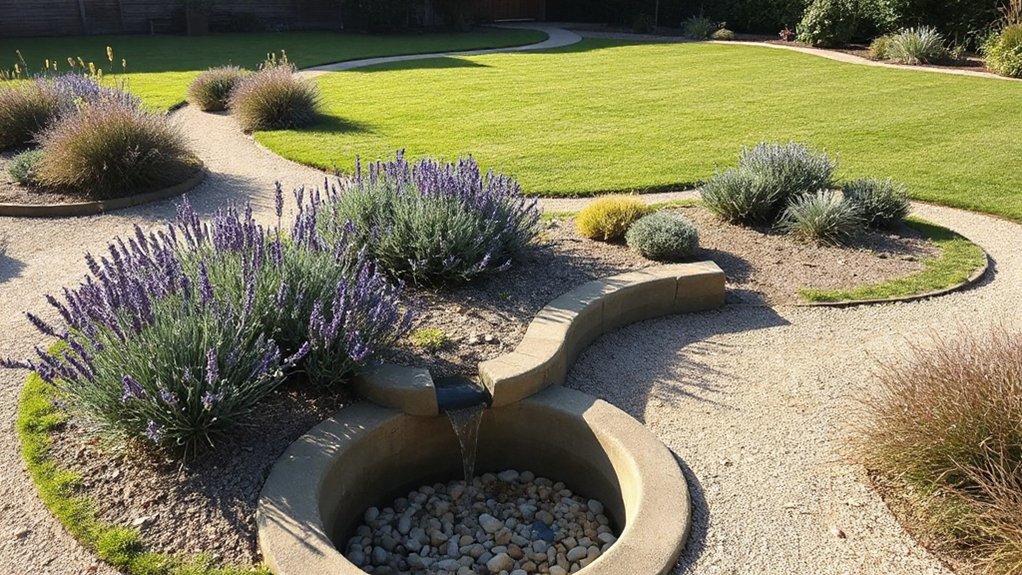
After you’ve improved soil moisture retention, shape your beds to slow, spread, and sink rainfall instead of letting it run off.
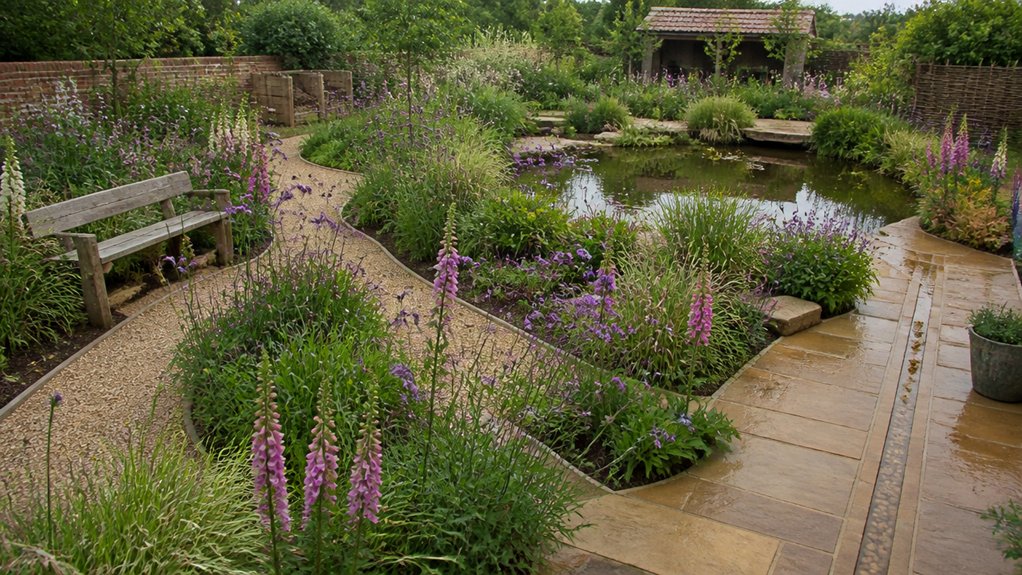
You’ll create gentle basins around plant zones, then build raised berm edges to hold water on-site during storms.
On slopes, you can cut shallow swales along the contour to intercept sheet flow and recharge the root zone.
Create Gentle Basins
Why let precious rain run off the bed when you can make it soak in? Create gentle basins by subtly lowering planting zones 3–8 cm below surrounding paths so rainfall and hose water migrate inward.
Keep slopes shallow (1–3%) so infiltration beats erosion, and aim for a smooth, saucer-like profile, not sharp depressions that puddle. Use a rake and shovel to feather grades outward, then firm the surface to reduce preferential channels.
Place thirstier perennials and new shrubs at the basin’s lowest point; set drought-hardier plants slightly higher. Topdress with 5–7 cm mulch, leaving stems clear, to slow evaporation and improve water collection.
Test with a watering can: water should spread, pause, then disappear within minutes.
Build Raised Berm Edges
When you ring each basin with a low berm, you keep rainfall and irrigation on the bed long enough to infiltrate instead of spilling onto paths.
Build the berm from excavated soil and amend with compost only where planting holes sit; keep the berm itself firm and mineral so it resists slumping.
Aim for 50–100 mm high with a broad, tamped crest, then mulch inside the basin, not on the berm, so water can overtop evenly during heavy showers.
Set berms upslope of garden furniture to stop runoff washing grit onto seating.
Stitch gaps with gravel or turf where you need access, but maintain a continuous lip elsewhere.
Plant drought-tolerant groundcovers on berm flanks to stabilise soil and expand wildlife habitats.
Use Swales Along Contours
Where does rain go once it hits your slope—straight off-site, or into your planting soil? You can keep it on-site by cutting shallow swales along contour lines, then mounding the excavated soil on the downhill side as a berm.
Use a hose level, A-frame, or laser to mark true level; even a 1–2% cross-slope will drain your swale too fast.
Size swales to your roof and path runoff, then connect overflow to the next swale or a rain garden.
Fill the basin with coarse compost and woodchips to slow flow and boost infiltration.
Plant drought-tolerant perennials on the berm, moisture-lovers in the basin.
These contouring techniques double as erosion control during intense summer downpours.
Choose UK‑Friendly Drought‑Tolerant Plants
Although the UK gets regular rainfall, you’ll still need plants that can ride out dry spells and cope with free‑draining, often nutrient‑lean soils if you want a genuinely low‑water garden.
Prioritise deep‑rooting perennials, small‑leaf shrubs, and Mediterranean types that limit transpiration.
Use native species where they fit: yarrow (Achillea millefolium), field scabious (Knautia arvensis), and wild marjoram (Origanum vulgare) handle drought once established and support wildlife.
For structure, choose lavender, rosemary, santolina, cistus, and Hebe on sunny sites; add sedum and sempervivum for shallow soils.
Select cultivars bred for pest resistance to reduce stress and irrigation needs.
Plant at the right depth, water in once, then taper to encourage roots downward.
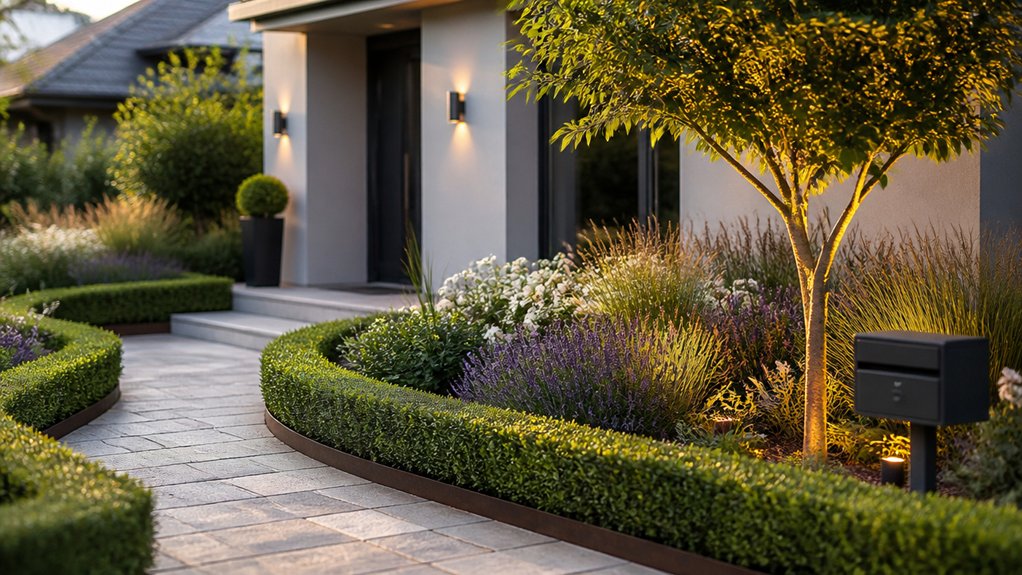
Design Dry Borders to Look Full and Lush
Because dry borders rely on soil moisture stored deep in the profile rather than frequent top-up watering, you’ll get a fuller, lusher look by designing for canopy coverage, layered structure, and tight plant spacing without crowding crowns.
Start with plant arrangement: place the tallest, deepest-rooted shrubs and grasses as anchors, then step down in height to medium perennials, then low, spreading groundcovers at the edge.
Use border layering to overlap foliage footprints so you shade soil, cut evaporation, and suppress gaps, while keeping each plant’s crown clear for airflow.
Repeat small groups (3–7) to create visual mass instead of singletons.
Stagger plants in a loose grid, not rows, and plan access points for pruning and deadheading.
Mulch Properly: Best Materials and Depth
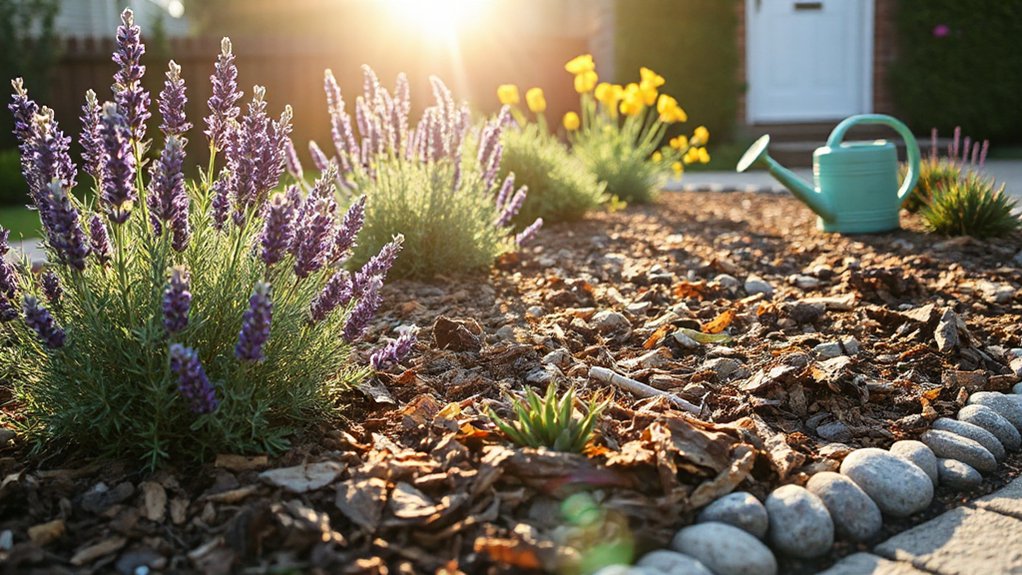
To lock in the deep soil moisture your dry border depends on, you need mulch that blocks evaporation without smothering crowns or sealing the soil surface. Choose coarse, airy Mulch materials: composted bark fines, woodchip from mixed species, shredded leaf mould, or gravel in heat-reflective sites.
Avoid fresh manure, dense compost layers, and plastic membranes; they crust, repel rainfall, and drive roots upward.
Set mulch depth to match texture and planting. For bark, chips, or leaf mould, apply 5–8 cm over bare soil, keeping a 5 cm collar clear around stems and basal rosettes.
On heavy clay, stay nearer 5 cm to prevent waterlogging at crowns; on sandy beds, push toward 8 cm for longer retention. Top up annually after weeding and soil loosening.
Water Deeply: Timing, Frequency, First‑Year Rules
Once you’ve mulched, shift your watering strategy from frequent sprinkles to scheduled deep soaks that drive roots down into the moisture reservoir below the surface. Water early morning to cut evaporation and reduce leaf-wetness overnight.
Use a trowel test: if the top 5–7 cm is dry but soil below is cool and damp, wait; if it’s dry to 10 cm, soak.
In the first year, water new perennials and shrubs weekly during dry spells, delivering enough to wet 20–30 cm of soil.
In year two, stretch intervals to 10–14 days, then only during prolonged drought.
Aim for slow infiltration, not runoff, to improve soil moisture retention.
Prioritise plants in sun, sandy beds, and rain shadows, and reserve rainwater harvesting stores for establishment and heatwaves.
Install Drip Irrigation and Water‑Butts Efficiently
You’ll get the most water savings when you plan your drip line layout by hydrozones, run laterals along plant rows, and size emitters to the root zone, not the canopy.
Place water‑butts on a stable, elevated base near downspouts and close to your irrigation header so gravity feed (or a small pump) stays efficient and plumbing stays short.
Add a timer, inline filter, and pressure regulator so the system runs at drip-rated pressure without clogging or over‑watering.
Drip Line Layout Planning
Three layout decisions—zone grouping, pressure path, and water storage placement—determine whether a drip system in a low‑water garden runs efficiently or wastes flow through uneven delivery.
Start your layout planning by grouping plants with similar water demand: drought‑tolerant perennials together, new plantings separately, and containers on their own zone.
Keep each run short and balanced so emitters see similar pressure; use a mainline header, then branch laterals of comparable length.
Lay drip line along contour, not straight downhill, to reduce gravity‑driven pooling.
Specify emitter spacing to match soil: tighter on sandy beds, wider on loam and clay, and add extra around root zones, not between plants.
Include flush ends and filters, and map isolation valves for quick fault finding.
Water‑Butt Placement Strategy
Although a water‑butt seems interchangeable anywhere under a downspout, its placement controls gravity head, refill reliability, and how easily your drip zones stay regulated.
Set it as high as you can safely manage—on a level, load‑rated base—so the outlet sits above the highest dripper line you’ll feed.
Position it near the main bed manifold to shorten runs, reduce friction losses, and keep emitters more even.
Choose a downpipe with consistent roof catchment and minimal leaf drop, and keep the inlet straight to prevent overflow bypass.
Site the butt where you can access the tap, see the water level, and route an overflow to a soakaway.
This Water‑butt placement strategy tightens rainwater harvesting efficiency through summer droughts.
Timers, Filters, And Pressure
Once you’ve sited the water‑butt for decent gravity head and short pipe runs, lock in reliable drip performance with the right timer, filtration, and pressure control.
Fit Smart timers rated for low pressure, or add a small pump if your butt sits low; otherwise you’ll get uneven emitters and wasted water.
Install water filters upstream of the timer to stop grit blocking drippers; a 120‑mesh screen suits most rainwater, while a washable disc filter copes better with algae.
Add a pressure regulator matched to your line: 1.0 bar for dripline, 2.0 bar for micro‑sprays.
Use a flush valve at the end of each zone and purge monthly in summer.
Check flow rates after storms and clean filters quickly.
Cut Lawn Watering With Tough, Greener Alternatives
If you’re tired of pouring water into a turf lawn that can’t hold up in heat, replace it with groundcovers and hardscape that meet your use needs while cutting irrigation demand. Map traffic first: keep a small “play” patch, then convert the rest to Lawn alternatives like gravel, permeable paving, or mulched beds with drip.
For green cover, trial drought resistant grasses (fine fescue blends, sheep’s fescue) and mow high to shade soil. Overseed in early autumn, topdress with compost, and aerate to improve infiltration.
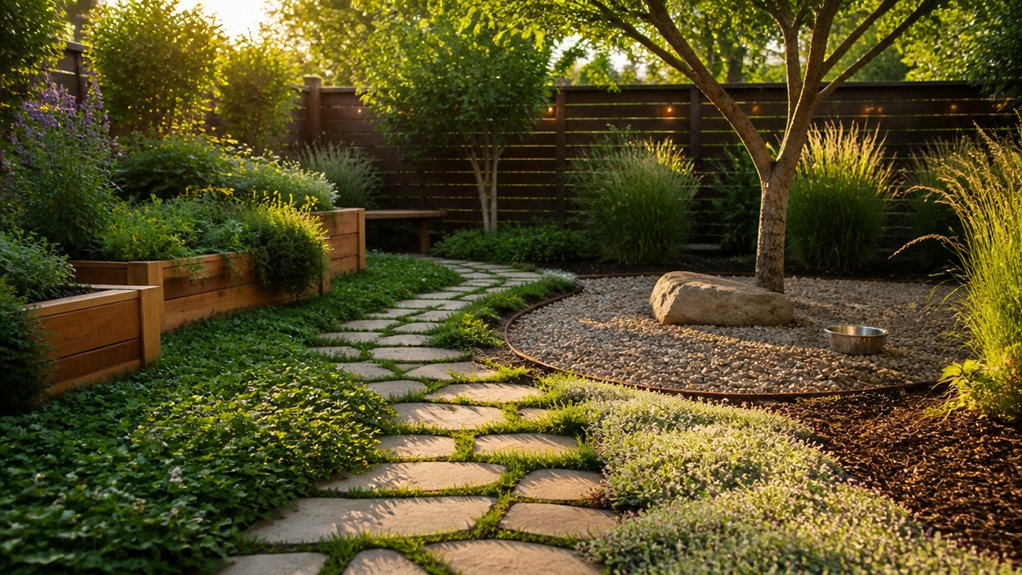
Where you don’t need mowing, use thyme, sedum, or clover mixes; they stay low and tolerate lean soil. Edge paths to stop spread, and irrigate only during establishment, then switch to deep, infrequent soak cycles.
Frequently Asked Questions
How Do I Keep Slugs and Snails off Drought‑Tolerant Plants?
You’ll stop them dead—like building an impenetrable fortress—by using copper tape, sharp gravel mulch, and nightly hand-picking. Add iron phosphate bait for Slug control, and beer traps plus dry barriers for Snail prevention.
Do I Need Planning Permission for Rainwater Tanks or Irrigation Systems?
You usually don’t need planning permission for domestic rainwater harvesting tanks or garden irrigation, but check listed buildings, conservation areas, and large above‑ground structures. Follow building regs for overflows, backflow prevention, and mains connections.
Which Low‑Water Plants Are Safest for Dogs and Cats?
Choose Pet friendly plants like rosemary, thyme, sage, lavender, marigold, and snapdragons; they’re drought-tolerant and generally safe. Practise Toxic plant avoidance: don’t plant lilies, foxglove, oleander, or euphorbia, and fence new beds.
How Can I Create a Low‑Water Garden on a Balcony or Small Patio?
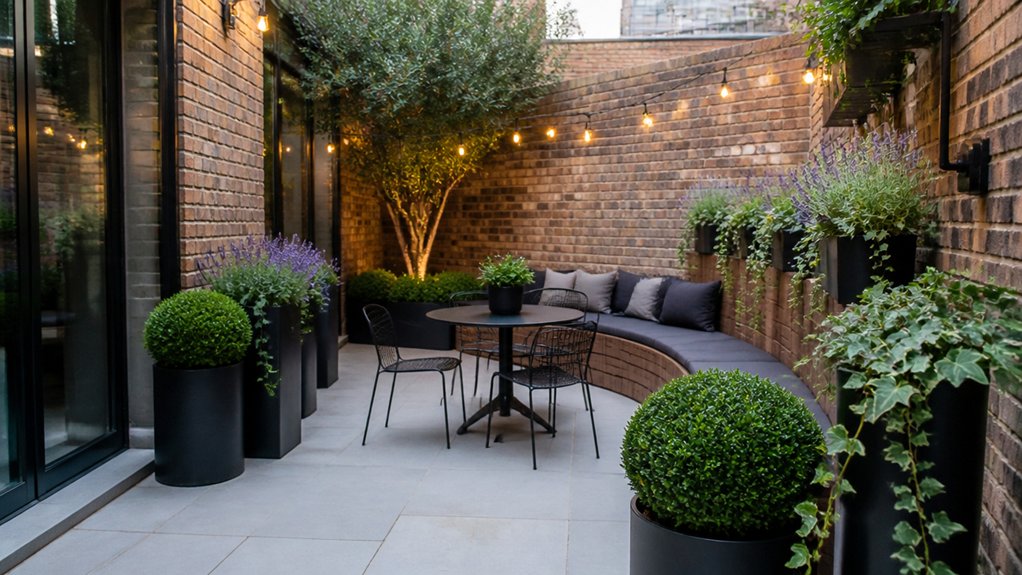
You can xeriscape a balcony by using deep containers with Container drainage and gritty compost, then top-dress with gravel for Soil moisture retention. Group pots, add drip irrigation, and choose drought-tolerant plants; water early, sparingly.
What Are the Best Ways to Prevent Wildfires From Dry Garden Planting?
To keep “unwanted excitement” away, you’ll prioritize wildfire prevention: create defensible space, prune dead fuel, mulch with gravel, and keep irrigation targeted. Choose drought resistant landscaping, space plants, avoid resinous shrubs, and maintain clean gutters.

Leave a Reply