

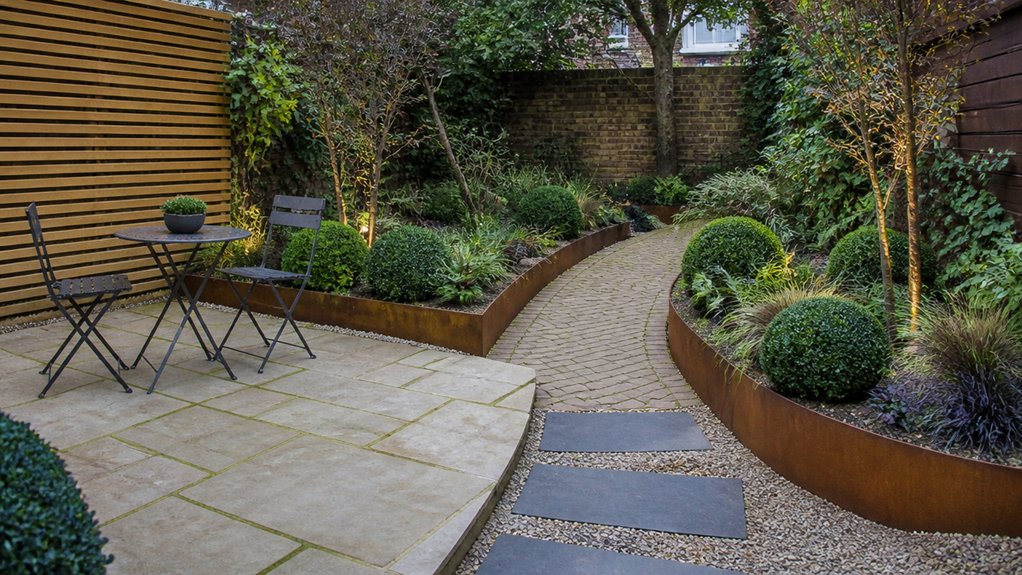
A small British garden feels tight, yet it can work like a well-set site plan. You start by fixing levels, falls, and access lines to UK best practice, then you place a patio and path geometry that lengthens sightlines. You specify frost-resistant, low-slip paving and detail permeable joints where drainage is marginal. You use edging, step risers, and paving direction to lock zones in place—but one early decision will determine whether everything flows or fights you…
Key Takeaways
- Survey levels, soil, and damp-prone edges; set hardscape falls 1:60 away from walls and keep finishes 150mm below the DPC.
- Create clear circulation using desire lines; keep main paths at least 900mm wide with 1:60–1:40 crossfalls for drainage.
- Zone small plots with subtle level changes, short step flights, or raised beds; add footings, weep holes, and drainage behind walls.
- Size patios to furniture needs: 1.8m² for two seats, 2.4m² for four, plus 900mm clearance for chair pull-out.
- Choose UK-suitable, frost-resistant, low-absorption paving and consider permeable systems (SuDS) to reduce runoff and prevent ponding.
Start With a Small Garden Layout Plan
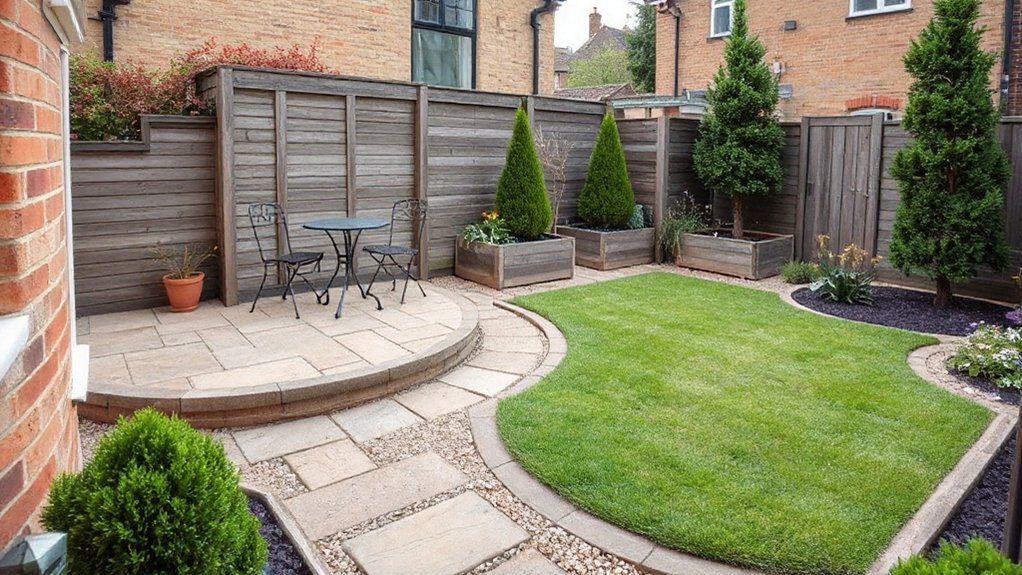
Where will water run, people walk, and bins or bikes sit once you’ve hardscaped the space? Start by surveying levels, existing manholes, and the damp-prone edges near the house.
Plot a fall of 1:60 away from walls and keep at least 150mm below the damp-proof course.
Mark desire lines from door to gate; set a clear 900mm route for comfortable passing.
Check soil type and specify permeable paving or a soakaway where runoff can’t discharge to the combined sewer, aligning with SuDS guidance.
Zone service storage, then place garden furniture where sun and shelter overlap and sightlines stay open.
Protect roots, avoid overcompaction, and reserve planted pockets that connect as wildlife habitats.
Confirm boundaries and underground services before excavation.
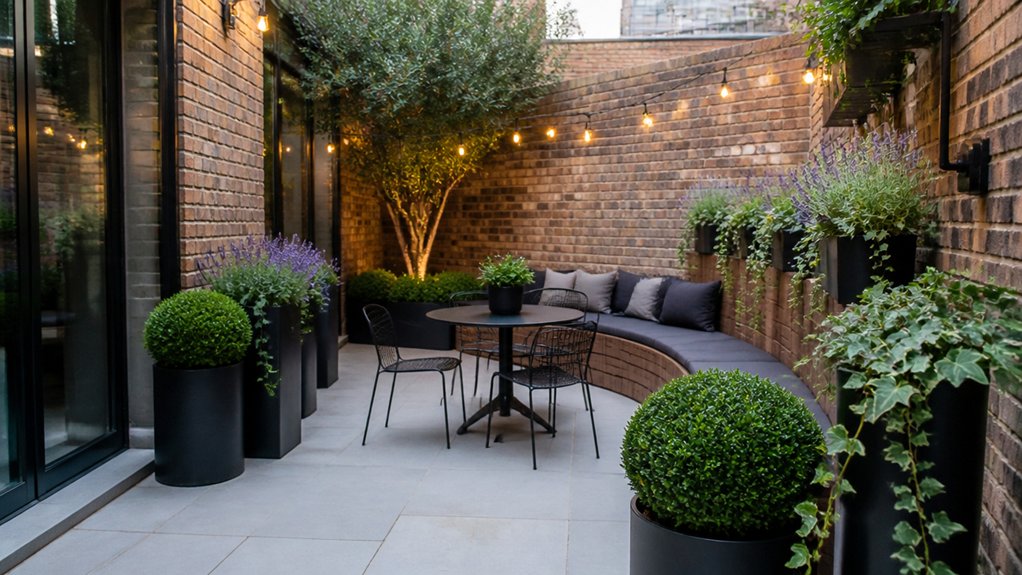
Patio Sizes and Shapes That Open Up Space
Once you’ve fixed levels, drainage falls, and the main 900mm access route on your plan, set the patio footprint to support how you’ll actually use the space without pinching circulation or creating dead corners.
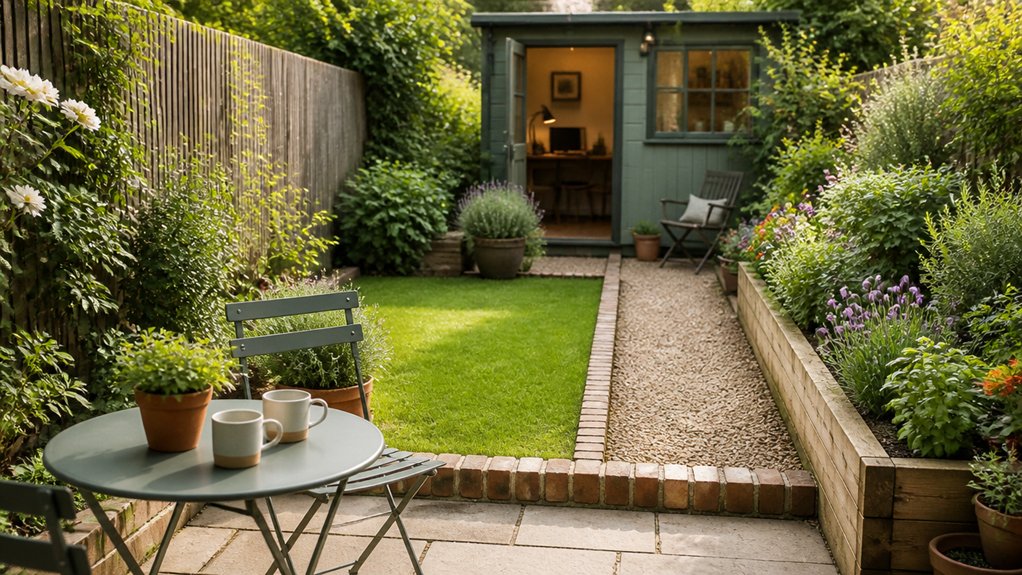
For two seats and a bistro table, allow a 1.8m x 1.8m clear zone; for four chairs, target 2.4m x 2.4m; for a bench run, keep 900mm behind chairs for pull-out.
Use rectangles aligned to boundaries to maximise usable area, then soften with a clipped corner or radius to widen sightlines and ease turns.
A tapered “trapezoid” patio can visually lengthen a short plot.
Place garden furniture on the deepest part; bias plant selection to narrow borders that frame, not crowd, edges.
Hardscaping Materials for UK Weather and Drainage
In a small British garden, you’ll need paving rated for freeze–thaw exposure, such as low-porosity porcelain or frost-resistant concrete flags to BS EN 1341.
You should also specify permeable surfaces—resin-bound, porous concrete, or permeable block paving with an open-graded sub-base—to manage rainfall on-site and align with SuDS expectations.
For durability and drainage performance, you’ll match grout and jointing to the system: polymeric jointing for flexible joints, or a permeable jointing mortar where water must pass through.
Frost-Resistant Paving Options
Although UK winters rarely stay deeply cold for long, repeated freeze–thaw cycles and saturated subsoils can still crack weak paving and lift poorly built beds.
You’ll get the most durable result by choosing low‑absorption, frost‑rated materials and installing them to UK‑appropriate falls and drainage.
For frost resistant paving, specify porcelain slabs (EN 14411, Group BIa), dense granite, or clay pavers to BS EN 1344 with proven frost performance; avoid soft sandstones and high‑porosity concrete flags in exposed spots.
Detail a BS 7533‑aligned build-up: 150–200mm compacted Type 1 sub-base over geotextile where fines pump, then a full mortar bed for flags and tight joints to limit water ingress.
This delivers UK climate durability on tight urban plots.
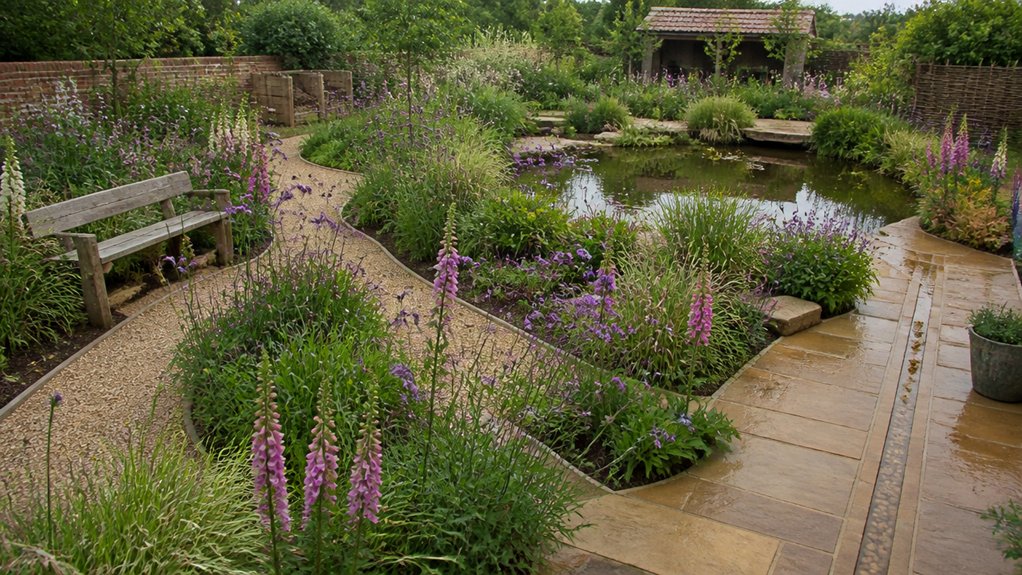
Permeable Surfaces For Drainage
Frost-rated slabs stop the surface from failing, but you’ll still get ponding and waterlogged sub-bases if you don’t give rain somewhere to go. So permeable hardstanding often makes more sense on small UK plots with heavy clay or restricted outfalls.
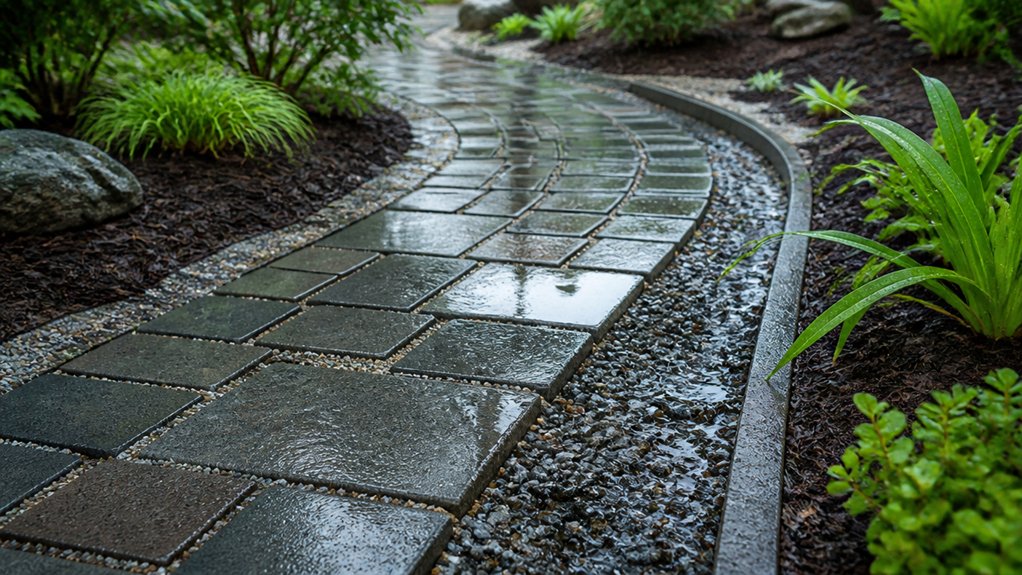
Specify a SuDS-compliant build-up: permeable blocks or resin-bound aggregate over 4/20–20/40 open-graded sub-base, separated from fines with a geotextile, and keep falls modest so infiltration does the work.
Check infiltration rates with a simple soakaway test and size any overflow to Building Regs Part H.
Where clay won’t infiltrate, route underdrains to Rainwater harvesting butts or a controlled outfall.
Choose Eco friendly materials, and plan for silt control via periodic vacuum sweeping.
Grout And Jointing Choices
Because UK patios spend months cycling between saturation and freeze–thaw, your jointing choice matters as much as the paving unit: use a flexible, water-shedding joint where movement and washout risk are high, and reserve rigid mortars for stable, well-drained builds.
On compacted Type 1 with a sharp-sand bed, specify polymeric jointing for setts or flags to BS 7533 so joints resist erosion yet stay tolerant of micro-movement.
Where you’ve got a concrete base with falls and a positive outfall, use a strong mortar joint (e.g., 4:1) and include joint reinforcement such as stainless helical bars across known crack lines or around manholes.
Keep joint width consistent to suit the product, and use Color contrast to define zones and edges without extra kerbs.
Paths That Lead the Eye Through a Small Garden
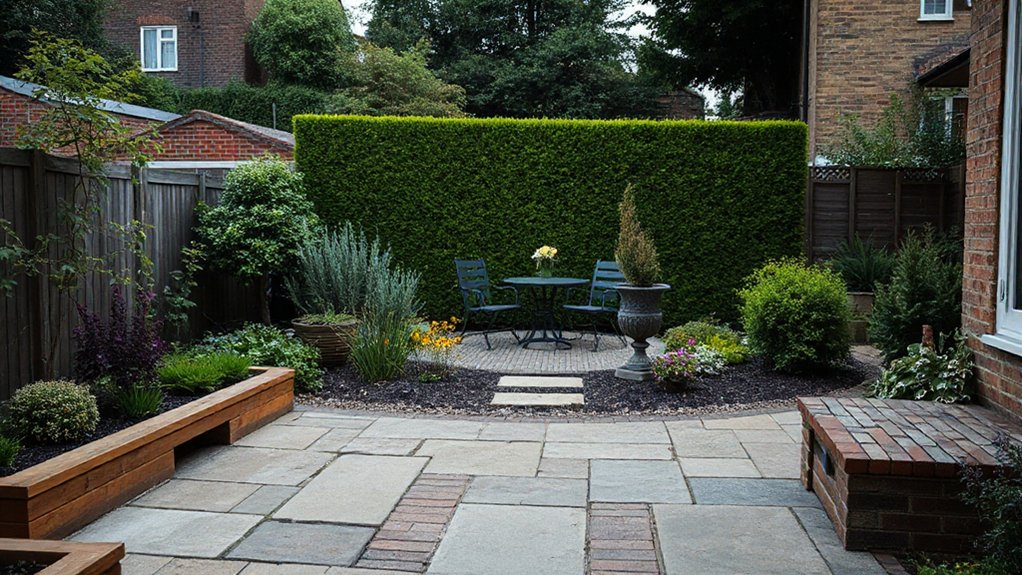
When you’re working with a compact British garden, a well-set path does more than provide access—it controls sightlines, sets the pace, and makes the plot read longer than its measured footprint. Set the primary run on the longest axis, and keep crossfalls at 1:60–1:40 so surface water sheds to beds or drainage, not thresholds.
Use garden symmetry to stabilise narrow plots: centre a straight path on the back door and align joints to the building’s datum. Where you need softening, introduce a gentle curve with consistent radius so it doesn’t feel fussy.
Tight color coordination matters in small spaces; match paving tones to brick, render, or fencing. Specify 600×600 modules to reduce cuts and visual noise at edges.
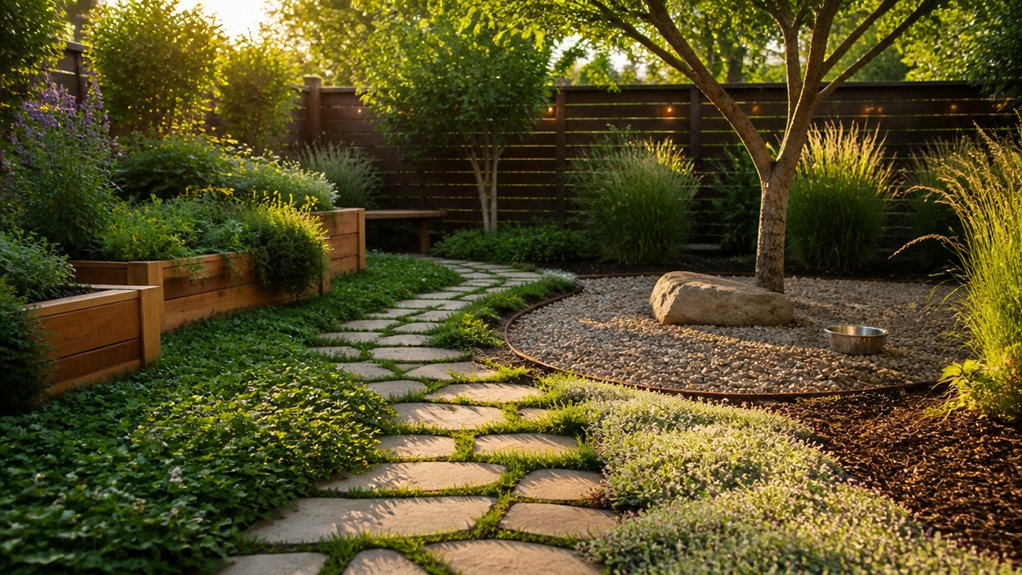
Create Zones With Paving Direction and Planting
Although a small British garden rarely gives you enough square metres for physical partitions, you can still zone it cleanly by rotating paving direction and locking each “room” with planting edges. Set one bond for dining (stack or stretcher), then switch to 90° in the access run so the eye reads a new use area without extra kerbs.
Keep falls at 1:60 to 1:80 away from the house, and maintain a consistent joint width so changes look intentional, not patched.
Edge each zone with steel, brick-on-edge, or dense evergreen lines to meet tolerances and stop creep.
Place garden furniture within the strongest rectangular module, leaving 900 mm clear circulation.
Use native shrubs and log piles on borders to stitch in wildlife habitats and soften hard lines.
Add Level Changes With Steps and Raised Beds
Once you’ve set clear garden “rooms” with paving direction and tight planting edges, use subtle level changes to reinforce each zone and fix awkward slopes.
Start with terrace planning: survey falls, set finished floor levels, and keep thresholds at least 150mm below damp-proof course. Use short flights where rises exceed 150mm; design 150–170mm risers and 250–300mm treads, consistent across the run.
Maintain minimum 900mm clear width on primary routes, and ensure slip resistance in wet conditions.
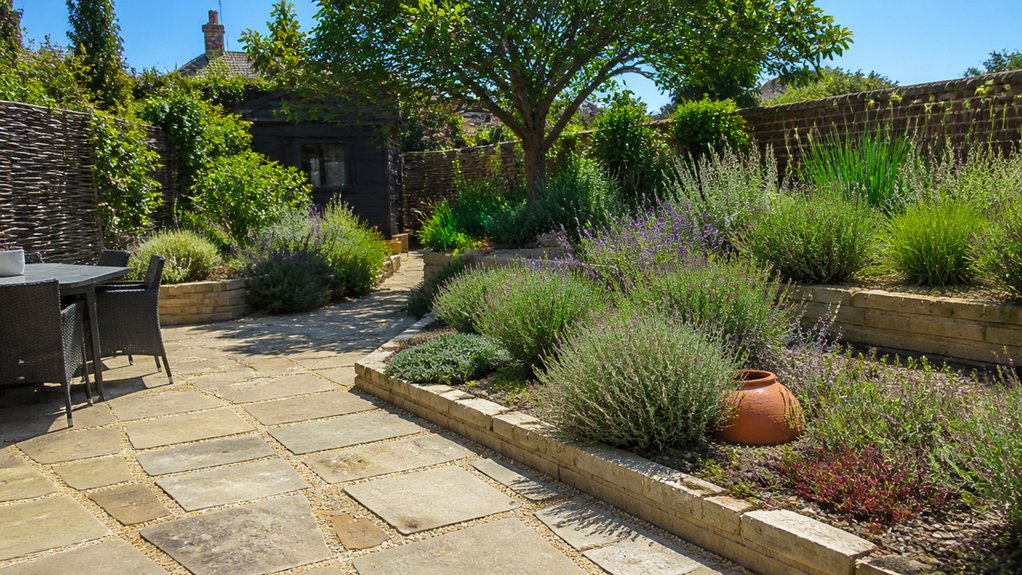
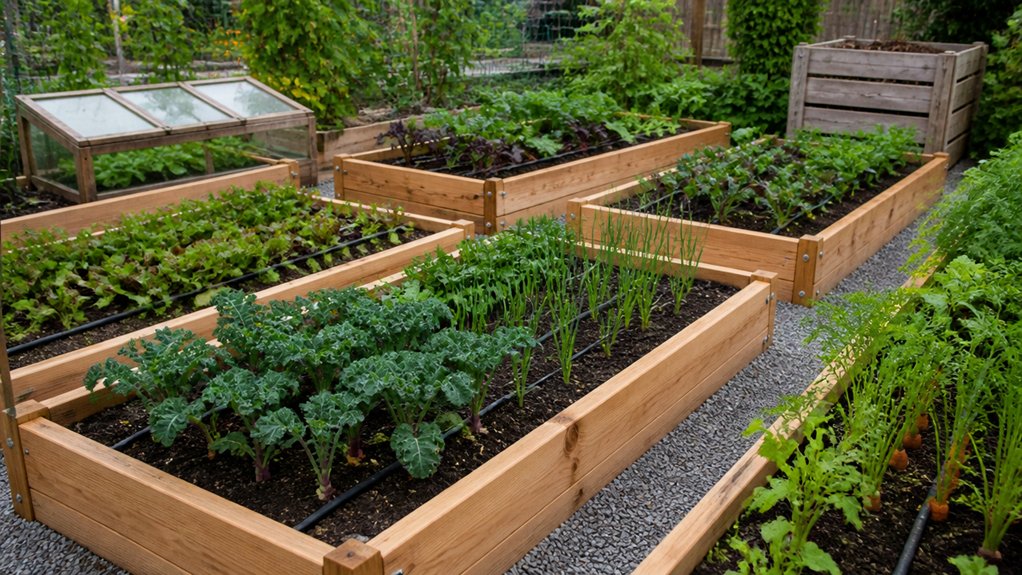
Integrate raised beds as retaining: specify masonry or sleeper walls with a proper footing, weep holes, and free-draining backfill. Cap walls to shed water and align heights to seating (450mm) where useful.
This garden sculpting creates usable, stable platforms in tight plots.
Crisp Edging for Low-Maintenance Borders and Patios
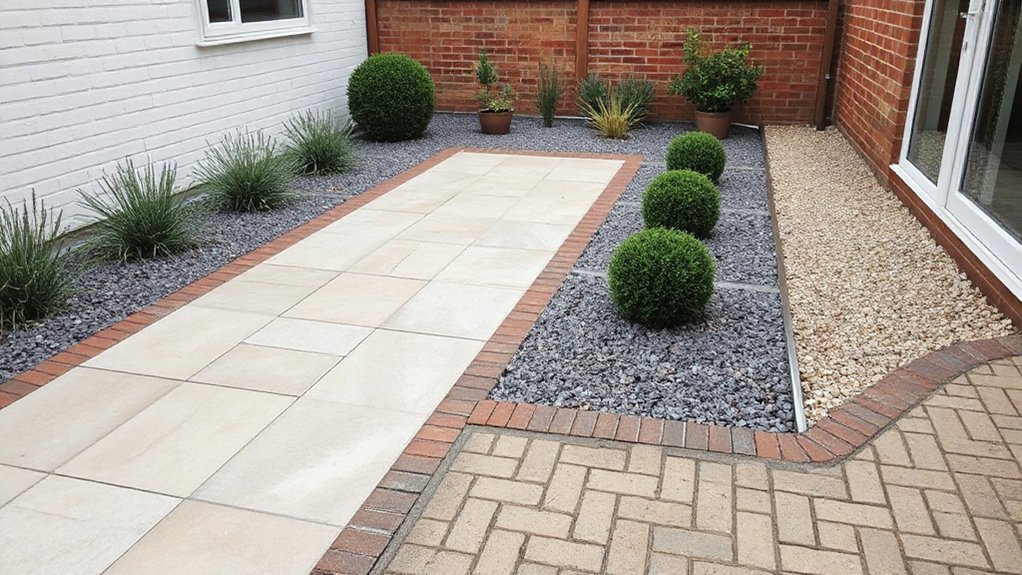
For crisp, low-maintenance borders and patios in a small British garden, you’ll specify edging in concrete kerb units, steel, or setts to suit soil conditions, drainage routes, and the patio build-up.
You’ll install edging to a taut string line on a well-compacted MOT Type 1 sub-base with a concrete haunch, maintaining consistent levels and falls in line with UK good practice.
You’ll also allow for movement and frost heave by using correct jointing, tying into restraints at corners and thresholds, and keeping the edge line clean for easy mowing and sweeping.
Material Choices For Edging
If you want crisp edging that stays put in a small British garden, specify the material as carefully as you’d specify the paving build-up. Choose frost-resistant, low-absorption units to suit UK freeze–thaw and persistent wet; aim for consistent thickness so levels read cleanly against 150mm sub-base to typical domestic specs.
Precast concrete kerbs give straight runs and predictable tolerances. Clay pavers suit heritage tones but need verified durability class.
Decorative stone setts add weight and visual hierarchy, but check slip and spalling risk on shaded, algae-prone sites.
Metal edging (galvanised or Corten) suits tight radii and thin profiles; confirm corrosion resistance in acidic beds and near de-icing salts.
Timber looks soft, yet it warps and rots in saturated borders.
Installation Tips For Longevity
Although crisp edging looks like a finishing detail, it only stays sharp in a small British garden when you install it like a structural element: set out string lines and fixed levels first, then bed the units on a compacted, free‑draining foundation (typically 100–150mm Type 1 sub-base, topped with 30–50mm sharp sand or a concrete bed to suit the edging type) and lock them in with a continuous haunch on the garden side.
You’ll check falls to shed water away from patios and keep joints tight to BS 7533 principles. Use restraint and stakes until the haunch cures, and don’t place garden furniture loads near fresh work.
Leave weep gaps where edging meets planting to protect wildlife habitats and reduce waterlogging. Finally, brush in jointing, then recheck levels after first winter heave.
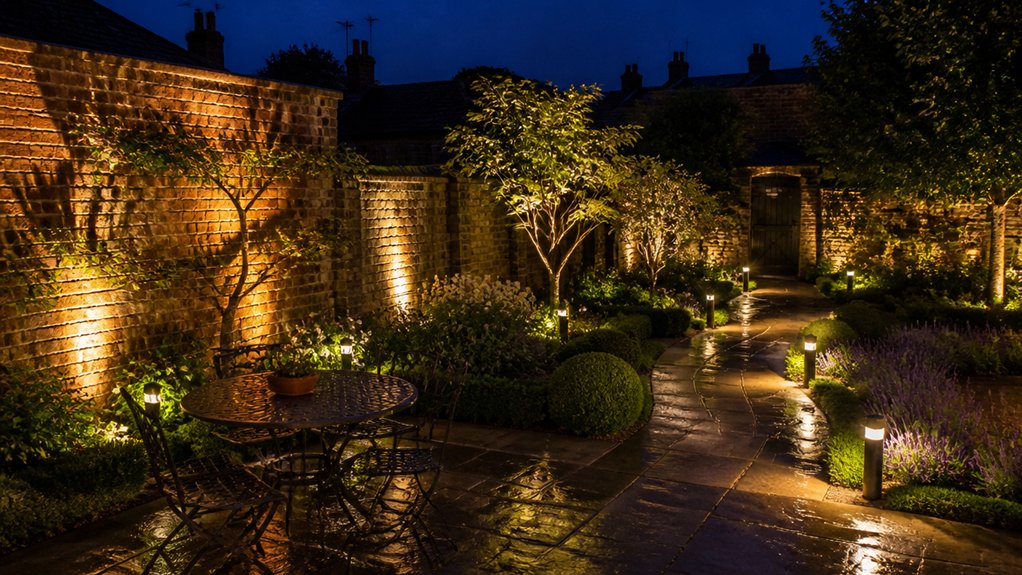
Small Garden Lighting for Paths and Seating Areas
Where do you place lights in a small British garden so paths stay safe without washing out your seating area? Start with low-level bollards or recessed deck lights on the path’s planting-side edge, spaced 1.5–2.0 m to keep even illumination and reduce glare. Aim for a warm 2700–3000 K colour temperature and shielded optics to meet dark-sky intent and avoid light spill into neighbours’ windows.
For steps and thresholds, use downlights or tread lights to define nosings clearly.
At seating zones, switch to layered ambient lighting: wall-mounted downlights on boundaries, under-bench LEDs, or festoon lines set high and dimmable.
Choose IP65 fittings in exposed areas; use solar fixtures only where panels get 4+ hours of direct sun. Keep drivers accessible.
Small Garden Hardscaping Mistakes to Avoid
Because small British gardens sit on tight boundaries and heavy, often waterlogged soils, hardscaping mistakes show up fast as ponding, rocking slabs, and damp against the house.
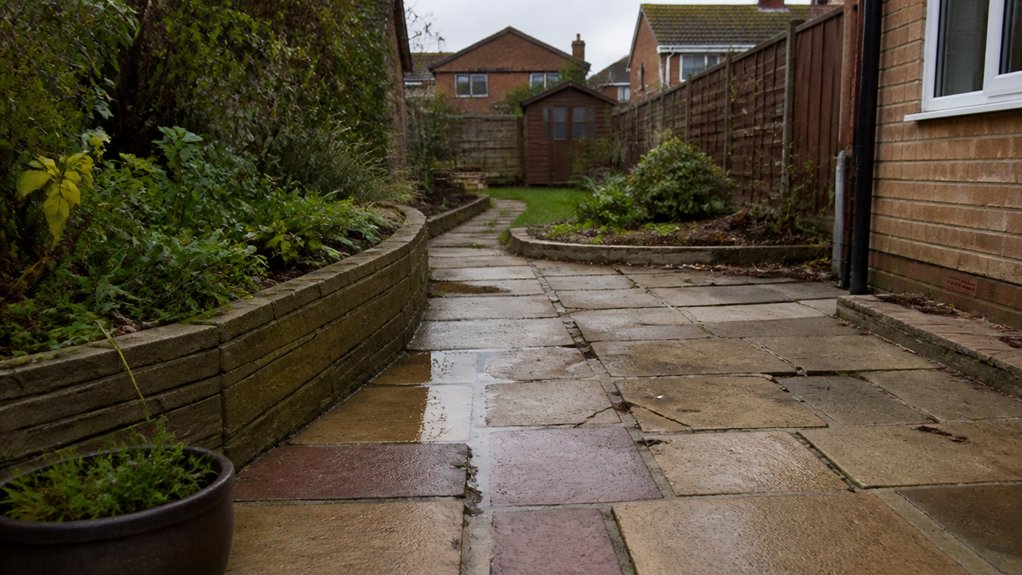
Don’t lay paving flat: set 1:60 fall away from buildings and keep DPC clearance, with linear drainage if required.
Avoid thin sub-bases; use well-compacted Type 1 and a stable bedding layer suited to the slab thickness.
Don’t trap water with impermeable joints; choose permeable pointing where you can, and keep run-off on-site to meet SuDS expectations.
Skip oversized formats in cramped plots; they amplify unevenness and restrict routes around garden furniture.
Don’t pave every corner: keep soil pockets, log edges, and planting gaps to support wildlife habitats and improve infiltration.
Check services before digging.
Frequently Asked Questions
How Much Does Small Garden Hardscaping Cost in the UK?
You’ll typically pay £1,500–£10,000 for small garden hardscaping in the UK, depending on garden design scope, material selection, ground conditions, drainage, and BS 7533-compliant sub-base build-up, edging, and waste disposal costs.
Do I Need Planning Permission for Patios, Decking, or Raised Beds?
Like a tripwire, planning rules can catch you: you usually don’t need permission if works meet permitted development. Follow planning regulations: deck over 300mm, boundary proximity, listed buildings, conservation areas, drainage levels may trigger consent.
Can I Lay Paving Over Existing Concrete or Old Slabs?
Yes, you can lay paving over sound concrete or stable slabs if you verify falls, drainage, and load capacity. Prime and bond a mortar bed, choose compatible paving materials, and do slab removal where movement, cracking exists.
How Long Does a Typical Patio or Path Installation Take?
You’ll typically need 2–5 days for a small patio or path, depending on access, ground conditions, and curing. You’ll set levels, compact sub-base to spec, edge securely, and protect garden furniture, wildlife habitats.
Should I Hire a Landscaper or DIY Small Garden Hardscaping?
If you want crisp lines and compliant falls, hire a landscaper; for simple edging and slabs, you can DIY. Use DIY tips: stringlines, Type 1 base, 1:60 drainage. Professional benefits: levels, compaction, warranties.


Leave a Reply