

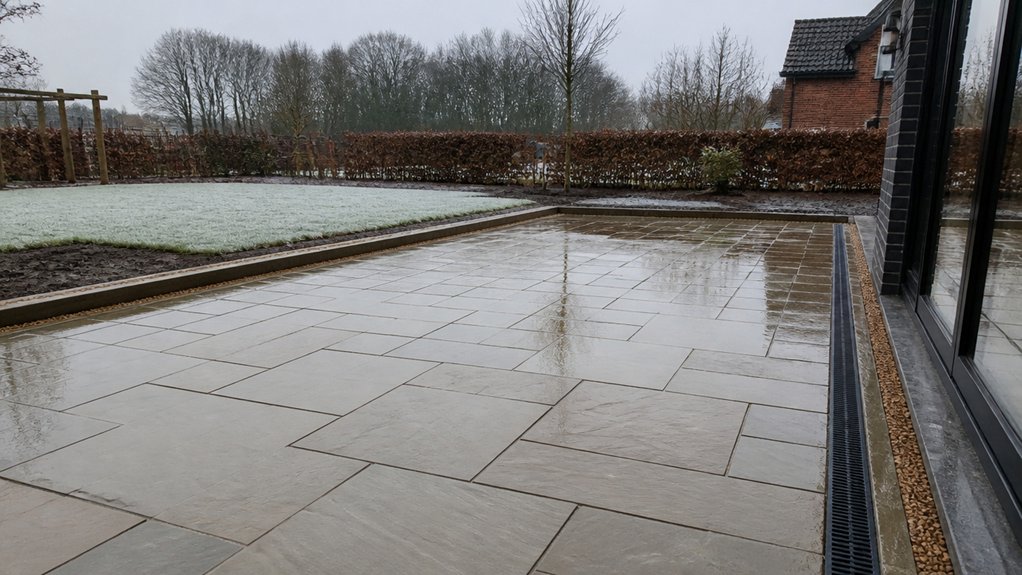
If you’ve ever lifted a loose slab in March and found a puddled, mushy bed underneath, you’ve seen how a UK winter punishes poor falls and thin sub-bases. You don’t fix that with tougher slabs alone—you set accurate levels, build in drainage away from the house, and comply with SUDS expectations where runoff matters. Get the excavation depth, MOT Type 1 compaction, edging, and joints right, or freeze–thaw will do the rest…
Key Takeaways
- Set the finished patio at least 150mm below the DPC, and build a 1:60–1:80 fall to drain away from the house.
- Excavate to firm ground, remove all topsoil, and keep formation levels consistent to prevent settlement and frost heave.
- Lay MOT Type 1 sub-base in 75–100mm layers, compacting each dry layer thoroughly for a stable, free-draining foundation.
- Install strong edging restraints on concrete bed and haunch to stop lateral creep, joint opening, and frost-driven movement.
- Use frost-resistant paving on a full mortar bed, maintain 5–10mm joints, and seal appropriately to limit winter water ingress.
Plan Patio Size, Shape, and Water Run-Off
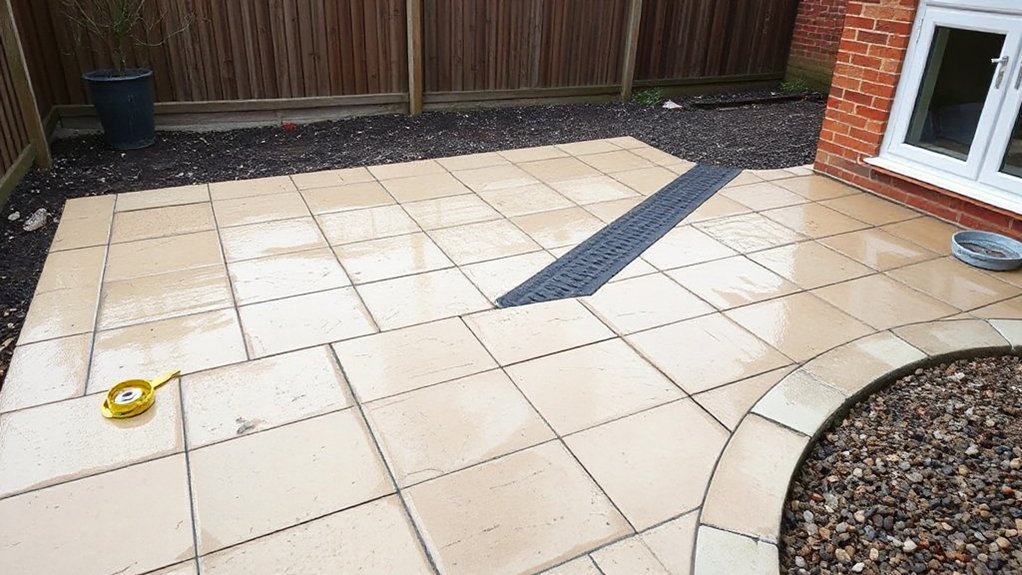
Before you order a single slab, map out your patio’s footprint and, critically, where rainwater will go once it hits the surface. Set out pegs and string to test size and shape against doors, paths, and sightlines. Then mark service covers, air bricks, and damp-proof courses you can’t block.
In the UK, steer runoff away from the house and toward a permeable border, soakaway, or lawn. You may need planning consent if you’re directing water to the highway or using non-permeable surfacing over 5m².
Choose slab formats that suit curves and cuts to reduce waste and weak edges. Mock up Garden furniture zones and check Plant placements won’t choke drainage routes or splashback margins.
Set Patio Falls Before You Start Digging
Although you can tweak levels later with bedding mortar, you’ll get a longer-lasting patio if you set the fall on paper—and on the ground—before you dig.
In UK weather, the right patio slope stops standing water, algae, and freeze–thaw damage, and it keeps runoff away from walls and air bricks.
Aim for a consistent fall of about 1:60 to 1:80 (around 12–17 mm per metre) away from the house unless your surface manufacturer specifies otherwise.
Use string lines, stakes, and a laser or long spirit level to transfer that gradient across the full footprint.
Mark datum points at corners and changes in direction so you don’t “lose” the fall during excavation.
Always respect local drainage rules and your DPC line.
Dig the Correct Patio Depth for Your Build-Up
How deep should you dig for a patio that won’t heave, puddle, or end up proud of your DPC? Start by totalling your build-up: paving thickness, bedding layer, and sub-base allowance, then add a little working tolerance.
Keep finished paving at least 150mm below the damp-proof course, and don’t bridge air bricks.
On site, do quick soil testing: firm, free-draining ground lets you keep depths sensible; soft clay, made ground, or peat means you’ll need more excavation and better edge restraint.
Align depth with drainage planning too—allow room for falls, drainage channels, or a soakaway run, without raising levels.
Strip all topsoil and organic material; dig to consistent formation and remove any soft spots.
Check with a laser or tight stringlines.
Lay MOT Type 1 Sub-Base in Solid Layers
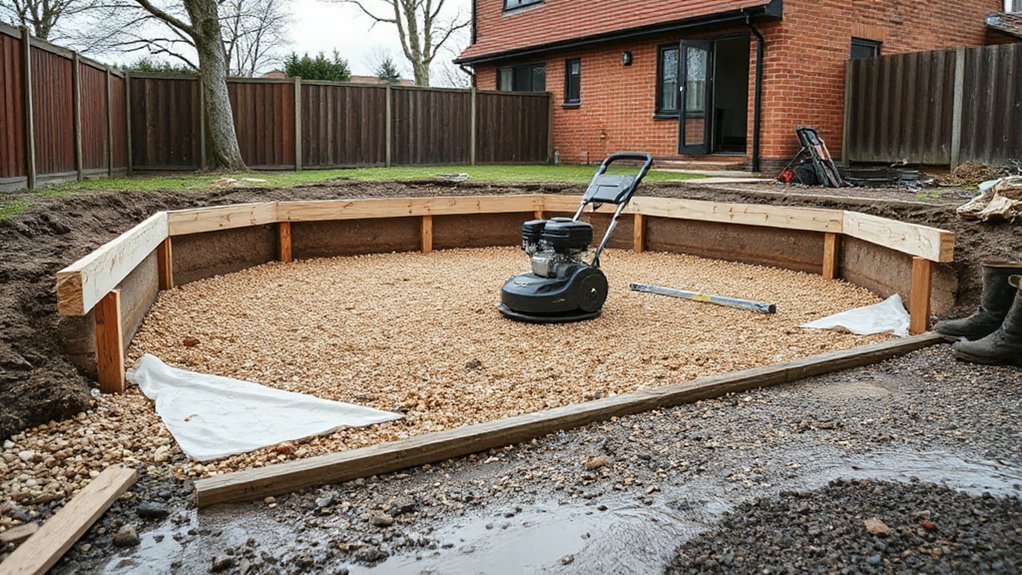
With your formation dug to level and any soft spots cut out, you can start building the structure that stops winter movement: the MOT Type 1 sub-base.
Tip in Type 1 (well-graded crushed stone) and spread it evenly, keeping your planned falls for surface water.
Build it in 75–100mm layers, not one deep dump, so the fines lock in and you get proper soil stabilization. Compact each lift with a vibrating plate (or roller on larger areas) until it “rings” and won’t rut underfoot; add moisture lightly if it’s too dry to knit.
Check levels with a straightedge and laser/string line as you go.
For drainage solutions, keep the sub-base free-draining, avoid clay contamination, and don’t compact saturated material after heavy rain.
Add Edging Restraints to Stop Slab Movement
Once you’ve compacted your MOT Type 1, you need edging restraints to lock the paving in place and stop frost-driven creep and rocking.
You’ll choose between concrete kerbs, steel or aluminium edging, or treated timber, matching the restraint to slab thickness, ground conditions, and UK exposure class.
You’ll then set the edging on a firm concrete bed and haunch, keep lines true, and allow for falls and drainage so the build stays compliant and stable through winter.
Choosing Edging Materials
Although your sub-base and laying course take most of the load, edging restraints are what stop paving slabs creeping, rotating, and opening joints after repeated freeze–thaw and saturated-ground cycles common in UK winters.
Choose edging that matches your patio’s traffic and exposure. For practical edging, concrete kerbs, setts, or block edging give high mass and consistent line control, and they suit heavier use around paths and steps.
For Decorative edging, consider natural stone setts or clay pavers, but check they’re frost-resistant and rated for external ground contact.
Use treated timber only where it’s isolated from persistent wet and soil contact, and expect more movement.
Guarantee any metal or plastic restraint is UV-stable and robust.
Keep levels compatible with DPC clearance and drainage falls.
Installing Secure Edge Restraints
Edging choice only pays off if you install it as a proper restraint that locks the paving in place through wet ground and freeze–thaw movement. Set out your line, dig to full sub-base depth, and compact to prevent later settlement at the perimeter.
Pick from Edge restraint types—kerbs on concrete, soldier-course setts, steel/aluminium edging, or treated timber—and fix them to suit loading and soil.
Bed rigid units on a 100mm concrete haunch with a backfill haunch to mid-height; keep the face clean so drainage falls aren’t bridged.
For metal edging, drive pins into compacted sub-base and tie joints so they can’t spread.
Leave space for border planting, but isolate soil with geotextile and keep finished levels below DPC to meet UK guidance.
Choose Mortar or Sand Bedding for Your Slabs
Because UK freeze–thaw cycles and prolonged saturation expose every weak point in your sub-base, you need to choose slab bedding that matches your site conditions and the loads you’ll put on the patio.
For most domestic patios, a full bed Mortar mix (not dot-and-dab) gives continuous support, limits rocking, and reduces water pockets that can ice-jack joints. Use a workable 4:1 sharp sand to cement blend, and prime porcelain or low-porosity backs so the bond doesn’t shear in winter.
Choose Sand bedding only for flexible systems or where you expect easy lifting for service runs; it suits calibrated slabs and tight thickness tolerances.
Keep falls at 1:60 away from buildings and maintain DPC clearance to meet good practice and drainage expectations.
Pick Frost-Resistant Patio Slabs and Finishes
You’ll get a patio that shrugs off freeze–thaw cycles by choosing slabs rated frost-proof to BS EN standards and suited to your site’s drainage and exposure.
Prioritise low-porosity materials like porcelain or dense natural stone so water can’t soak in and crack the surface when temperatures drop.
Then lock in the finish with a UV-stable, weather-resistant sealant that’s compatible with the slab and won’t breach slip-resistance expectations for UK outdoor surfaces.
Choose Frost-Proof Materials
When frost hits a saturated patio, trapped moisture expands and can crack slabs, pop joints, and shed surface finishes. To boost Winter resilience, you’ll want Frost proof materials that meet BS EN performance expectations and suit UK exposure conditions.
Choose vitrified porcelain for hard-wearing colourfast surfaces, or specify frost-resistant concrete flags rated for exterior use. For natural stone, pick proven UK-grade granite or dense sandstone supplied with a frost test declaration, and avoid mixed batches with variable durability.
Match finishes to use: sawn or flamed textures keep grip in wet months, while sealed, polished faces can turn slick. Use a flexible, exterior-rated jointing compound and a cementitious adhesive compatible with freeze-thaw cycles, following manufacturer datasheets and UK Building Regs good practice.
Prioritise Low Porosity
Frost-proof ratings only go so far if the slab drinks water, so prioritise low-porosity paving that limits saturation before the freeze–thaw cycle even starts. Choose dense porcelain, vitrified clay, or high-quality concrete with low absorption, and avoid soft sandstones or riven, open-textured flags in exposed spots. Check supplier water-absorption data and batch consistency, not just “frost resistant” labels.
You’ll only get the benefit if the base stays dry: build on well-graded MOT Type 1 with firm soil compaction, then bed correctly to prevent voids that hold water.
Combine falls with drainage solutions such as permeable joints, linear channels, or soakaway-linked gullies, and keep runoff compliant with UK SuDS expectations. Less retained moisture means fewer winter cracks and spalls.
Use Weather-Resistant Sealants
How do you keep winter water from turning hairline pores and joints into spalls and stains? You seal the system, not just the slab.
Choose a breathable, silane/siloxane penetrating sealer for sandstone or concrete, or a film-former rated for freeze–thaw on denser porcelain.
Rake out weak jointing, then repoint with a polymer-modified, water-shedding mortar so it won’t crack under ice pressure.
Apply sealer on dry days, within the manufacturer’s coverage rates, and keep it off adjacent planting.
If you’re coating risers or retaining edges, use Weatherproof paint only where vapour can escape.
Pair sealants with Drainage solutions—falls, channels, and free-draining sub-base—to meet UK Building Regulations moisture management and stop standing water.
Joint the Patio to Survive Freeze–Thaw Cycles
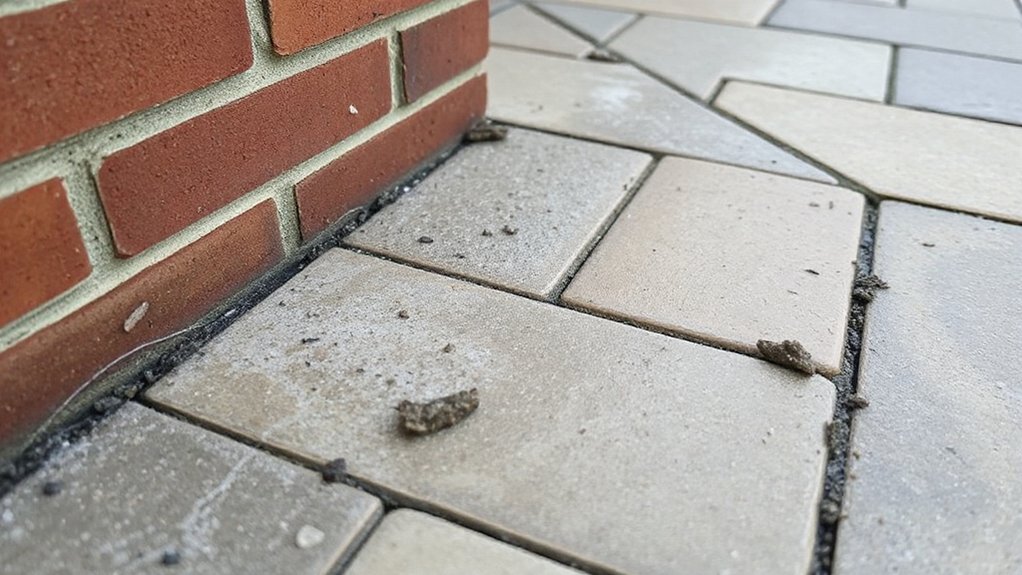
Although the slabs and base do most of the structural work, your jointing is what stops UK freeze–thaw cycles from turning tiny gaps into rocking flags and cracked edges.
For joint stability, keep joints a consistent 5–10mm and rake out all bedding squeeze‑up so the joint is full-depth, not a thin cap that pops. Use a polymeric jointing compound or a proper sand/cement mortar on a solid bed; match it to the paving type and traffic, and avoid weak “dry mix” scatter methods on wet sites.
Work to falls and drainage so water doesn’t sit in joints, improving freeze thaw resilience. Compact joints, strike them tight, and keep edges supported with haunched restraints to stop lateral creep.
Seal and Maintain Your Patio for Winter
Once you’ve locked the joints in and kept water moving to the falls, sealing and routine winter maintenance become your next line of defence against saturation, staining, and surface spalling.
Choose a breathable, UV-stable sealer matched to your substrate: silane/siloxane for porous concrete and sandstone, resin systems only where slip risk and vapour pressure are controlled. Apply on a dry spell, with the slab moisture content low, and keep it off public drains to meet UK pollution rules. Recoat high-traffic zones before the first frosts.
Schedule Seasonal cleaning: sweep grit, clear gullies, and treat algae with a biocide approved for hard surfaces. Lift Decorative elements, planters, and mats so they don’t trap water and salts against the paving.
Frequently Asked Questions
What Planning Permission Rules Apply to Patios in the UK?
Like walking a tightrope, you’ll usually skip planning permission for patios if you keep levels permeable and avoid raising ground near boundaries. You must check listed buildings/conservation areas; garden lighting and patio furniture don’t trigger consent.
How Much Does a Durable Patio Installation Typically Cost per Square Metre?
You’ll typically pay £90–£200 per m² for a durable patio, depending on labour, base preparation, and drainage. For cost comparison, concrete’s cheaper; sandstone/porcelain cost more. Check permitted development, levels, and runoff compliance.
Can I Build a Patio Over Existing Concrete or Paving?
Yes, you can build over sound concrete or paving if you clean, level, and check falls. You’ll add drainage solutions, suitable bedding/adhesive, and decorative edging. Make certain DPC clearances, permeable requirements, and frost-resistant materials.
What’s the Best Time of Year to Build a Patio in the UK?
Hit the ground running: you’ll get best results building a UK patio in late spring to early autumn, when soils drain and mortar cures. Plan Seasonal planting and Outdoor furniture, and you’ll meet surface-water drainage rules.
How Do I Prevent Patio Slabs Becoming Slippery With Algae in Winter?
You’ll prevent winter algae by improving drainage, boosting sunlight, and using Algae prevention biocide. Choose textured slabs for Slip resistance, pressure-wash gently, re-sand joints, and apply a breathable sealer meeting manufacturer guidance.



Leave a Reply