

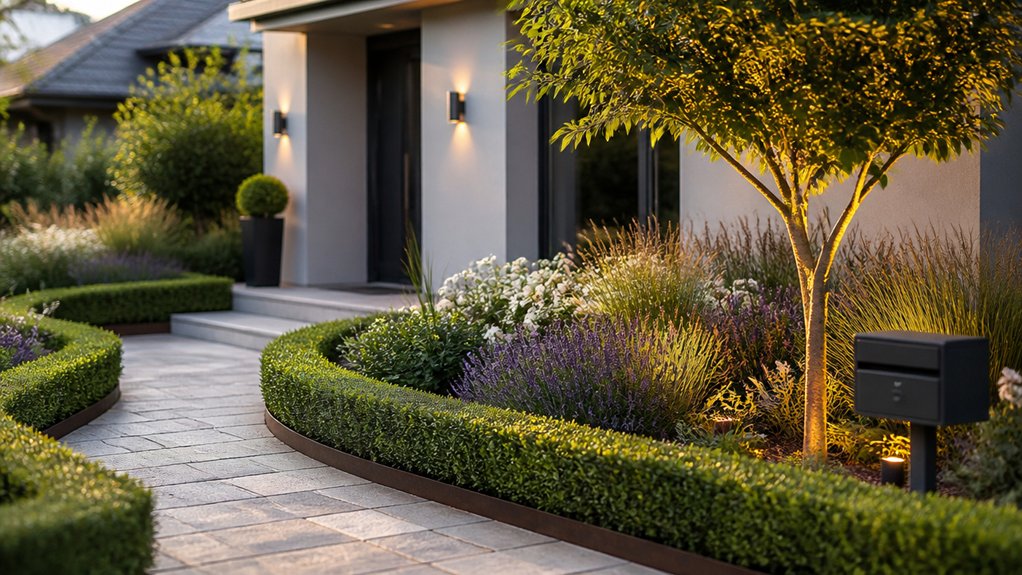
You probably don’t know most kerb appeal is lost in the first 3–5 metres, where sightlines, edge definition, and plant massing do the heavy lifting. You can fix that fast by mapping sun and access, then choosing a layout that matches your home’s geometry—symmetry for traditional, clean grids for modern, softer curves for cottage. You’ll also need to design around bins, driveways, and privacy without cluttering the approach, because that’s where many front gardens fail…
Key Takeaways
- Define beds with crisp steel or brick edging and refresh mulch to create clean lines and instant contrast.
- Install a simple, straight path to the door using one paving module, keeping pedestrian access 900–1200mm wide.
- Use a tight plant palette, massing three plant types in repeated drifts with spacing for mature spread.
- Add privacy and neatness with slatted bin screens and 1.2–1.8m staggered panels that block views without feeling bulky.
- Upgrade lighting at gates, steps, and the threshold with low-glare LEDs or solar lights to improve safety and highlight features.
Front Garden Landscaping Ideas You Can Copy Fast
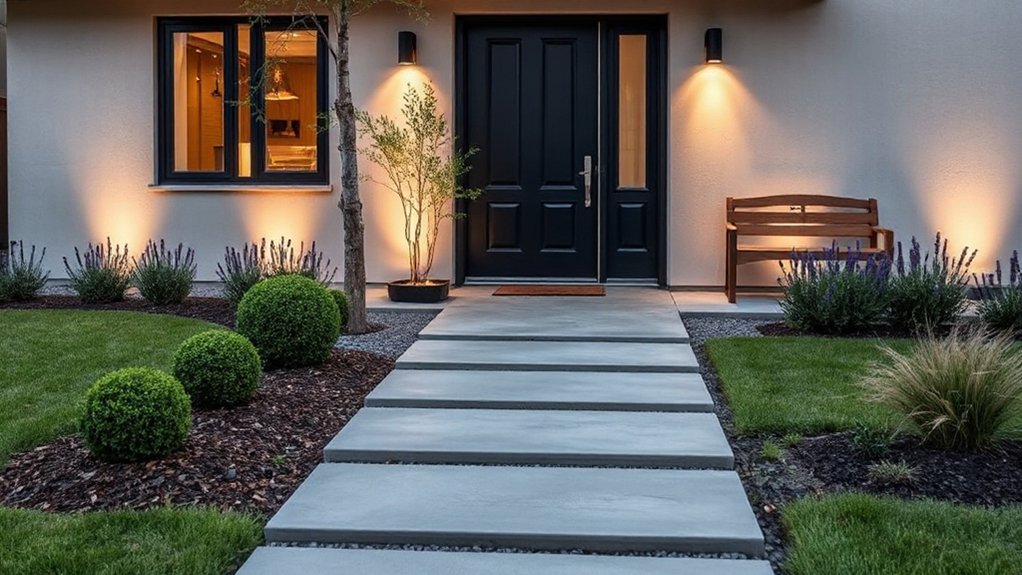
If you need a front garden upgrade that looks custom but installs quickly, start with repeatable layout moves—clean bed edges, a simple path hierarchy, and a tight plant palette.
Set a crisp steel or brick edging line, then infill with 60–80mm mulch for instant contrast and low maintenance.
Use one paving module and run it straight to the door, with a single cross-connection to bins or parking to keep circulation legible.
Mass three plant types in drifts, spacing for mature spread, and repeat them at the boundary for rhythm.
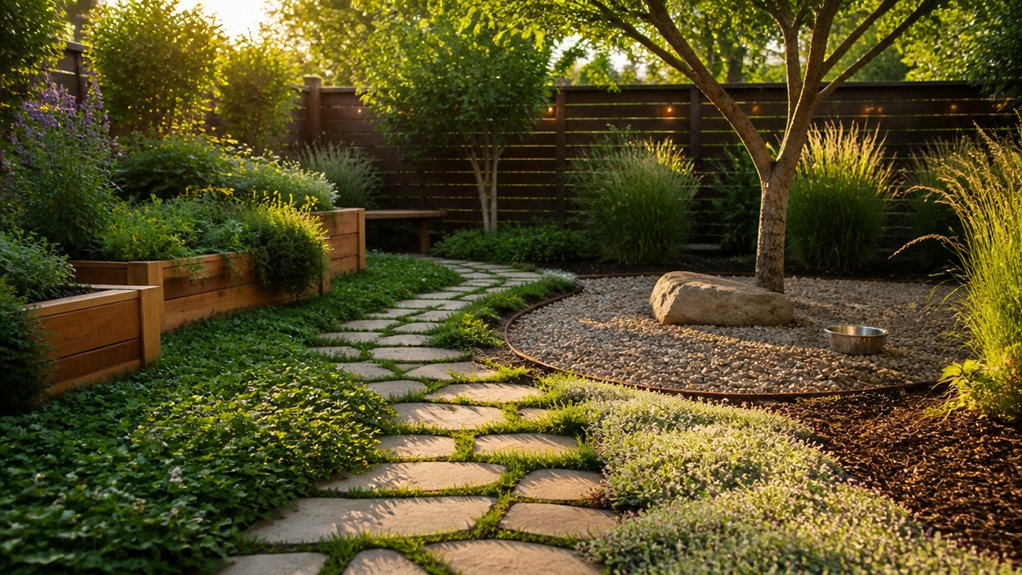
Build Seasonal planting into one dedicated “swap zone” near the path using pots or a narrow strip.
Add Wildlife attractors by mixing nectar shrubs, seed heads, and a small water bowl set on gravel.
Plan Your Front Garden: Size, Sun, Access
Before you buy plants or lay paving, map the site basics—overall size, sun pattern, and access routes—because these three inputs set your bed widths, path lines, and plant choices.
Measure boundary-to-wall dimensions, note services, and keep minimum clear access from gate to door (typically 1.0–1.2 m).
Track sun for a full day: record morning shade from buildings, midday exposure, and late-afternoon heat; then zone planting by light and drought risk.
Check falls and drainage so water sheds away from the house.
Do quick soil preparation planning: identify compaction, test texture, and allocate space for amendments.
Finally, sketch planting zones with realistic plant spacing at maturity so beds don’t choke paths or windows.
Pick a Front Garden Layout for Your Home Style
Now you’ll lock in a front garden layout that aligns with your home’s architecture and the site lines from the street to the front door.
If you’ve got a period property, you’ll reinforce symmetry with a centered path and mirrored planting bays.
If it’s modern, you’ll use clean geometry, tight edges, and simplified planting blocks.
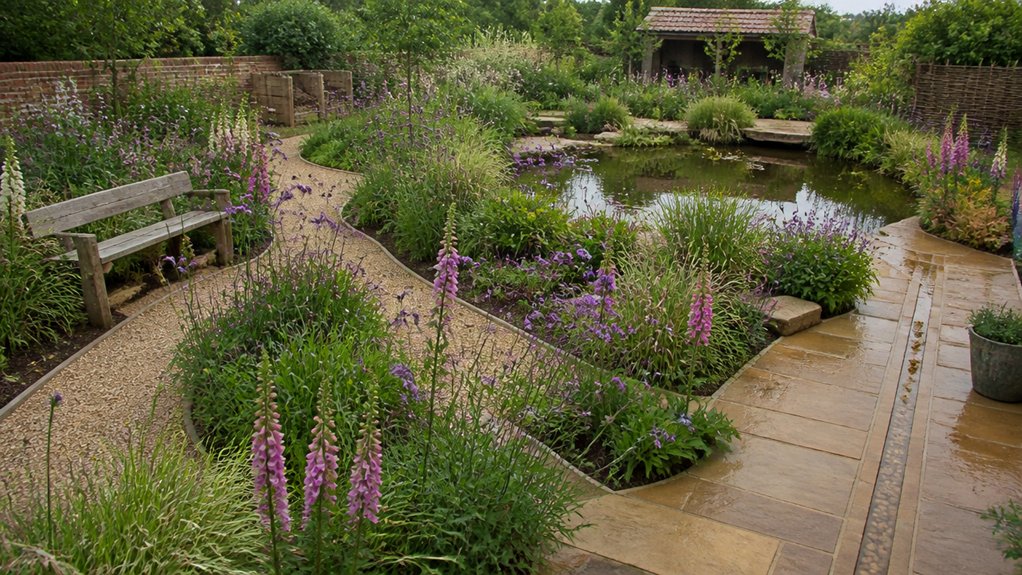
For a cottage look, you’ll soften the framework with curved beds, informal layering, and a looser planting matrix that still maintains clear access.
Match Period Home Symmetry
Although your planting palette can shift with trends, your front garden layout should mirror the symmetry (or deliberate asymmetry) built into your period façade. Start by reading the elevation: door position, bay windows, porch projections, and boundary rhythm. Then align your primary axis—path, gate, and step line—so arrival feels inevitable, not improvised.
If you’ve got a central door on a period home, use paired beds, matching specimen shrubs, and equal path widths to lock in symmetry balance. Keep edge conditions consistent: identical pier caps, mirrored hedge returns, or twin low walls.
Where the house is intentionally offset, echo that with a single dominant bed and a secondary “counterweight” element (tree, urn, or clipped topiary) sized by sightlines from the street. Set key elements to window centres, not fences.
Modern Minimalist Geometry
When your home reads as crisp and contemporary, you’ll get the cleanest result by organising the front garden around a few hard, repeatable geometries—typically one dominant line (axis to the door) and a small set of perpendicular edges.
Set out paving joints, kerb lines, and bed edges to the same module so everything aligns from street to threshold. Use geometric plant beds with tight radii or true right angles, and keep planting in disciplined blocks (single species, repeated spacing).
Control levels with one or two broad steps or a linear retaining edge, not scattered risers. Choose materials with low visual noise: large-format slabs, brushed concrete, slim steel edging.
Finish with minimalist sculpture accents placed on-axis or at a key corner to lock the composition in place.
Cottage Garden Charm
If your house has soft detailing and traditional proportions, you’ll get the best cottage effect by building the front garden around an informal path with generous planting pockets rather than rigid lines. Set the route on compacted gravel or reclaimed brick, with a subtle camber for runoff and edging to stop spread.
Shape each flower bed as a crescent or teardrop to widen planting depth near the path and tighten at boundaries. Layer structure first: clipped box alternatives, dwarf fruit, and a low picket or hedge for enclosure. Then stitch in long-season perennials, bulbs, and self-seeders, keeping heights low at sightlines to windows.
Place garden ornaments sparingly—one focal urn or birdbath—so they read as punctuation, not clutter. Keep access widths workable for maintenance.
Design Around Driveways, Bins, and Privacy
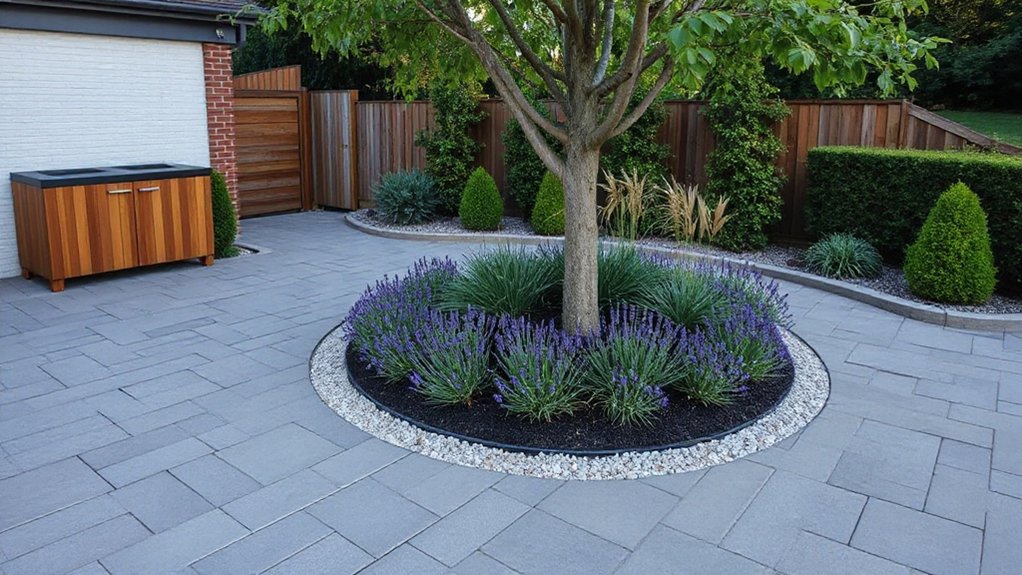
Because front gardens often double as access routes and utility zones, you’ll get the best results by treating driveways, wheelie bins, and privacy screening as one integrated layout.
Start with circulation: set clear pedestrian desire lines, keep a 900–1200mm path, and separate foot traffic from car turning arcs.
For driveway aesthetics, specify permeable block or resin-bound gravel, then use contrasting edging to lock joints and define bays.
Hide bins in a ventilated timber or slatted-metal enclosure sized for lid swing, with a 1:20 ramp for easy roll-out and a latch that meets the street line.
Use privacy screens to solve overlooking without boxing the frontage in: combine 1.2–1.8m panels, staggered returns, and sightline tests from pavement and driver eye height.
Keep services accessible via removable sections.
Choose Low-Maintenance Front Garden Plants
Once you’ve locked in paths, bin stores, and screening, plant choice does the heavy lifting by softening hard edges without adding weekly upkeep.
Start with site data: sun hours, wind exposure, and soil texture, then specify plants that won’t need constant pruning or irrigation.
Use Native plants for resilience and predictable habit; they’ll cope with local pests and seasonal swings.
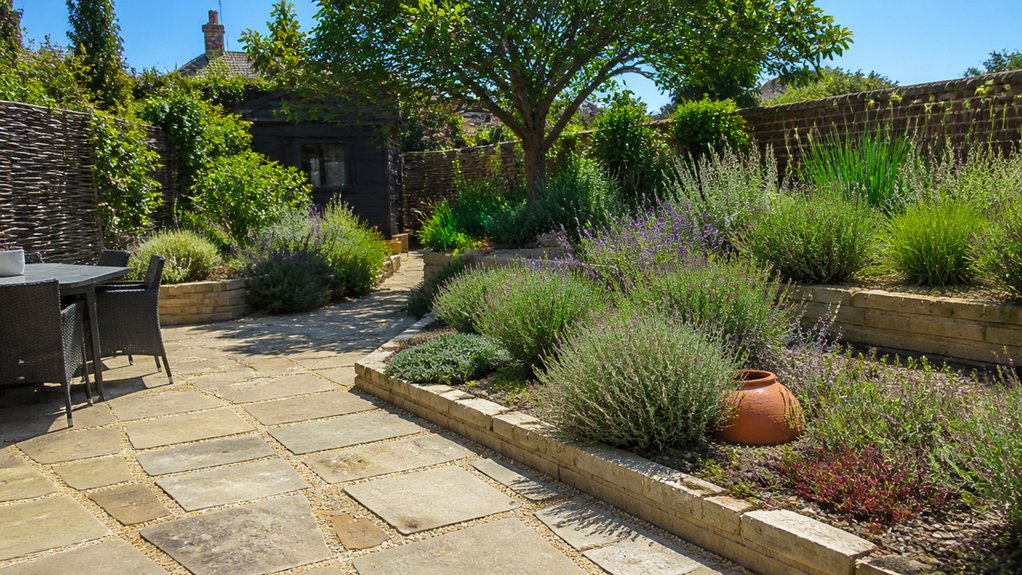
In full sun, prioritise drought tolerant foliage such as lavender, rosemary, teucrium, hebes, and compact grasses; they read crisp year-round and recover quickly after heat.
For shade, choose evergreen structure—sarcococca, ferns, and hellebores—for low-litter performance.
Keep forms repeated in simple modules so you can mulch once, water deeply to establish, then reduce inputs.
Place taller shrubs away from sightlines to preserve visual depth.
Front Garden Edging and Gravel for a Crisp Finish
Although planting brings softness, crisp edging and well-specified gravel make the front garden read intentional, keep aggregates off paths, and simplify maintenance.
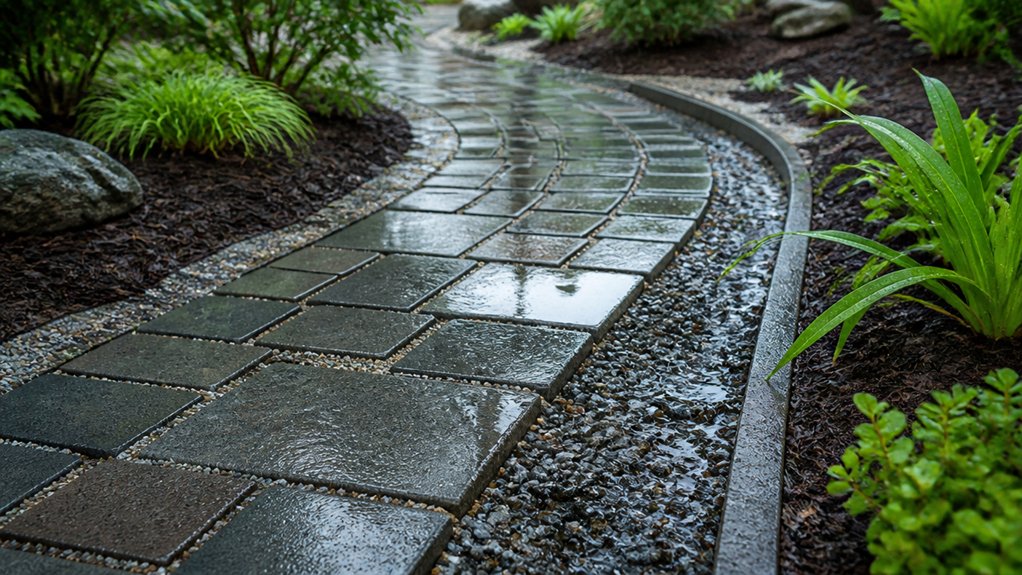
Set garden edging first: steel for tight radii, concrete for straight runs, or granite setts for a premium threshold. Bed edging on compacted MOT Type 1 so it won’t heave, then keep it 10–15 mm proud to contain stone.
For gravel pathways and beds, excavate to a consistent depth, install a geotextile membrane to separate soil and reduce weeds, and compact the sub-base for load.
Specify 10–14 mm angular gravel for stability; avoid pea shingle where foot traffic scatters.
Finish with clean progressions to paving and drainage points to prevent ponding.
Front Garden Path Ideas: Step, Curve, and Guide
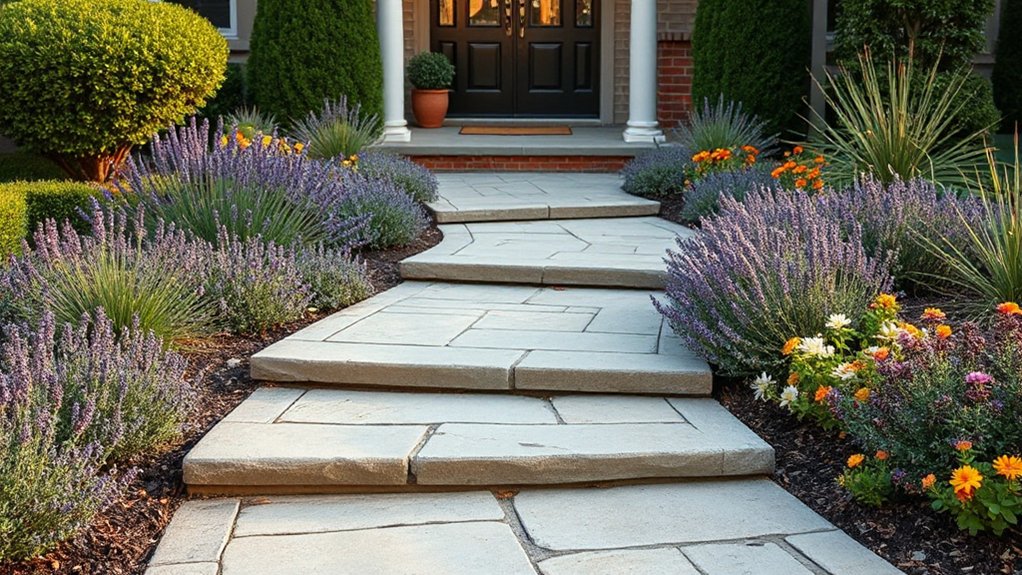
Whether you’re working with a shallow setback or a long approach, the front path should choreograph movement: it sets the walking line, manages levels, and frames planting rather than cutting through it. Set width to 900–1200mm so two people pass; tighten to 750mm only where boundaries pinch. Use gentle curves to slow pace and reveal highlights, but keep sightlines to the door for legibility.
Where you change grade, build steps with 150–170mm risers and 280–320mm treads, and align nosings to the door axis. Specify permeable joints or gravel shoulders to shed water away from thresholds.
Let the path skim a garden pond edge with a coping strip, and terminate views on decorative statues for a deliberate pause point.
Front Garden Lighting Ideas for Safety and Wow
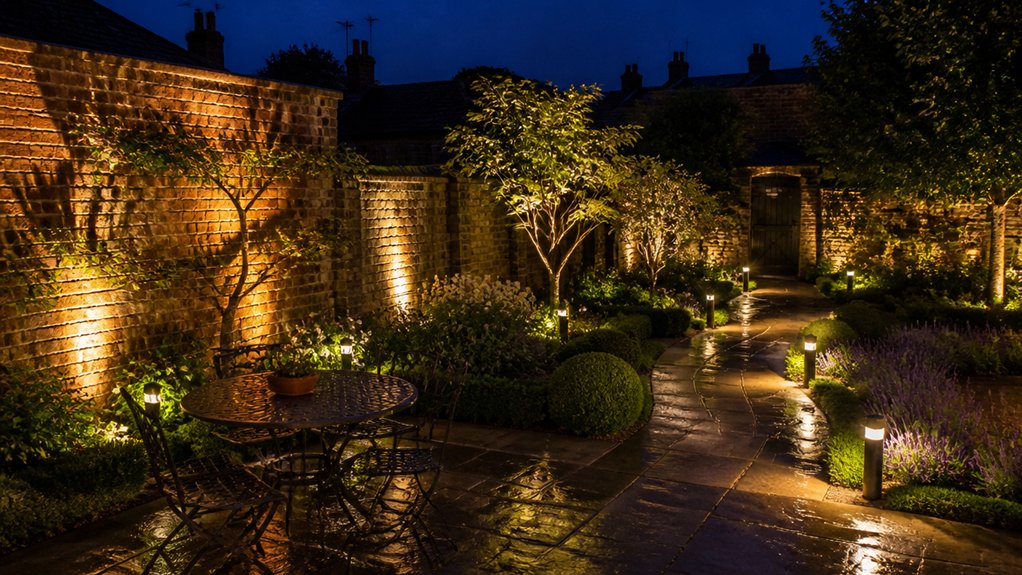
How do you make a front garden feel welcoming and secure the moment dusk hits? Start by mapping your sightlines from pavement, drive, and front door, then light the decision points: gate, steps, and thresholds. Use low-glare solar pathway lamps to define edges without flattening planting texture; space them evenly and aim for consistent lux, not brightness spikes.
Add a downlight near the door to reveal faces and keys, and shield it to stop upward spill into windows. For architectural punch, graze a feature wall or specimen tree with a narrow-beam spike, keeping cables buried and IP-rated fittings.
Finish with garden fairy lights threaded through a porch beam or small tree canopy to create depth and a calm, layered glow. Set timers for reliability.
Budget Front Garden Upgrades With Big Impact
You don’t need a full redesign to sharpen curb appeal—start by revitalizing mulch and installing crisp edging to lock in clean lines and reduce maintenance creep.
You can upgrade lighting on a budget by swapping to low-voltage LED path fixtures or solar spots and tightening beam angles to highlight key elevations.
Finish with statement planters at entry pinch points to add vertical mass, repeat materials, and control sightlines from the street.
Refresh Mulch And Edging
After a long season of sun, rain, and foot traffic, mulch fades and edging creeps, making even well-designed plantings look untidy. Reset the bed line first: re-cut a clean trench or realign pavers to your intended curve, then compact the edge so it reads crisp from the street. Choose edging design that matches the architecture—steel for modern, brick for traditional—and keep the reveal consistent.
Next, refresh garden mulch to a uniform depth: 50–75 mm for bark fines, 25–40 mm for composted leaf. Pull back mulch from stems to prevent rot. Top up low spots, feather to paths, and sweep hardscape clean for contrast and a sharper kerb line.
Upgrade Lighting On Budget
Clean edging and fresh mulch set the baseline in daylight; budget lighting makes that same structure read at night.
Start with a quick site check: map the entry path, steps, and door hardware so you can light hazards and focal points without glare.
Use low, consistent spacing to create rhythm—about 1.5–2.5m apart along paths—and aim beams down at 30–45° to keep sightlines comfortable.
Choose solar options where wiring is costly; look for higher-lumen heads, adjustable panels, and warm 2700–3000K LEDs for a residential tone.
Add decorative lanterns near the door for layered light and clearer address visibility.
Keep fittings cohesive in finish, and hide stakes behind planting lines for a clean daytime view.
Add Statement Planters
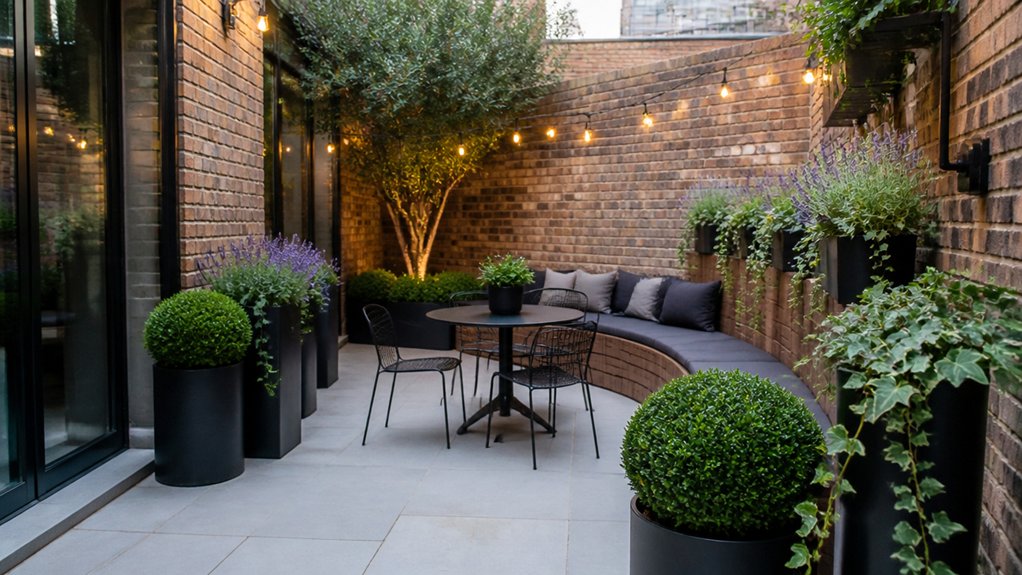
Because the entry zone reads first and hardest, statement planters deliver an outsized upgrade for minimal spend by anchoring sightlines and framing the approach. Place a matched pair at the path start or either side of the door; keep spacing equal and align rims for a crisp datum.
Choose one dominant plant container material—powder-coated steel, cast stone, or terracotta—to suit your façade, then repeat it elsewhere in smaller sizes.
Scale matters: your planter should hit roughly door-handle height, with a base wide enough to resist wind. Use decorative pots with a simple profile so foliage reads as the feature.
Specify a free-draining mix, elevate on feet, and add slow-release feed to reduce maintenance. Match pot colour to trim.
Frequently Asked Questions
Do I Need Planning Permission to Landscape My Front Garden?
You don’t usually need planning permission to landscape your front garden, but you must check if you add walls, hardstanding, or drainage changes. Integrate garden lighting safely, and align plant selection with visibility, services, access.
How Can I Make My Front Garden More Secure Against Theft?
Turn your frontage into a moat: you’ll deter thieves by layering sightlines, specifying security lighting on PIR sensors, and installing robust garden fences with lockable gates. Keep planting low, add gravel paths, and remove hiding spots.
What Front Garden Changes Add the Most Value When Selling?
You’ll add the most value by upgrading hardscaping, defining clean planting zones, and improving drainage. Specify durable paving, trimmed hedges, and low-maintenance beds; integrate outdoor lighting and tasteful garden ornaments to frame sightlines and entries.
How Do I Handle Drainage and Prevent Flooding in My Front Garden?
Prioritise permeable paving, proper pitch, and planted swales to stop pooling. For Rainwater management, add soakaways, French drains, and channel drains as drainage solutions; connect to legal outfalls, and keep gullies clear.
How Often Should I Water a Newly Landscaped Front Garden?
Water daily for 1–2 weeks, then every 2–3 days for a month, adjusting to soil moisture and rainfall. While Planting trees, deep-soak weekly. When Choosing ornaments, avoid blocking irrigation spray patterns and runoff paths.


Leave a Reply